Since Version 32.0 SP2: Obsolete Article
This article outdated. With the release of TX Text Control 32.0 SP2, new features have been introduced that make parts of this tutorial obsolete. If you are using version 32.0 SP2 or later, please read the following article.
Azure Pipelines with TX Text Control .NET for ASP.NET 32.0 with Azure DevOps and Artifacts
Important Notice
This article explains how to use build servers with TX Text Control using .NET 6 or better. If you are using .NET Framework (4.8), please see this article instead:
Using TX Text Control .NET Server with Build Servers for Continuous Integration (Azure DevOps)
Continuous Integration (CI) is a development practice where each check-in is verified by an automated build which enables teams to detect problems at an early stage.
With Azure DevOps, Microsoft offers services for teams to share code and track their work. A major feature is the continuous integration support for projects called Azure Pipelines. These hosted build agents can build the projects immediately or based on your specifications.
This article explains how to setup your project in Visual Studio to use Azure DevOps Pipelines, but in general this is valid for all available build agents including:
- Jenkins
- GitLab
- CruiseControl
- TeamCity
- AppVeyor
- Azure DevOps
- Octopus Deploy
Text Control products are licensed on a per-developer basis. Each developer who uses our products must have their own, assigned license. If you are using a build server, all developers who check-in code, that uses TX Text Control classes, need their own license.
On hosted build machines such as Azure DevOps, no third-party software can be installed which would be required to compile the license into the application. In order to use hosted build agents, the license must be compiled manually and embedded as an embedded resource.
Preparing the Project
Assuming that you already created an ASP.NET Core (.NET 6) project using TX Text Control, the following steps are required to prepare the project for Azure Pipelines. In this sample, we will use GitHub as the source of the pipeline, but this is completely independent and doesn't influence the project preparation.
- Building the License File
In this step, we will compile the license file manually once to embed it into the project.
-
Open a Visual Studio Command Prompt, change the current directory to your project folder and type in the following command and replace MyApplication with your Assembly name:
lc.exe /target:MyApplication.dll /complist:"%UserProfile%\.nuget\packages\txtextcontrol.textcontrol.asp.sdk\31.0.0\contentFiles\any\any\licenses.licx" /i:"C:\Program Files\Text Control GmbH\TX Text Control 31.0.NET Server for ASP.NET\Assembly\TXTextControl.Server.dll"
Important
The DLL(s) listed after the /i switch must be referenced from the TX Text Control installation path.
The license compiler will generate the 'MyApplication.dll.licenses' resource file in the project's root folder. By default, the license compiler will add the namespace to the filename.
-
Rename the generated resource file to dll.licenses.
-
Back in Visual Studio, select the project in the Solution Explorer and choose Add Existing Item.... Browse for the created license file, select it and confirm with Add.
-
Select the newly added file dll.licenses and change the property Build Action to Embedded resource.
-
- Removing the licenses.licx
Open the MyApplication.csproj (MyApplication is your application name) by selecting the project in the Solution Explorer in order to choose Project -> Edit Project File from the main menu.
Add the following ItemGroup to the project file:
This file contains bidirectional Unicode text that may be interpreted or compiled differently than what appears below. To review, open the file in an editor that reveals hidden Unicode characters. Learn more about bidirectional Unicode characters<ItemGroup> <EmbeddedResource Remove="$(UserProfile)\.nuget\packages\txtextcontrol.textcontrol.asp.sdk\31.0.0\contentFiles\any\any\licenses.licx" /> </ItemGroup> This removes the licenses.licx from the embedded resources after the NuGet packages have been restored in the Azure pipeline.
- Set Platform Target to 64bit
Select the project in the Solution Explorer and choose Project -> Properties, open the tab Build and set the Platform target to x64.
Uploading NuGet Packages to Artifacts
The required TX Text Control NuGet packages are installed with the developer license setup in the private, local source "Text Control Offline Packages". As Azure pipelines don't have access to this package source and Text Control NuGet packages are not listed on NuGet.org, required packages must be uploaded to Azure Artifacts. Artifacts is an Azure service to create public and private package feeds that are required to build the project.
-
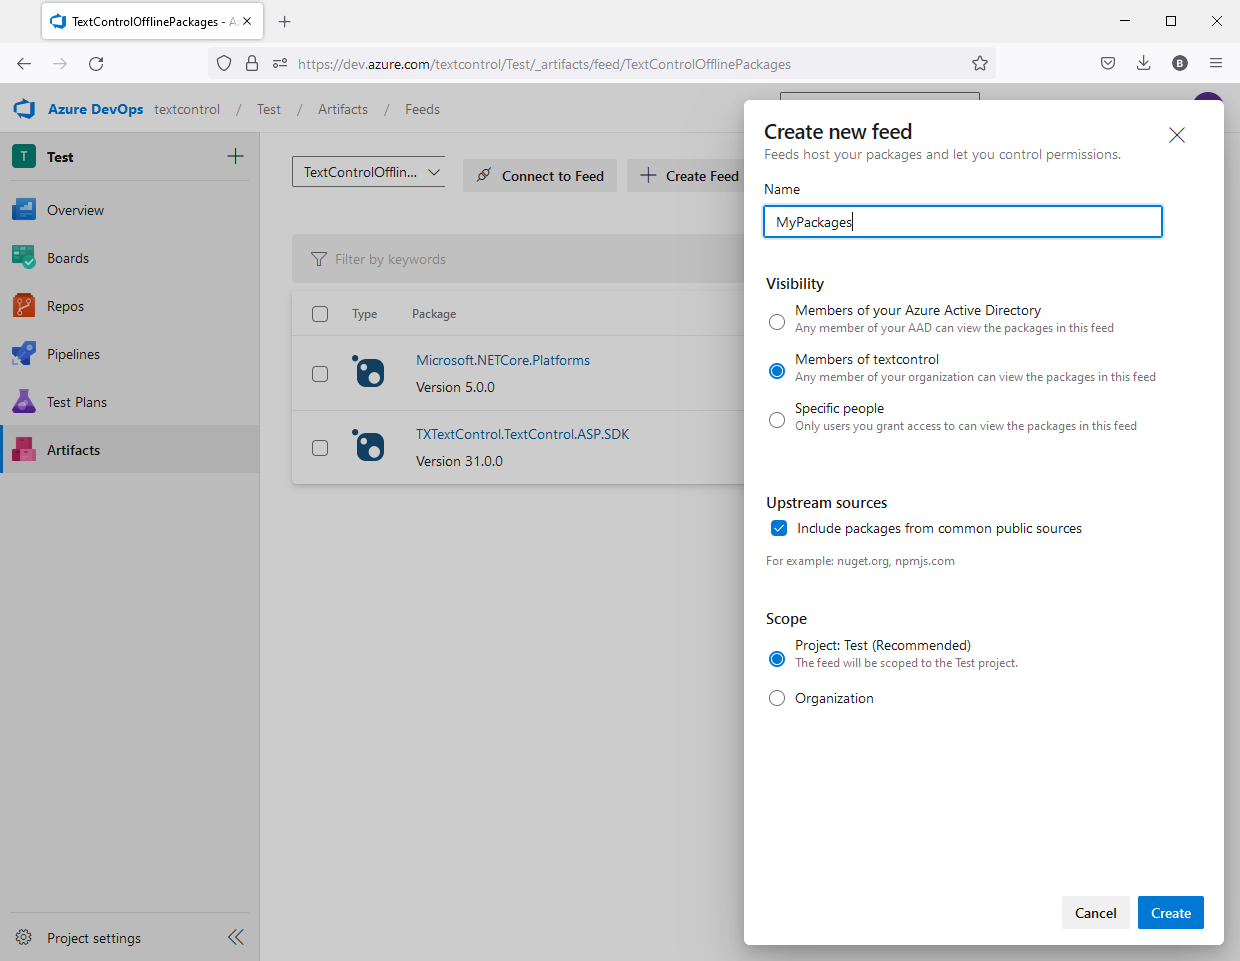
In Azure DevOps, open Artifacts and click Create Feed, provide a name and choose the required Visibility. Confirm with Create.
-
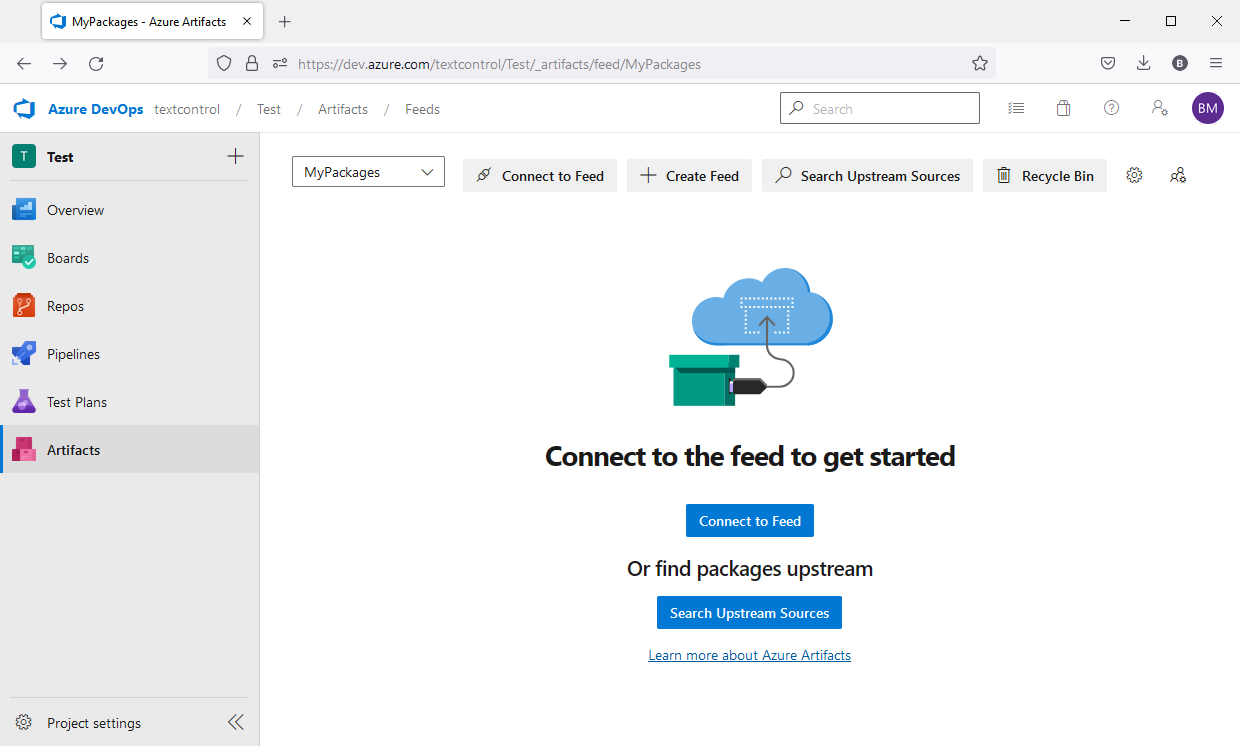
Select the newly created feed and click Connect to Feed:
-
From the list, select NuGet.exe
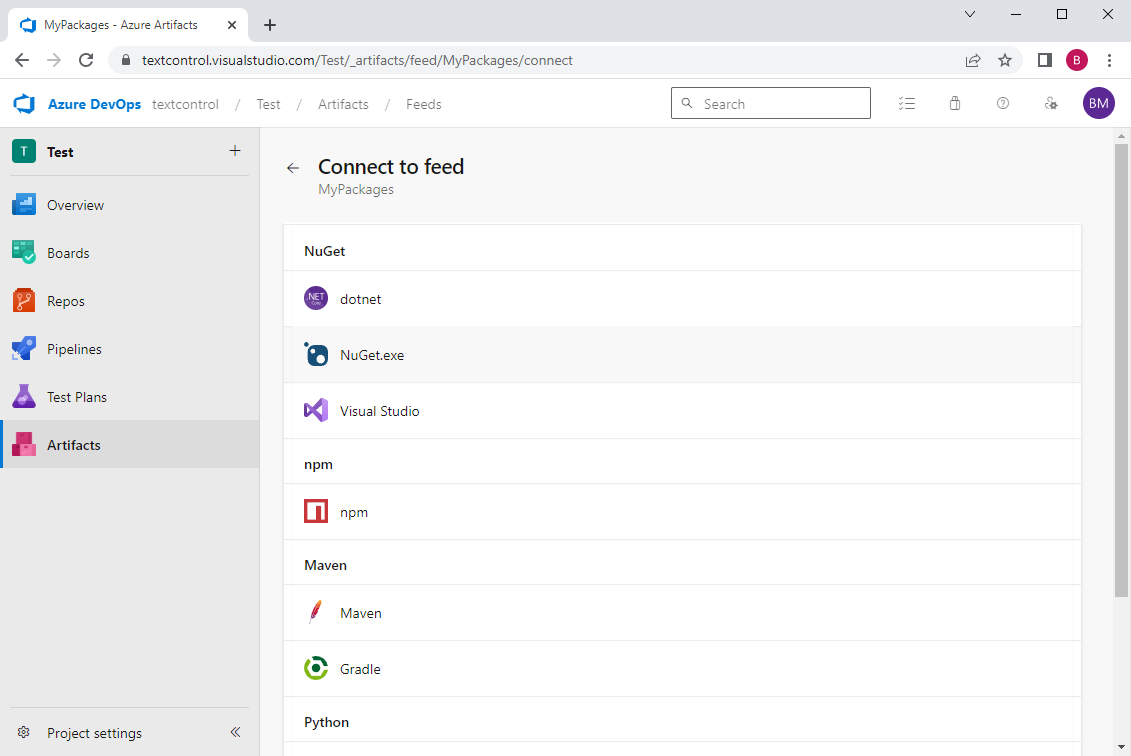
Important
To use NuGet.exe with Azure Artifacts, you'll need a recent version of NuGet (4.8.0.5385+) and the Azure Artifacts credential provider. If you've installed Visual Studio (v15.9-preview1 or later), including the Build Tools edition, you already have the credential provider and you should just download the latest NuGet to a directory on your PATH and outside of your repository.
-
Copy the feed path from the shown config file:
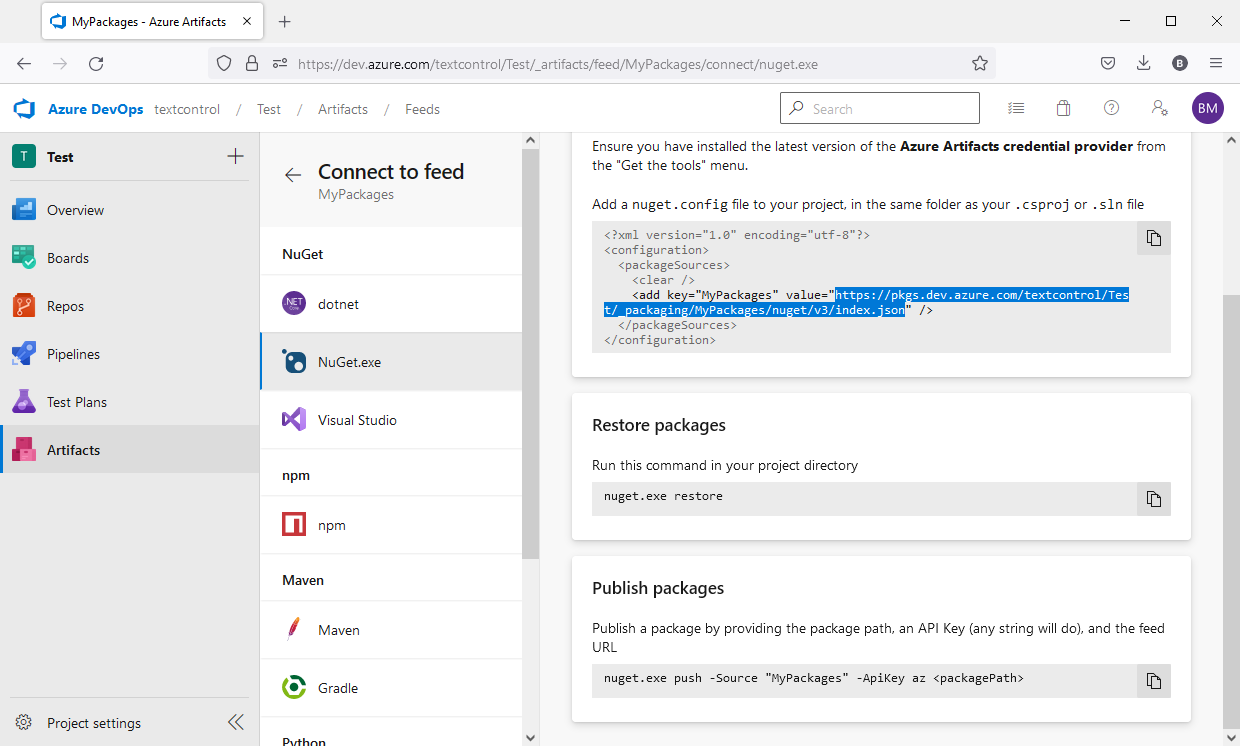
-
Open an elevated (developer) command prompt and push the Text Control NuGet package using the following command. Replace the src string with the string copied in the previous step.
nuget push "C:\Program Files (x86)\Text Control GmbH\NuGetPackages\TXTextControl.TextControl.ASP.SDK.31.0.0.nupkg" -src "https://pkgs.dev.azure.com/textcontrol/Test/_packaging/MyPackages/nuget/v3/index.json" -ApiKey AzureDevOps
-
In the feed overview, the uploaded package should be visible:
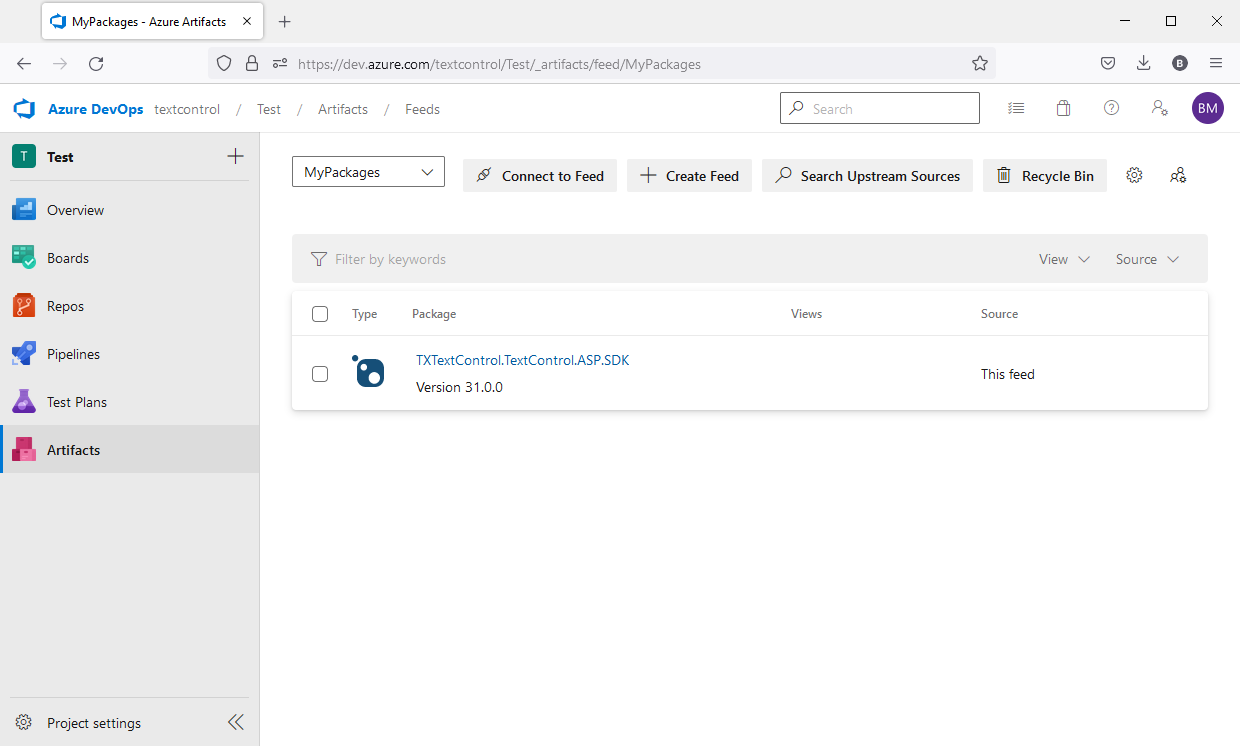
Configure NuGet in Project
-
In your Visual Studio project, create a new file in the project's root folder named nuget.config and copy the following configuration into it:
This file contains bidirectional Unicode text that may be interpreted or compiled differently than what appears below. To review, open the file in an editor that reveals hidden Unicode characters. Learn more about bidirectional Unicode characters<?xml version="1.0" encoding="utf-8"?> <configuration> <packageSources> <clear /> <add key="MyPackages" value="https://pkgs.dev.azure.com/textcontrol/Test/_packaging/MyPackages/nuget/v3/index.json" /> <add key="nuget.org" value="https://api.nuget.org/v3/index.json" /> </packageSources> <packageSourceCredentials> <MyPackages> <add key="Username" value="123" /> <add key="ClearTextPassword" value="PersonalAccessToken" /> </MyPackages> </packageSourceCredentials> </configuration> -
Replace PersonalAccessToken with a newly created Personal Access Token you can create in Azure DevOps:
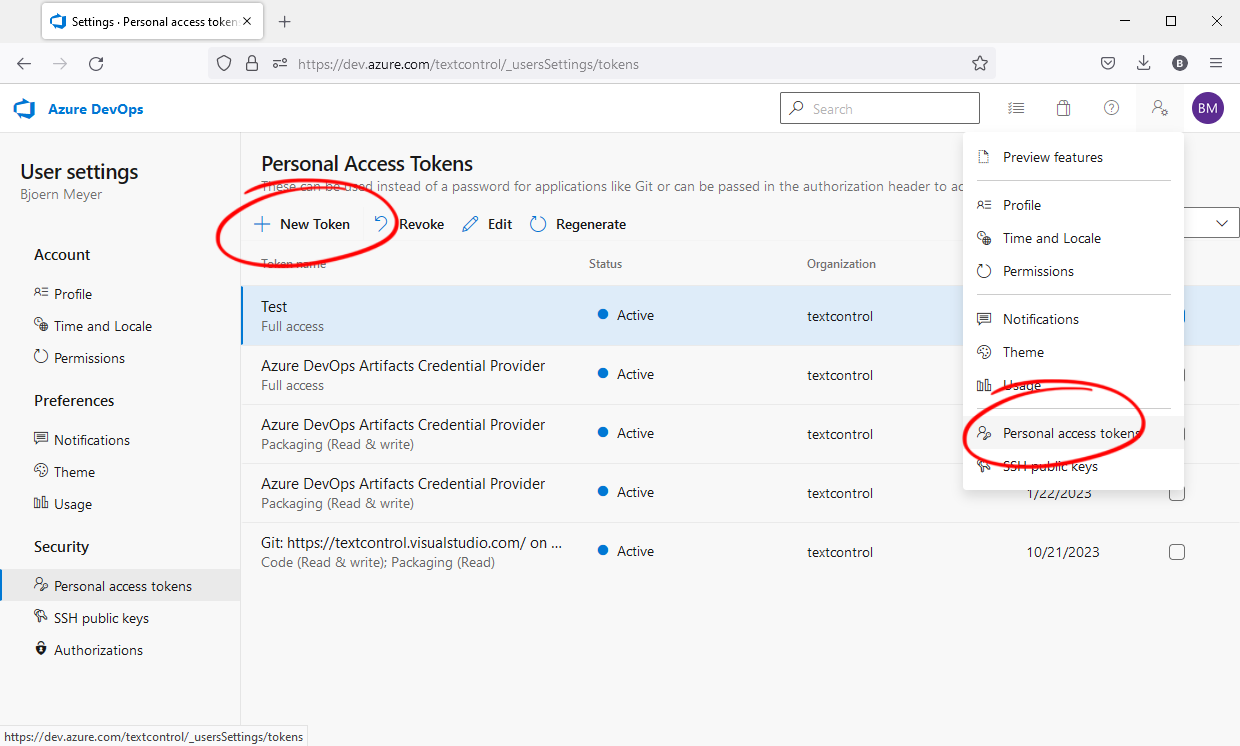
-
Replace the first packageSources key (MyPackages in this sample) with your created package source in Azure Artifacts.
-
Create Azure Pipeline
Assuming you are using GitHub as your repository, commit and push your project. Now it is time to create your pipeline in Azure DevOps.
-
In your project, create a new pipeline and select GitHub:
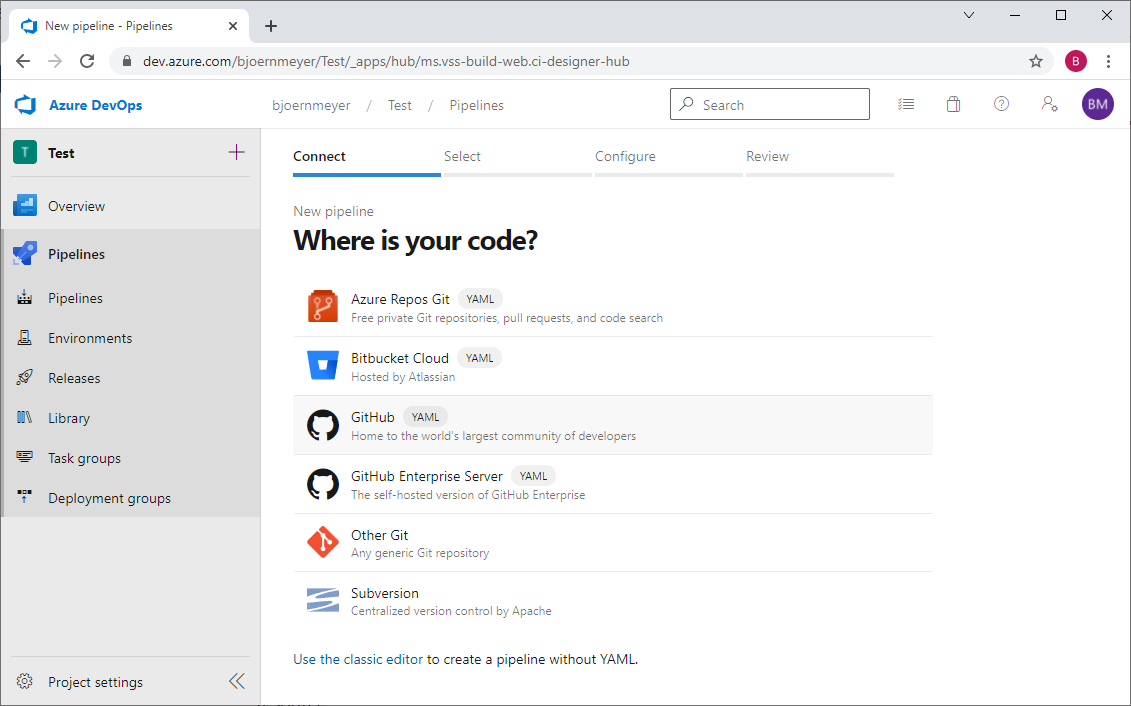
-
Select your project from your repositories.
-
In this step, you can review the created pipeline YAML. Make sure that the NuGet restore command is using the feed (feedsToUse) from the created config file. The following task can be used to configure that:
This file contains bidirectional Unicode text that may be interpreted or compiled differently than what appears below. To review, open the file in an editor that reveals hidden Unicode characters. Learn more about bidirectional Unicode characters- task: NuGetCommand@2 inputs: command: 'restore' restoreSolution: '**/*.sln' feedsToUse: 'config' Important
If your nuget.config is in another folder or the project subfolder, use the nugetConfigPath property in the yml file:
This file contains bidirectional Unicode text that may be interpreted or compiled differently than what appears below. To review, open the file in an editor that reveals hidden Unicode characters. Learn more about bidirectional Unicode characters- task: NuGetCommand@2 inputs: command: 'restore' restoreSolution: '**/*.sln' feedsToUse: 'config' nugetConfigPath: 'myApp/nuget.config' A complete sample azure-pipelines.yml would look like this:
This file contains bidirectional Unicode text that may be interpreted or compiled differently than what appears below. To review, open the file in an editor that reveals hidden Unicode characters. Learn more about bidirectional Unicode characters# ASP.NET # Build and test ASP.NET projects. # Add steps that publish symbols, save build artifacts, deploy, and more: # https://docs.microsoft.com/azure/devops/pipelines/apps/aspnet/build-aspnet-4 trigger: - master pool: vmImage: 'windows-latest' variables: solution: '**/*.sln' buildPlatform: 'Any CPU' buildConfiguration: 'Release' steps: - task: NuGetToolInstaller@1 - task: NuGetCommand@2 inputs: command: 'restore' restoreSolution: '**/*.sln' feedsToUse: 'config' - task: VSBuild@1 inputs: solution: '$(solution)' msbuildArgs: '/p:DeployOnBuild=true /p:WebPublishMethod=Package /p:PackageAsSingleFile=true /p:SkipInvalidConfigurations=true /p:PackageLocation="$(build.artifactStagingDirectory)"' platform: '$(buildPlatform)' configuration: '$(buildConfiguration)'
Running Pipelines
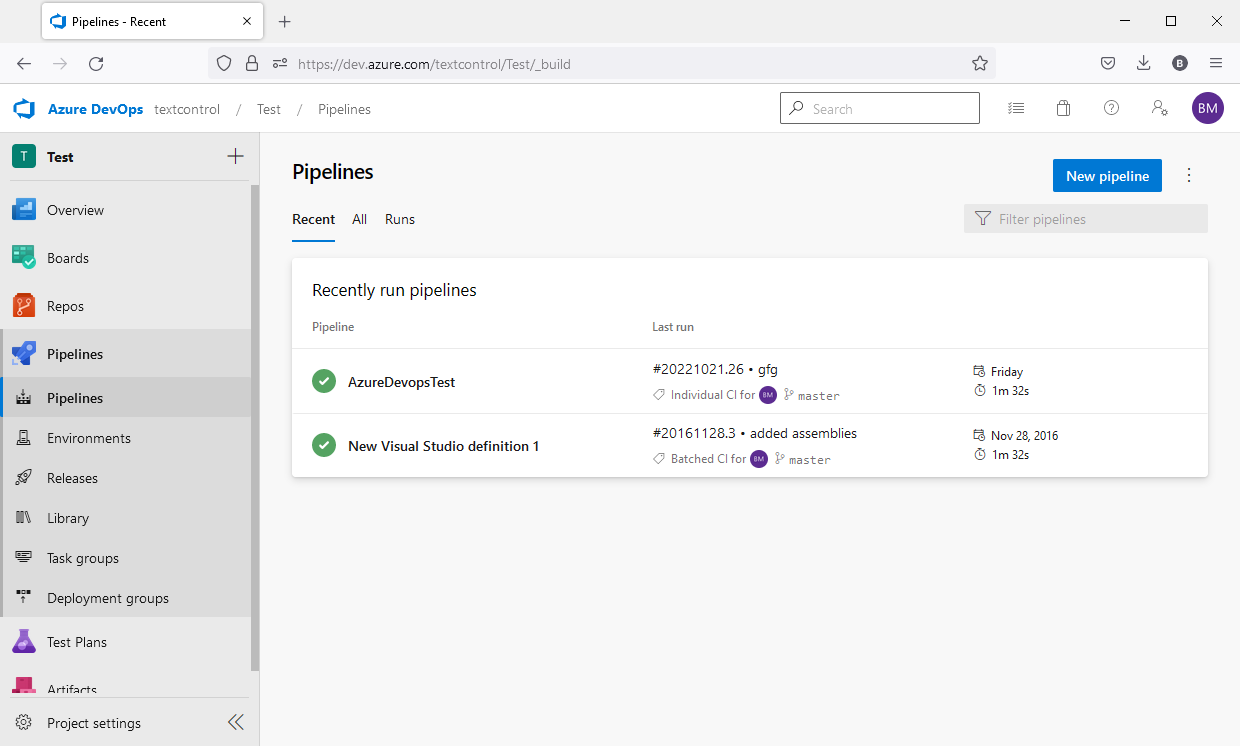
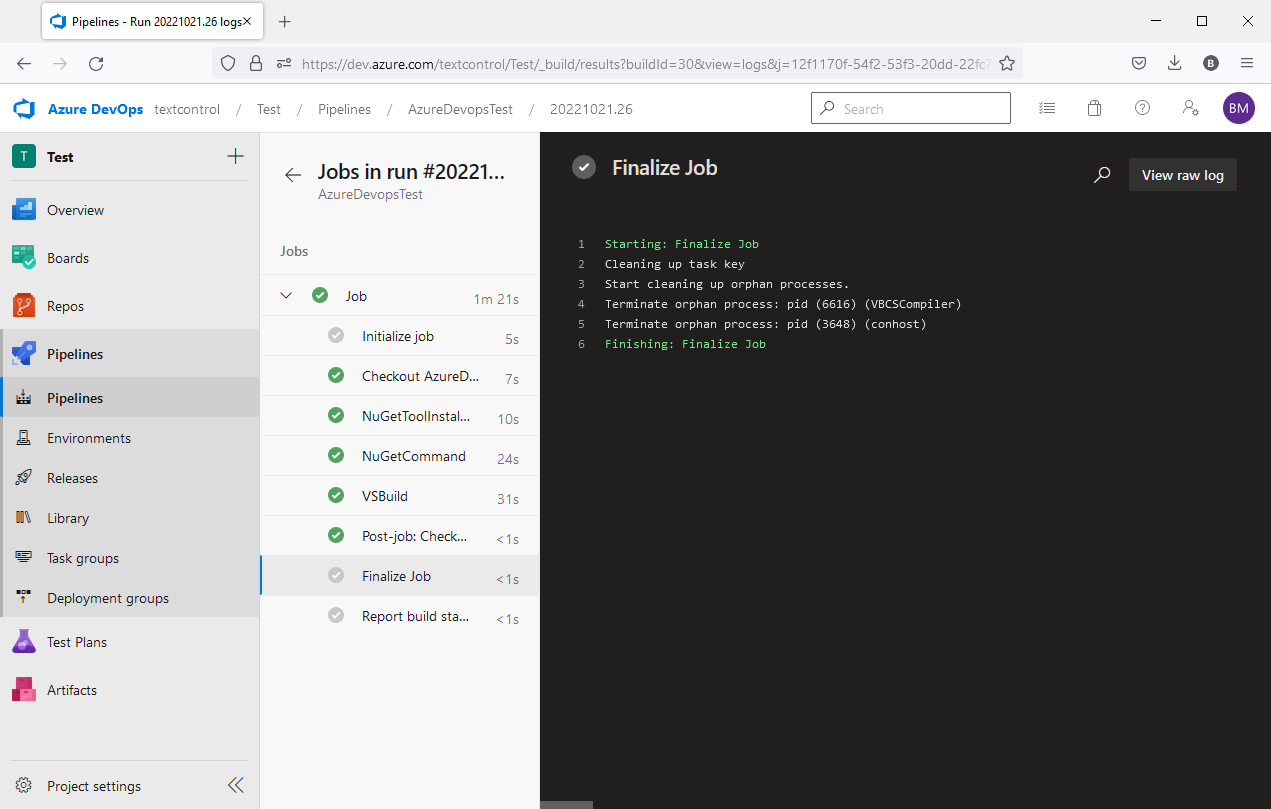
When creating your pipeline, a first run will be performed automatically. The result should look very similar to this:

Now, every time you check in your code, a new run is performed:
