We just published a prerelease version of the TX Text Control DocumentViewer for React on npm. Just like the DocumentViewer for Angular, it runs with the same ASP.NET (Core) backend powered by TX Text Control .NET Server for ASP.NET.
React is a declarative, efficient, and flexible JavaScript library for building user interfaces. To learn more about React and to learn how to get started, please visit the React website.
Step 1: Trial Access Token
The easiest way to evaluate TX Text Control for React (and Angular) without hosting your own backend server is by creating a trial access token valid for 30 days.
Step 2: Creating the React App
-
Install Node.js?? and npm, if not done before.
-
Open a Command Prompt and install create-react-app by running this command in your terminal:
npm install -g create-react-app -
Run the following command to create a React application named mydocviewerapp:
npx create-react-app mydocviewerapp -
Change into the created folder by typing in the following command:
cd mydocviewerapp -
Install the TX Text Control document viewer package by typing in the following command:
npm install --save @txtextcontrol/tx-react-document-viewer -
Open this folder in Visual Studio Code using this command:
code . -
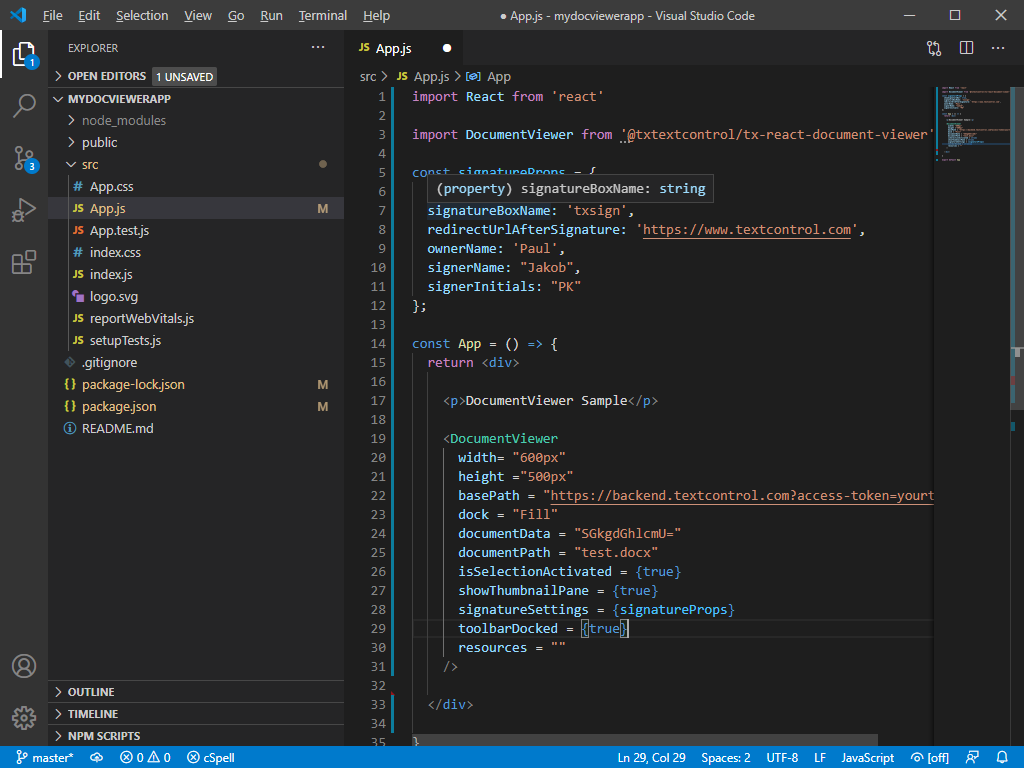
In Visual Studio Code, open the file src -> App.js, replace the content with the following code and save it. Replace yourtoken with your actual access token you created at the beginning of this tutorial.
This file contains bidirectional Unicode text that may be interpreted or compiled differently than what appears below. To review, open the file in an editor that reveals hidden Unicode characters. Learn more about bidirectional Unicode charactersimport React from 'react' import DocumentViewer from '@txtextcontrol/tx-react-document-viewer' const signatureProps = { showSignatureBar: true, signatureBoxName: 'txsign', redirectUrlAfterSignature: 'https://www.textcontrol.com', ownerName: 'Paul', signerName: "Jakob", signerInitials: "PK" }; const App = () => { return <div> <p>DocumentViewer Sample</p> <DocumentViewer width= "800px" height ="500px" basePath = "https://backend.textcontrol.com?access-token=yourtoken" dock = "Fill" documentData = "SGkgdGhlcmU=" documentPath = "test.docx" isSelectionActivated = {true} showThumbnailPane = {true} signatureSettings = {signatureProps} toolbarDocked = {true} resources = "" /> </div> } export default App 
-
Back in the command prompt, start the React application by typing in the following command:
npm start
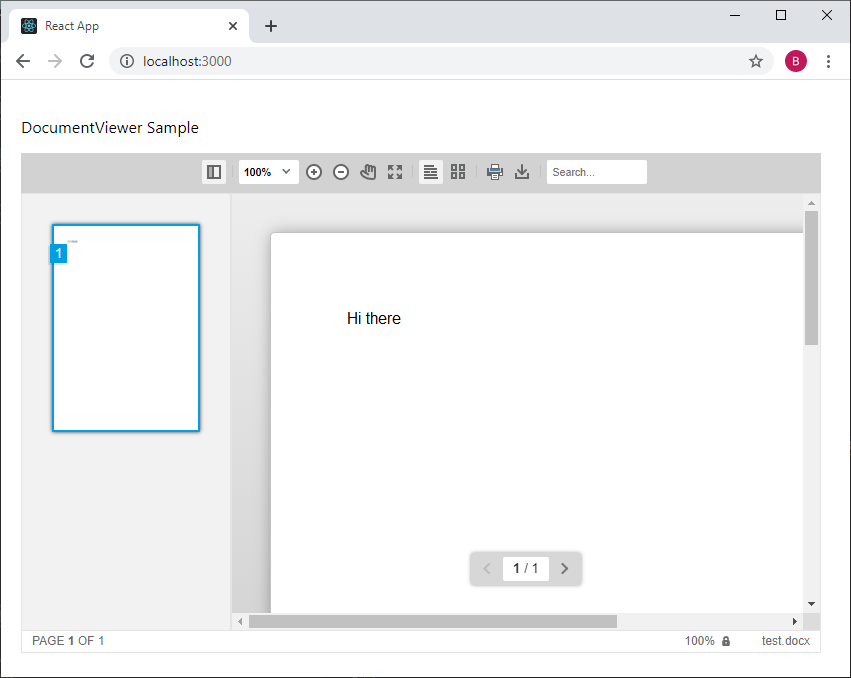
Your default browser is opened with your created React app:


