Updated Article Available
This article is outdated and there is an updated article available.
TX Text Control for Angular is used to integrate the TX Text Control HTML5-based document editor in Angular applications. In addition to this project, a WebSocket Server project is required and can be created using ASP.NET MVC or Node.js (TX Text Control .NET Server is required for the backend processing). This tutorial uses a hosted WebSocket Server project that can be used for evaluation purposes.
Creating your First Angular Application
This tutorial shows how to create your first Angular application using the TX Text Control document editor.
Prerequisites
-
Create your free trial access token here:
-
Install Node.js® and npm, if not done before.
-
Open a Command Prompt and install the Angular CLI globally by typing in the following command:
npm install -g @angular/cli
This tutorial uses Visual Studio Code that can be downloaded for free.
Creating the Angular Project
-
Open a Command Prompt and create a new project and default app by typing in the following command:
ng new my-editor-app
Follow the questions in the command prompt by answering them with "y" to add Angular routing and Enter to confirm CSS as your preferred stylesheet format.
-
Change into the created folder by typing in the following command:
cd my-editor-app -
Install the TX Text Control document editor package by typing in the following command:
ng add @txtextcontrol/tx-ng-document-editor -
Open this folder in Visual Studio Code by typing in the following command:
code . -
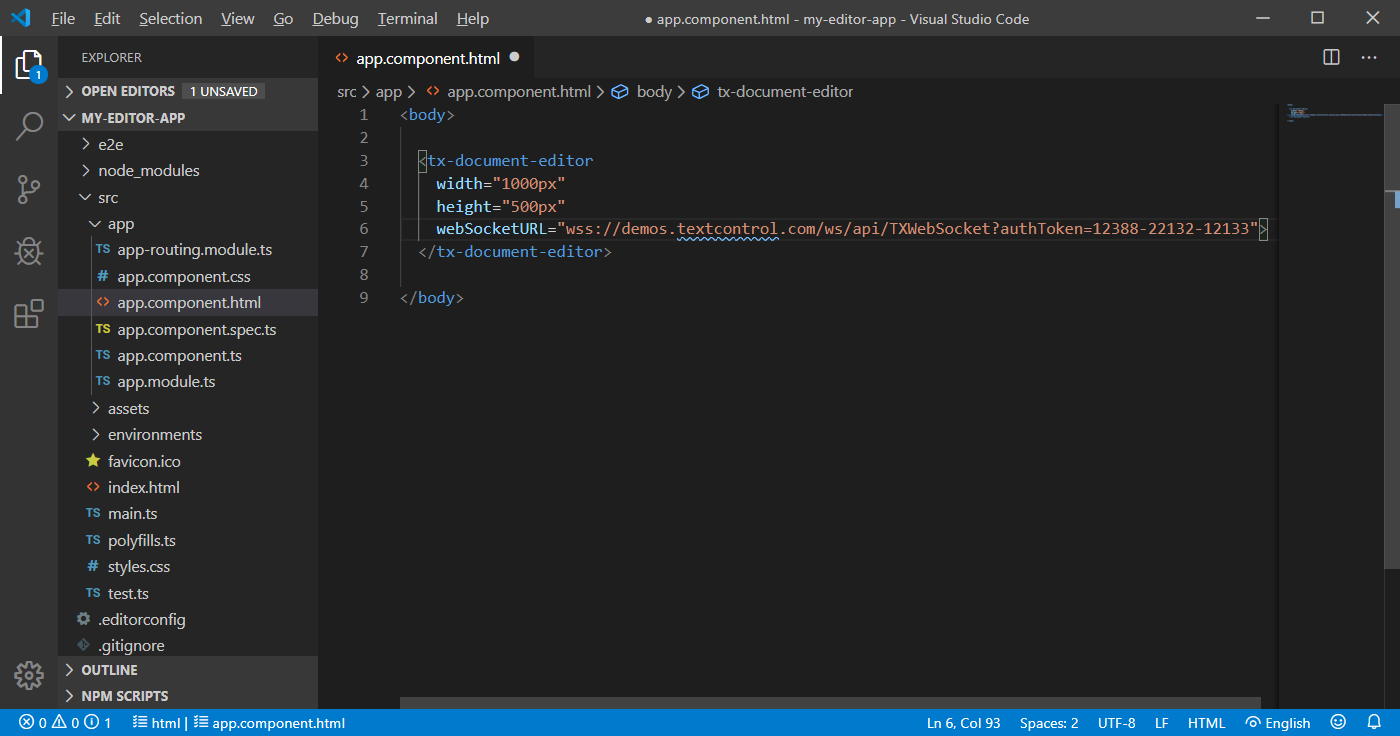
In Visual Studio Code, open the file src -> app -> app.component.html, add the following code and save it:
This file contains bidirectional Unicode text that may be interpreted or compiled differently than what appears below. To review, open the file in an editor that reveals hidden Unicode characters. Learn more about bidirectional Unicode characters<tx-document-editor width="1000px" height="500px" webSocketURL="wss://backend.textcontrol.com?access-token=yourtoken"> </tx-document-editor> 
-
Back in the command prompt, start the Angular application by typing in the following command:
ng serve --open
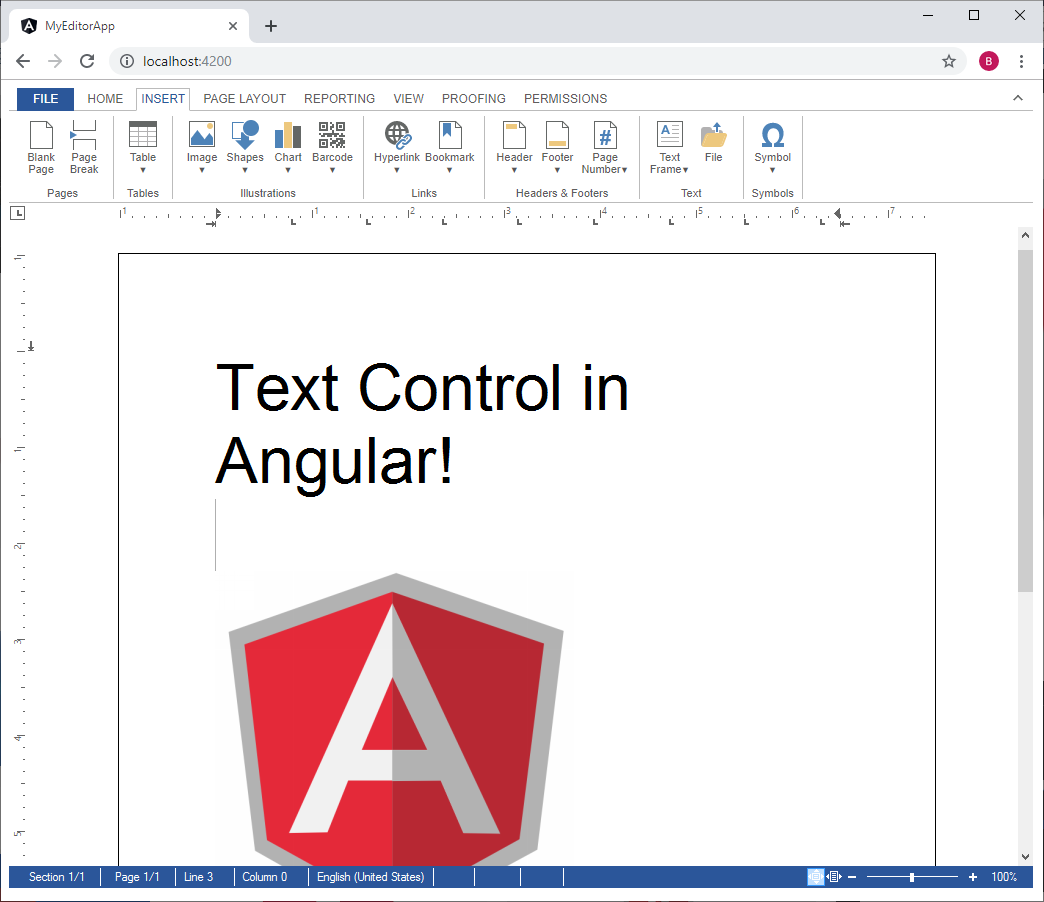
Your default browser is opened with your created Angular app:

Additional Steps
This tutorial uses a demo server backend for the required synchronization service that synchronizes the document in order to provide the WYSIWYG rendering - a unique feature of TX Text Control to edit documents pixel-perfect across devices and browsers.
Creating your own WebSocket Server
To learn how to create your own WebSocket server project, please have a look at this tutorial:
Creating a WebSocket Server Project with Node.js
Attribute Documentation
All available attributes for the Angular element are documented in the NPM package overview page:
TX Text Control HTML5 Document Editor (Angular version)
Using the JavaScript API
In order to program the Angular Document Editor, a JavaScript API is available. This API is compatible to all supported platforms including ASP.NET MVC, WebForms and Node.js. The API documentation can be found here:
This article shows how to integrate the JavaScript API into Angular's TypeScript structure:
Loading and Saving Documents using Angular
Deploying your Angular Application
To learn how to deploy this project with your own WebSocket Server, please have a look at this article:

