The Text Control DocumentViewer is designed to sign documents by multiple users. This article explains how to setup documents for multiple signers and gives an overview of the document deployment strategy.
Designing the Template
Using the DocumentEditor, you will need to add as many signature boxes to the document as required. In our sample, we create two different signature boxes for two different signers. A signature box is a Text
╰ JavaScript API
╰ TextFrame Object
The TextFrame object represents a rectangle that can be filled with text by an end-user and can be edited like the main text. element that can be positioned anywhere in the document. In the following sample template, the text frames are inserted inline with text into table cells:
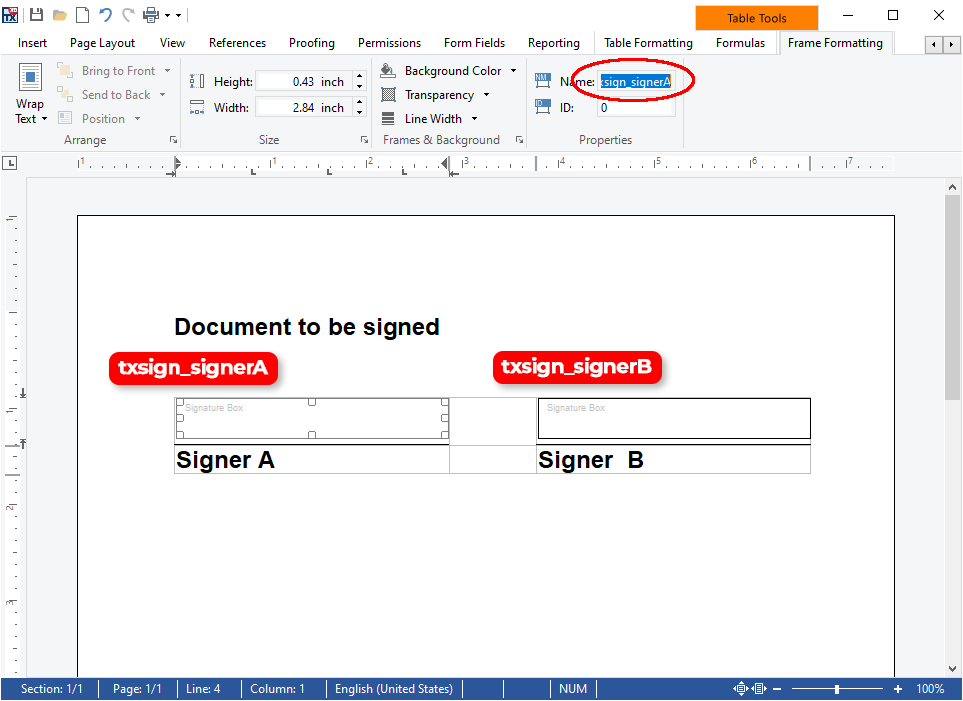
These two text frames receive unique names:
- txsign_signerA
- txsign_signerB
Technically, you can use any name for those signature boxes as you provide the name of the box to be signed when initializing the DocumentViewer. It is helpful to create your own logic to have a consistent naming.
Deploying the Document
The document should be stored in the internal Text Control format to keep all elements for the signature process. At the very end, the final document gets digitally signed and sealed. The following illustration shows the sequential signature process:
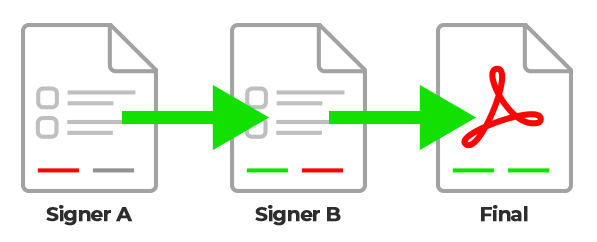
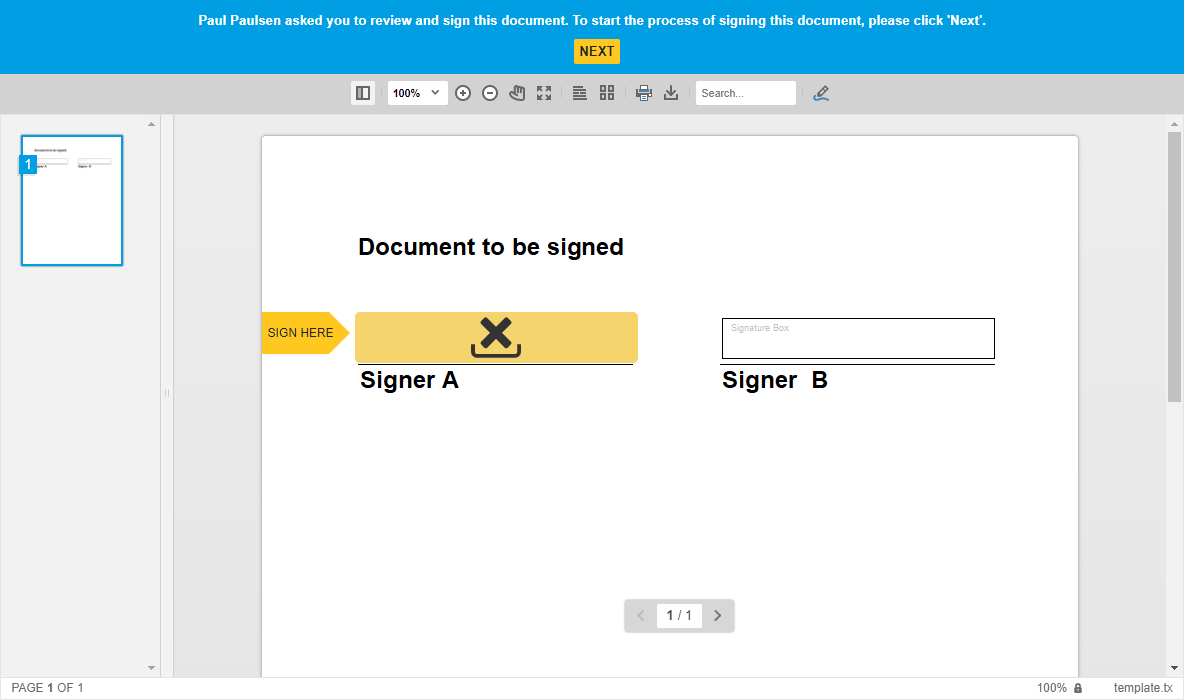
First, the document is deployed to signer A to be signed. The DocumentViewer is initialized with the signature box name txsign_signerA:
| @Html.TXTextControl().DocumentViewer(settings => | |
| { | |
| settings.DocumentPath = "~/App_Data/Documents/template.tx"; | |
| settings.SignatureSettings = new SignatureSettings() | |
| { | |
| ShowSignatureBar = true, | |
| OwnerName = "Paul Paulsen", | |
| SignerName = "Signer A", | |
| SignerInitials = "AA", | |
| SignatureBoxName = "txsign_signerA", | |
| UniqueId = "123123123", | |
| }; | |
| }).Render() |
In your JavaScript, a callback needs to be connected to the signing process using setSubmitCallback:
| TXDocumentViewer.setSubmitCallback(saveSignedDocument); | |
| function saveSignedDocument(e) { | |
| var serviceURL = "@Url.Action("SaveSignedDocument", "TX")"; | |
| // send document to controller | |
| $.ajax({ | |
| type: "POST", | |
| url: serviceURL, | |
| data: { | |
| document: e.document | |
| }, | |
| success: successFunc, | |
| error: errorFunc | |
| }); | |
| function successFunc(data, status) { | |
| alert("Thanks"); | |
| } | |
| function errorFunc(data, status) { | |
| console.log(data); | |
| } | |
| } |
The DocumentViewer will send the signed document in the internal TX Text Control format to your callback. In our demo code, this document will be sent to a controller method SaveSignedDocument. This controller method should take the results of the signing process in order to send the signed document to the second signer.
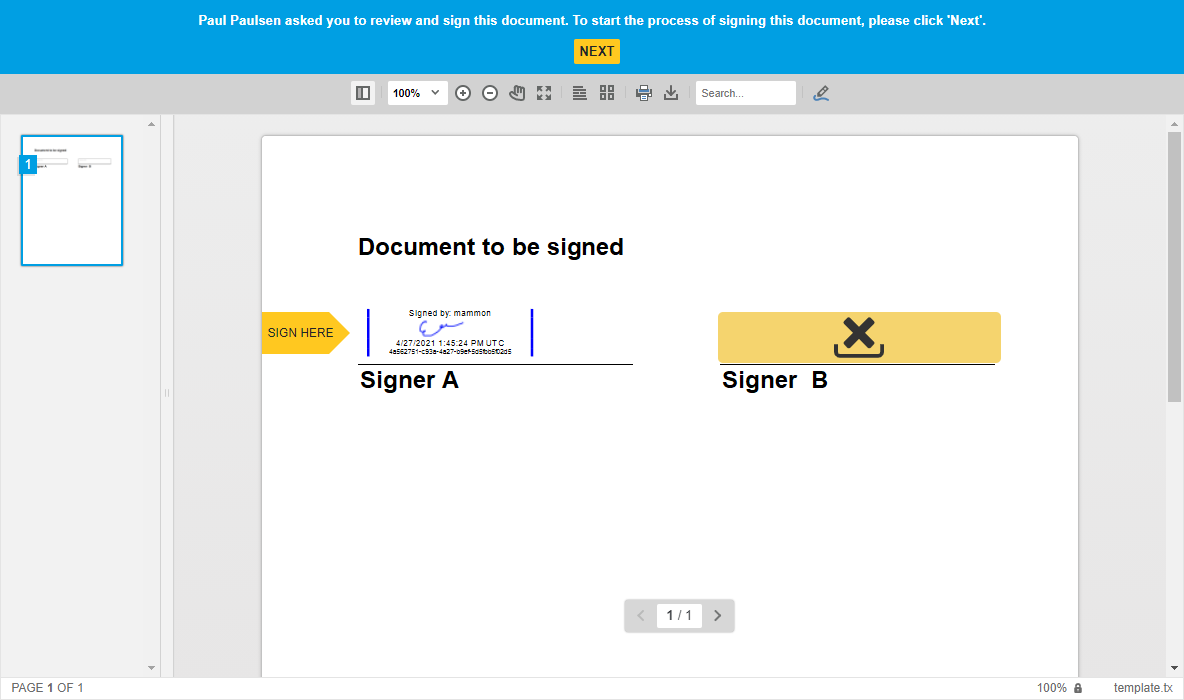
After the second signature, the completely signed document will be sent back to the server to create the final PDF document. The following code takes the fully signed document in the internal TX Text Control format and creates a PDF/A with a digital signature:
| [HttpPost] | |
| public string ExportPDF(string document) | |
| { | |
| byte[] bPDF; | |
| // create temporary ServerTextControl | |
| using (TXTextControl.ServerTextControl tx = new TXTextControl.ServerTextControl()) | |
| { | |
| tx.Create(); | |
| // load the document | |
| tx.Load(Convert.FromBase64String(document), | |
| TXTextControl.BinaryStreamType.InternalUnicodeFormat); | |
| X509Certificate2 cert = new X509Certificate2( | |
| Server.MapPath("~/App_Data/textcontrolself.cer")); | |
| TXTextControl.SaveSettings saveSettings = new TXTextControl.SaveSettings() | |
| { | |
| CreatorApplication = "TX Text Control Sample Application", | |
| DigitalSignature = new TXTextControl.DigitalSignature(cert, null) | |
| }; | |
| // save the document as PDF | |
| tx.Save(out bPDF, TXTextControl.BinaryStreamType.AdobePDFA, saveSettings); | |
| } | |
| // return as Base64 encoded string | |
| return Convert.ToBase64String(bPDF); | |
| } |
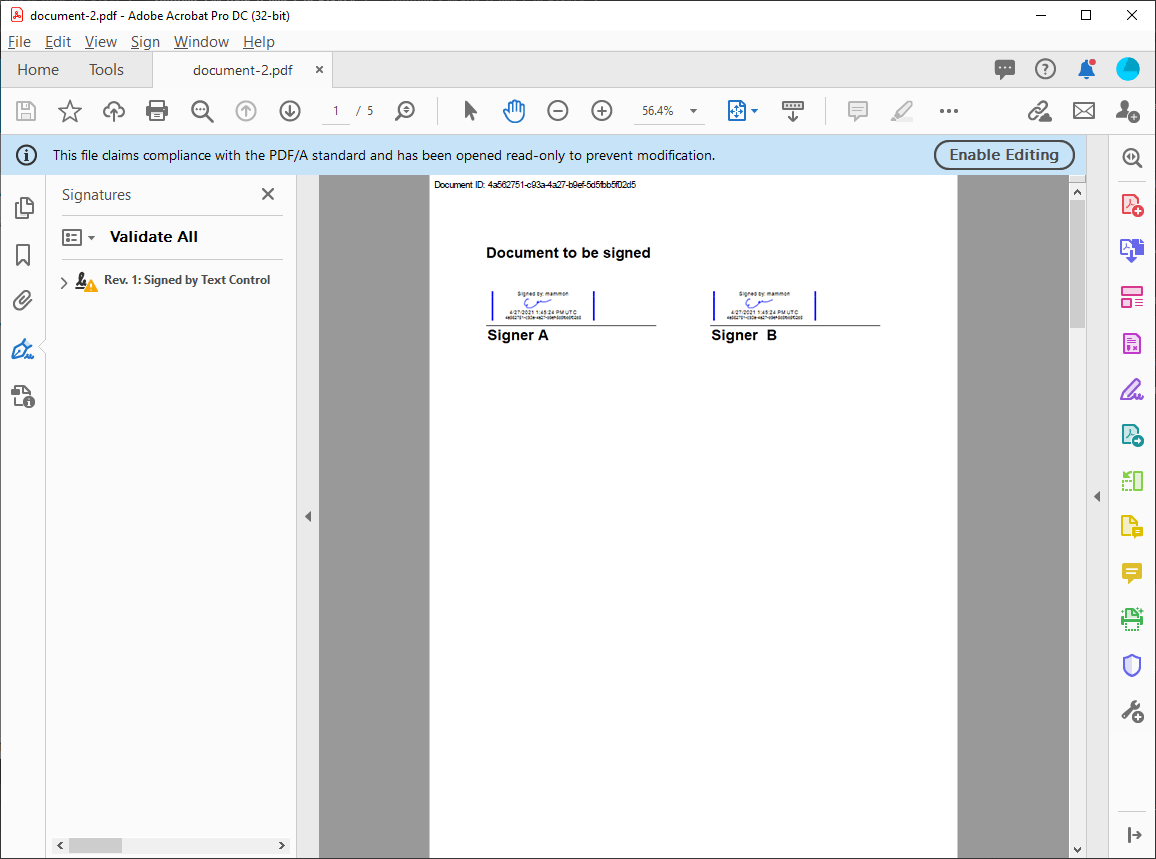
The final signed document contains both electronic signatures and is digitally signed and sealed:
