Disclaimer
This article was first published in 2020 and is recently updated.
Prerequisites
Create Your Application
-
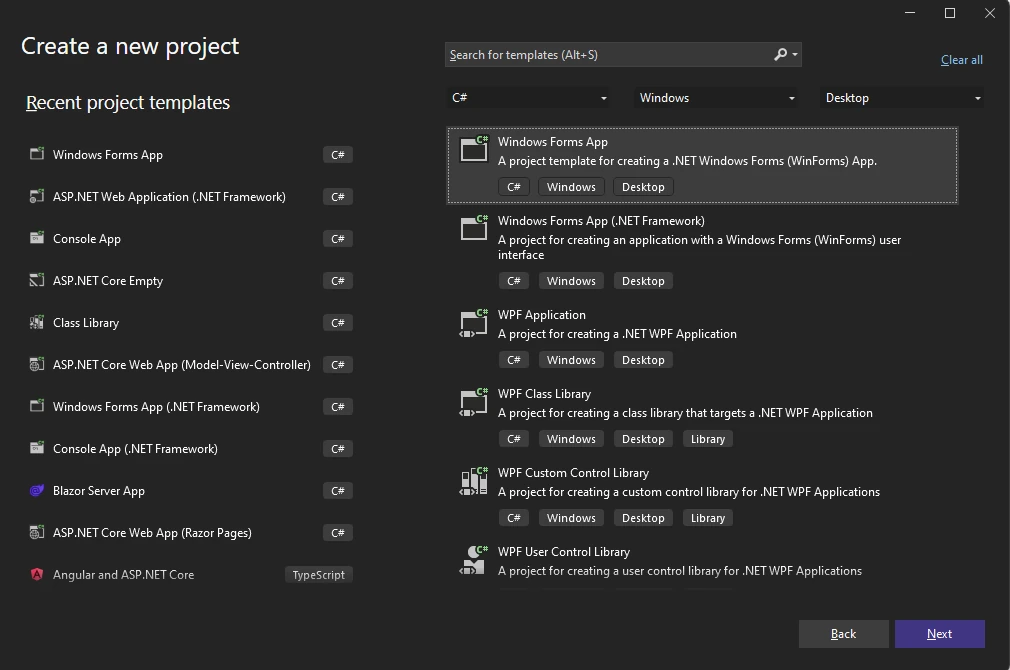
Start Visual Studio .NET and create a new project. Select C# as a project type and Windows Forms App as a template. Specify a project name and confirm with Next.
-
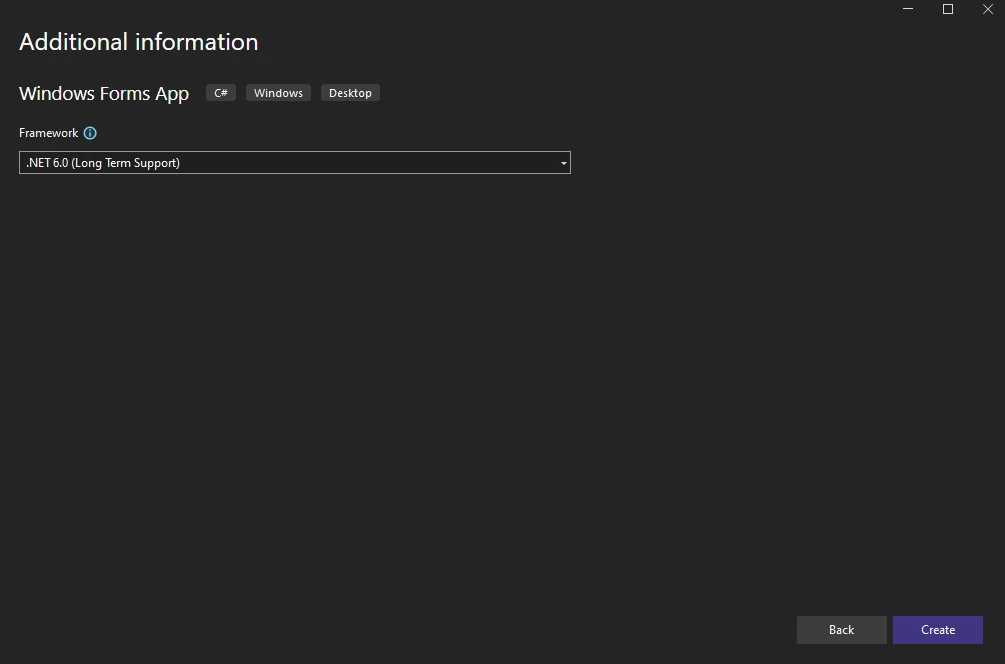
Select your preferred Framework version such as .NET 6 (Long-term support) and confirm with Create.
-
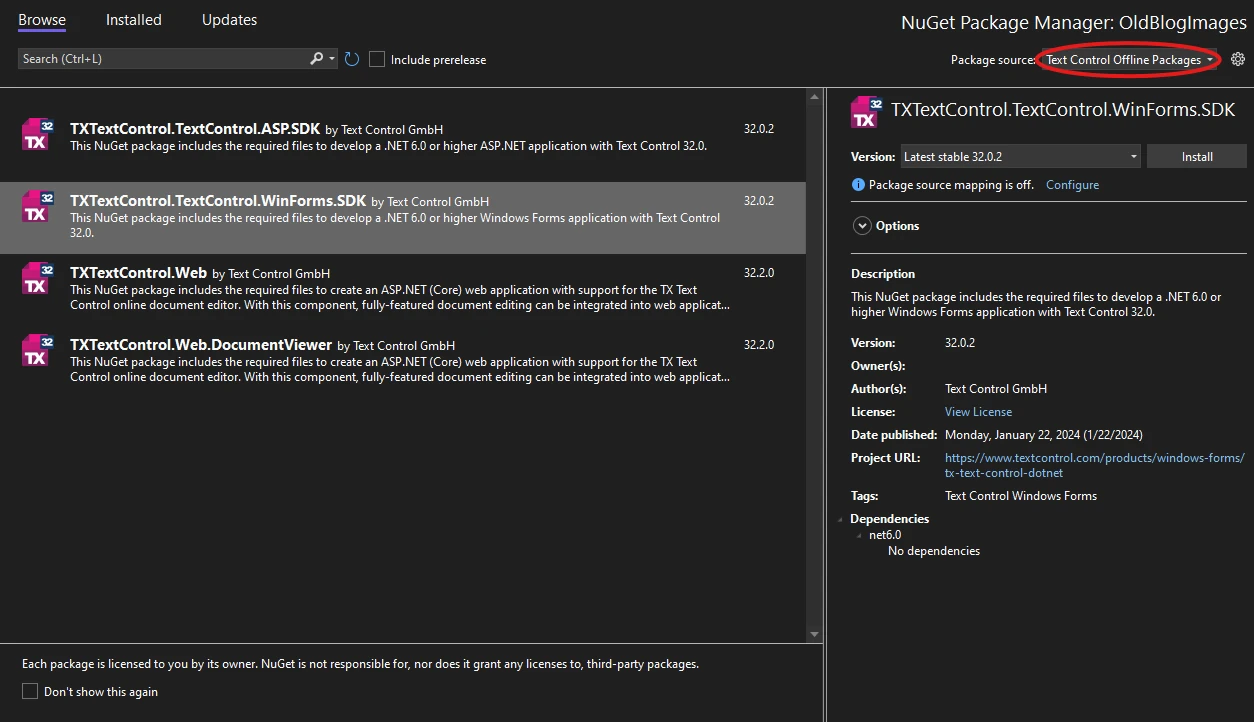
Open your project in Solution Explorer and go to Manage NuGet Packages from the main menu. Choose Text Control Offline Packages as the package source, search for TXTextControl.TextControl.WinForms.SDK under the Browse tab, and click Install.
-
Find the TX Text Control 32.0 toolbox tab that has been created automatically. All usable TX Text Control controls or components are listed in this tab.
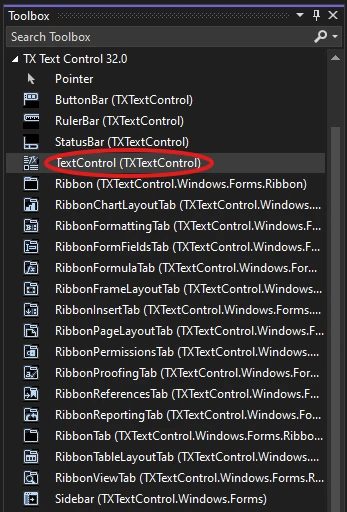
Choose the TextControl icon and draw it on the Windows Form.
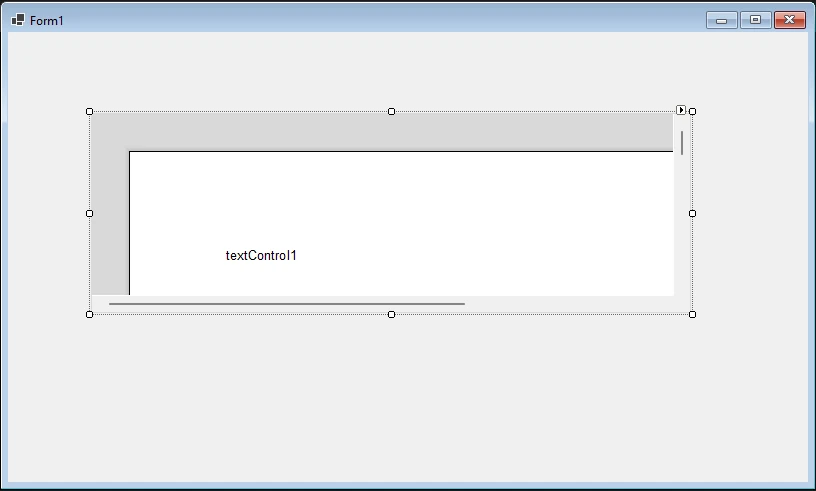
-
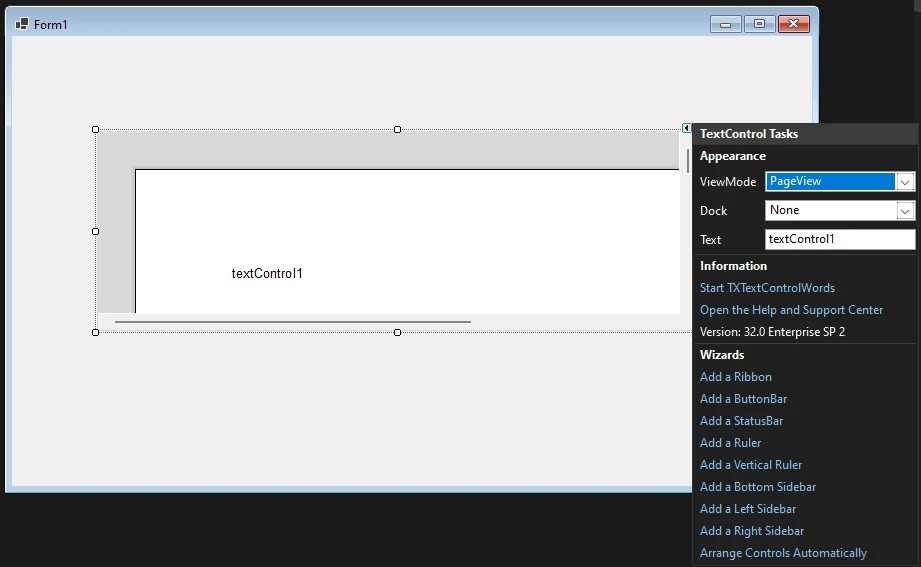
Now, click on the Smart Tag in the upper right corner of TextControl. In the Wizards group, click on Add a Button Bar, Add a Status Bar, Add a Ruler Bar, and Add a Vertical Ruler. Finally, click on Arrange Controls Automatically.
The controls are now connected and docked to fill the container:
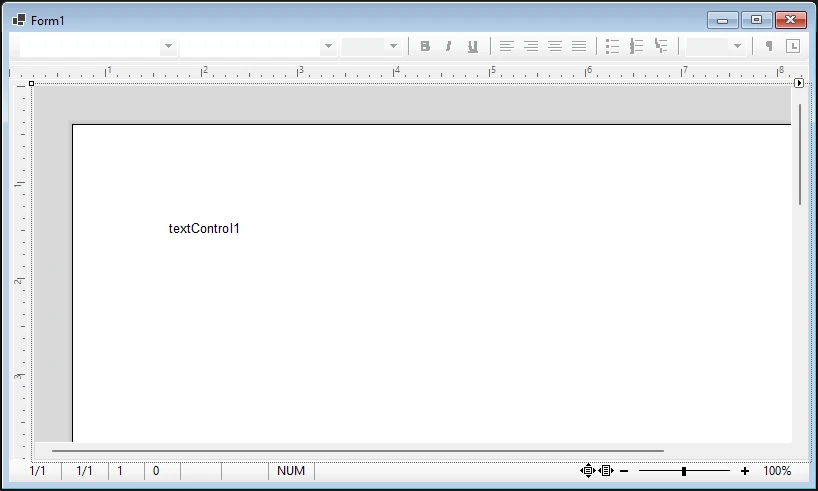
- Build and start your Windows Forms C# application to see the first results.

