We released the final version of TX Text Control for Angular.
Please learn more about this version here:
TX Text Control for Angular Released
We published the Technology Preview version of our Node.js and Angular implementations that enables developers to use the TX Text Control HTML5-based document editor in pure Angular and Node.js applications. This implementation doesn't require ASP.NET, IIS or the IFRAME-enabled widget.
We released 3 npm packages to npmjs.com:
-
@txtextcontrol/tx-ng-document-editor
The Angular component implementation for the HTML5-based document editor.
-
@txtextcontrol/tx-websocket-server
The Node.js WebSocket server required for the TX Text Control document editor.
-
@txtextcontrol/tx-document-editor
The Node.js component implementation for the HTML5-based document editor.
Technology Preview features are not completely supported, may not be complete, and are not suitable for deployment in production. However, we provide these features as a preview and the primary goal is to get your feedback on this implementation. We are publishing updates constantly and will inform you about changes of this implementation. A release candidate with a go-live license is planned in the next couple of weeks.
Creating your First Angular Application
This tutorial shows how to create your first Angular application using the TX Text Control document editor.
Prerequisites
-
Install Node.js® and npm, if not done before.
-
Open a Command Prompt and install the Angular CLI globally by typing in the following command:
npm install -g @angular/cli
This tutorial uses Visual Studio Code that can be downloaded for free.
Creating the WebSocket Server Project
-
Open a Node.js command prompt, create an empty folder called "websocket-server", navigate into and type in the following command to install Express, the minimalist web framework for node:
npm i express -
Now, install the WebSocket Server package of TX Text Control:
npm i @txtextcontrol/tx-websocket-server -
Open this folder in Visual Studio Code by typing in the following command:
code . -
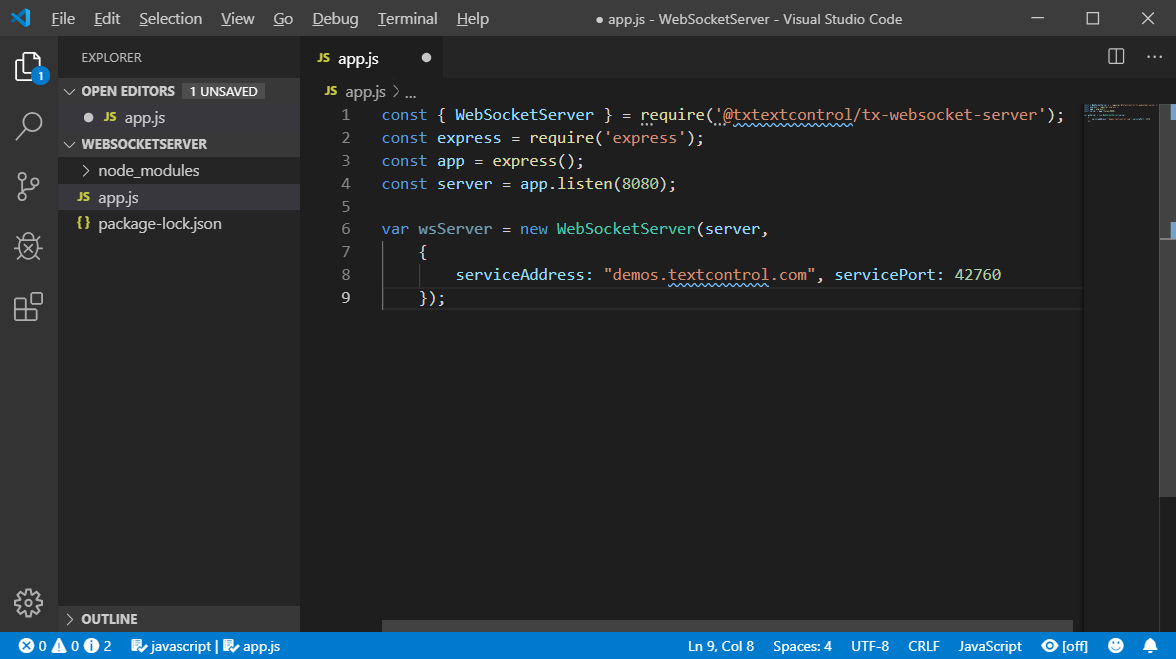
In Visual Studio Code, create a new file named app.js in the project's root folder:

Copy the following code into this JavaScript file and save it:
This file contains bidirectional Unicode text that may be interpreted or compiled differently than what appears below. To review, open the file in an editor that reveals hidden Unicode characters. Learn more about bidirectional Unicode charactersconst { WebSocketServer } = require('@txtextcontrol/tx-websocket-server'); const express = require('express'); const app = express(); const server = app.listen(8080); var wsServer = new WebSocketServer(server); -
Back in the command prompt, start the Node.js application by typing in the following command:
node app.js
Creating the Angular Project
-
Open a Command Prompt and create a new project and default app by typing in the following command:
ng new my-editor-app
Follow the questions in the command prompt by answering them with "y" to add Angular routing and Enter to confirm CSS as your preferred stylesheet format.
-
Change into the created folder by typing in the following command:
cd my-editor-app -
Install the TX Text Control document editor package by typing in the following command:
ng add @txtextcontrol/tx-ng-document-editor -
Open this folder in Visual Studio Code by typing in the following command:
code . -
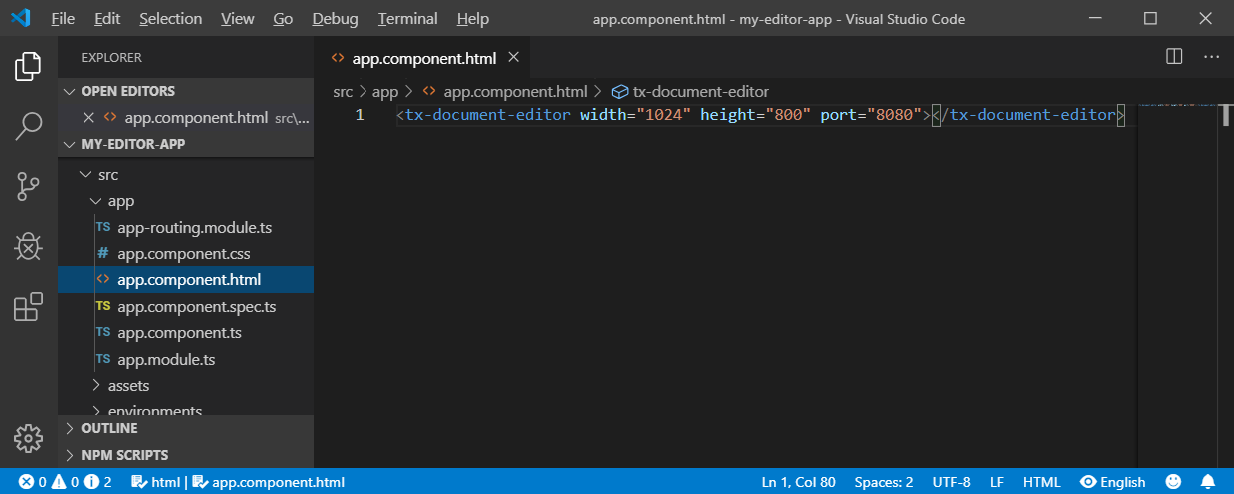
In Visual Studio Code, open the file src -> app -> app.component.html, add the following code and save it:
This file contains bidirectional Unicode text that may be interpreted or compiled differently than what appears below. To review, open the file in an editor that reveals hidden Unicode characters. Learn more about bidirectional Unicode characters<tx-document-editor width="1024" height="800" port="8080"></tx-document-editor> 
-
Back in the command prompt, start the Angular application by typing in the following command:
ng serve --open
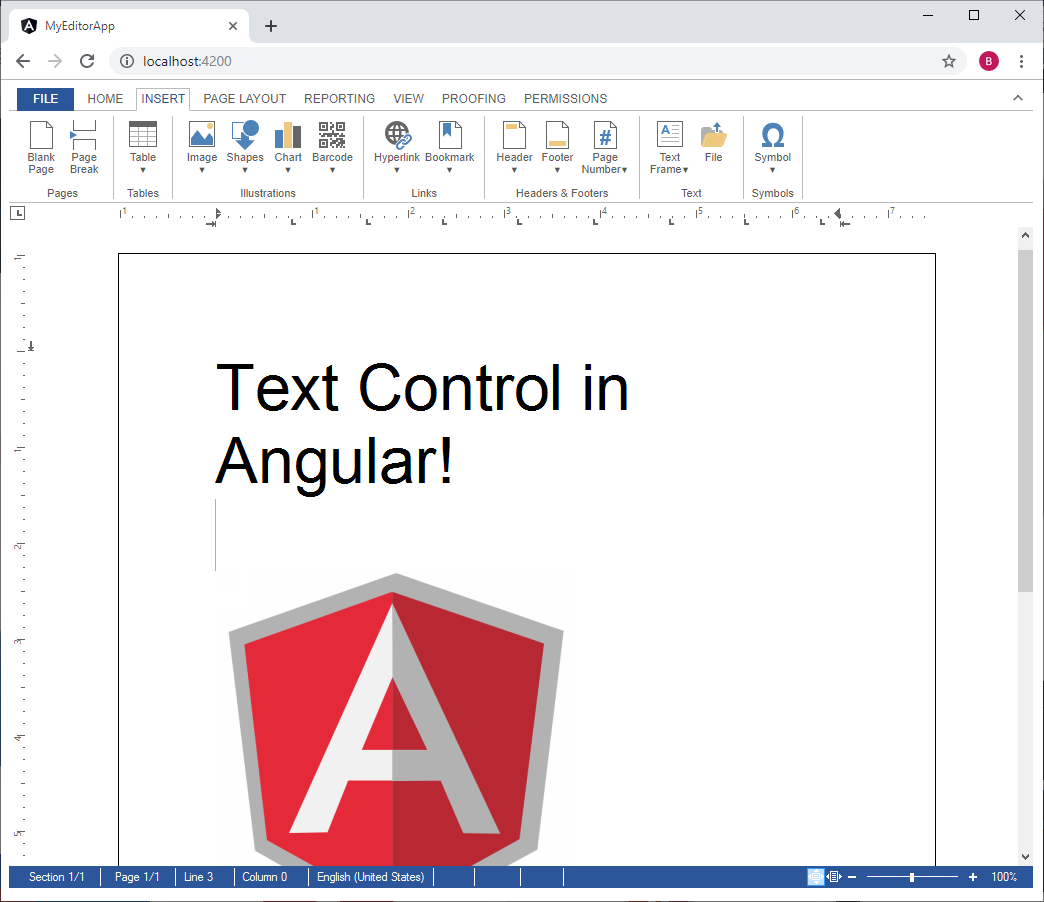
Your default browser is opened with your newly created Angular app:

This tutorial uses a demo server backend for the required synchronization service that synchronizes the document in order to provide the WYSIWYG rendering - a unique feature of TX Text Control to edit documents pixel-perfect across devices and browsers.
If you want to deploy your project, you will have to host your own synchronization service and change the serviceAddress in the WebSocket Server Project (step 4).
Let us know what you think about this technology preview and report issues you are having. We are more than happy to assist you.

