A Docker container image is a lightweight, standalone, executable package of software that includes everything needed to run an application: code, runtime, system tools, system libraries and settings.
In an earlier article, we explained how to deploy TX Text Control with Microsoft Windows Server Core 2016. Since Microsoft released Server 2019 based on Windows 10, version 1903, there are some drastic changes that prevents TX Text Control from running on Windows Server Core. For example, Windows Server Core 2019 doesn't come with default fonts (which are obviously required in a word processing application), printer drivers (and spooler) and other required features.
Therefore, a full Windows Server base image is recommended to run the the HTML5-based editor synchronization service.
This very simple example shows how to create a Docker image based on the standard Microsoft Windows base image which is essentially a Windows Server 2019.
A Docker image is created automatically based on a Dockerfile by reading the instructions. The following steps are required to prepare a build process:
-
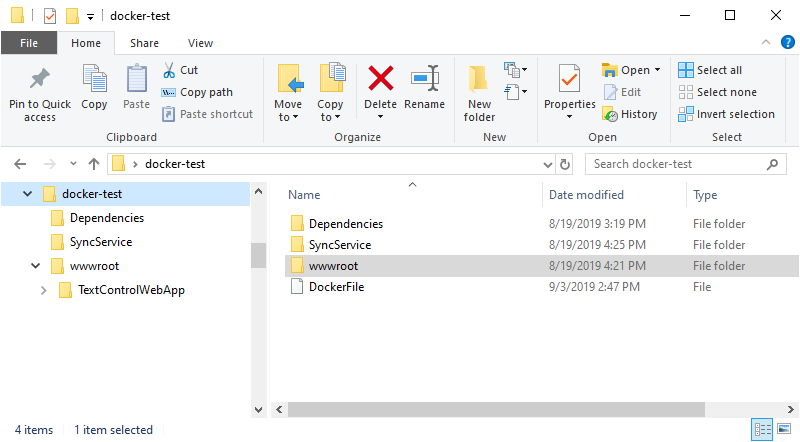
Create a new folder named docker-test that contains the following sub-folders and files:
- Folder named Dependencies
- Folder named SyncService
- Folder named wwwroot with a subfolder names TextControlWebApp
- A text file named Dockerfile (no extension)
-
In the folder Dependencies, copy all the vcredist_x64.exe which is the VC++ 2013 Redistributables for x64. You can download this file here:
-
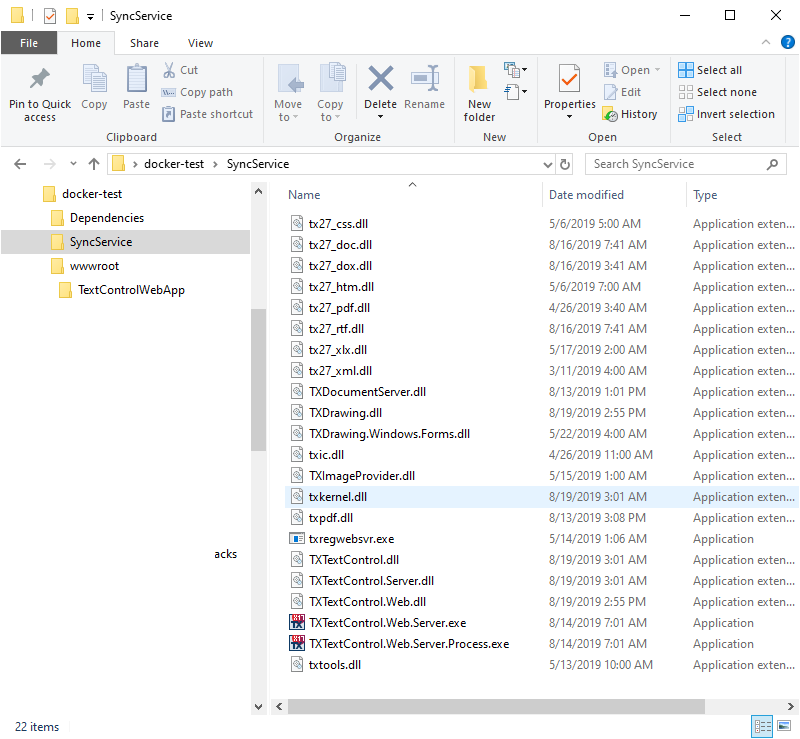
In the folder SyncService, copy all redistributable files required to deploy the TX Text Control Windows Service. Based on the components you are deploying, the folder should look similar to this screenshot:
-
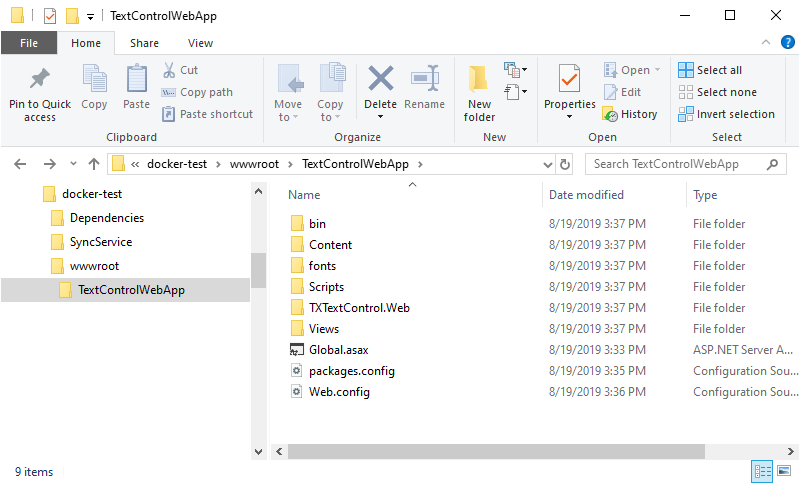
In the folder wwwroot/TextControlWebApp, copy all required files required for your ASP.NET web application that uses TX Text Control .NET Server and the HTML5 based editor. This folder should look similar to the following screenshot:
-
The Dockerfile should have the following content:
This file contains bidirectional Unicode text that may be interpreted or compiled differently than what appears below. To review, open the file in an editor that reveals hidden Unicode characters. Learn more about bidirectional Unicode characters## https://hub.docker.com/_/microsoft-windows ## FROM mcr.microsoft.com/windows:1903 ################## BEGIN INSTALLATION ###################### ENTRYPOINT ["powershell"] SHELL ["powershell"] ## Enables IIS and ASP.NET ## RUN Enable-WindowsOptionalFeature -Online -FeatureName IIS-WebServerRole RUN Enable-WindowsOptionalFeature -Online -FeatureName IIS-WebServer RUN Enable-WindowsOptionalFeature -Online -FeatureName IIS-CommonHttpFeatures RUN Enable-WindowsOptionalFeature -online -FeatureName NetFx4Extended-ASPNET45 RUN Enable-WindowsOptionalFeature -Online -FeatureName IIS-NetFxExtensibility45 RUN Enable-WindowsOptionalFeature -Online -FeatureName IIS-ISAPIExtensions RUN Enable-WindowsOptionalFeature -Online -FeatureName IIS-ISAPIFilter RUN Enable-WindowsOptionalFeature -Online -FeatureName IIS-ASPNET45 ## Install VC++ 2013 Redistributables x64 ## COPY Dependencies/vcredist_x64.exe /temp/vcredist_x64.exe RUN Start-Process "C:/Temp/vcredist_x64.exe" -ArgumentList "/passive" -wait -Passthru ## Install the TX Text Control Service ## COPY SyncService/ /SyncService/ RUN Start-Process "C:/SyncService/txregwebsvr.exe" '/i + /e + /w' -wait ## Copy the Web application ## COPY wwwroot/ /inetpub/wwwroot/ ## Create the TX Text Control web application ## RUN New-WebApplication -Name TextControlWebApp -Site 'Default Web Site' -PhysicalPath C:\inetpub\wwwroot\TextControlWebApp -ApplicationPool DefaultAppPool ## Cleanup ## RUN Remove-Item -path C:\Temp -recurse ##################### INSTALLATION END #####################
Based on the Dockerfile, Docker will build an image based on the image mcr.microsoft.com/windows:1903. The prepared folders will be added to the destination machine and the required Windows features are enabled (.NET 4.5, IIS, Web Sockets). Additionally, the VC++ 2013 Redistributable Package will be installed. Finally, the TX Text Control Service will be silently installed.
In order to create the image, use the following commands:
-
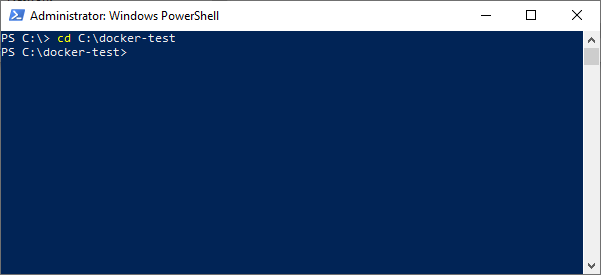
Assume that you have installed Docker for Windows, open a PowerShell command window with explicit administrator rights and change to the directory where you created the folder docker-test.
-
Type in the following command to build the Docker image based on the Dockerfile in the same directory:
This file contains bidirectional Unicode text that may be interpreted or compiled differently than what appears below. To review, open the file in an editor that reveals hidden Unicode characters. Learn more about bidirectional Unicode charactersdocker build -t tx27 . 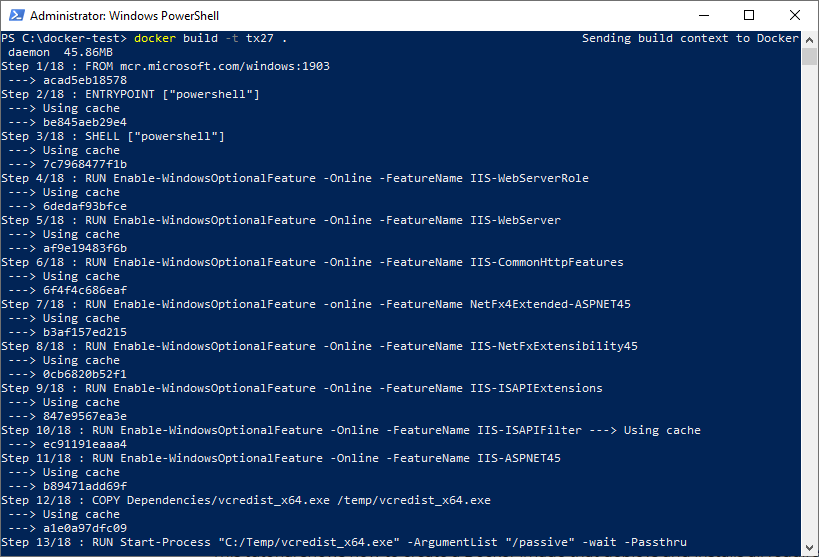
-
Start the image by creating a container:
This file contains bidirectional Unicode text that may be interpreted or compiled differently than what appears below. To review, open the file in an editor that reveals hidden Unicode characters. Learn more about bidirectional Unicode charactersdocker run -it --name tx27editor tx27 powershell -
A new PowerShell is opened on the newly create and started machine. Type in the following command to see which IP address has been delegated:
This file contains bidirectional Unicode text that may be interpreted or compiled differently than what appears below. To review, open the file in an editor that reveals hidden Unicode characters. Learn more about bidirectional Unicode charactersipconfig 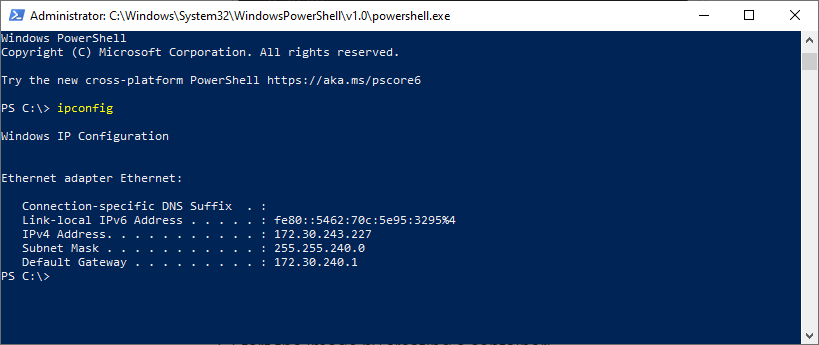
-
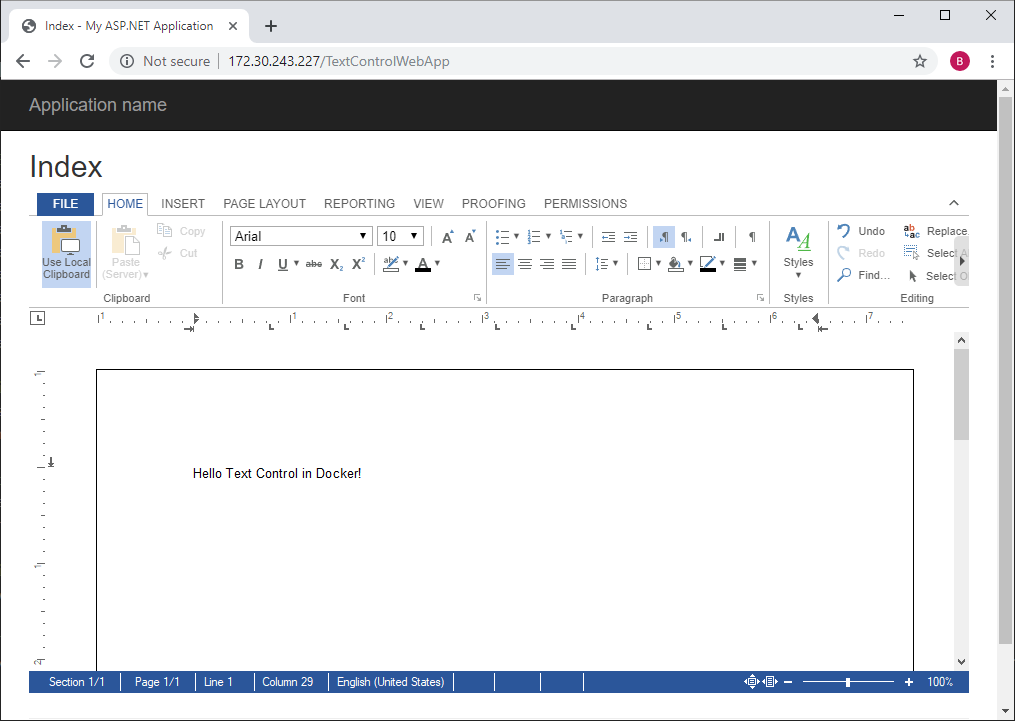
Open any browser and type in the IPv4 Address into the location bar plus the application name. You should see your deployed web application:
