The DocumentViewer that is available for ASP.NET, ASP.NET Core and Angular can be used to request signatures from multiple users. These documents can be prepared using the TX Text Control document editor by adding Text
╰ JavaScript API
╰ TextFrame Object
The TextFrame object represents a rectangle that can be filled with text by an end-user and can be edited like the main text. with a dedicated name (signature box).
Creating the Template
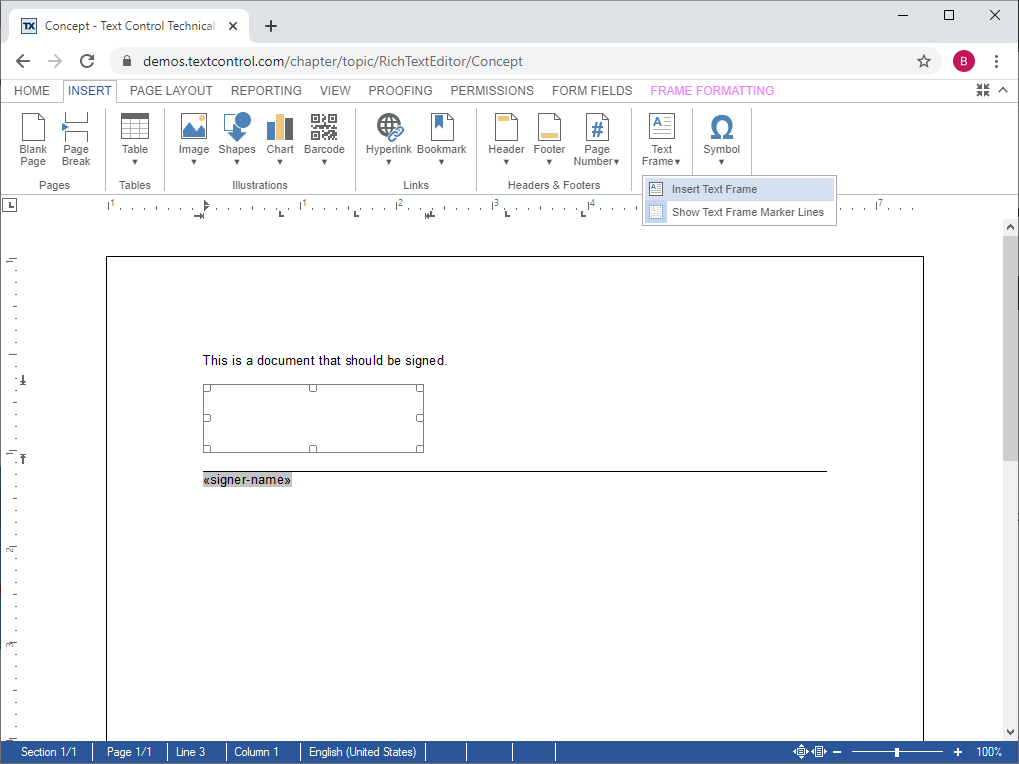
Using the document editor, insert a text frame at the desired location:

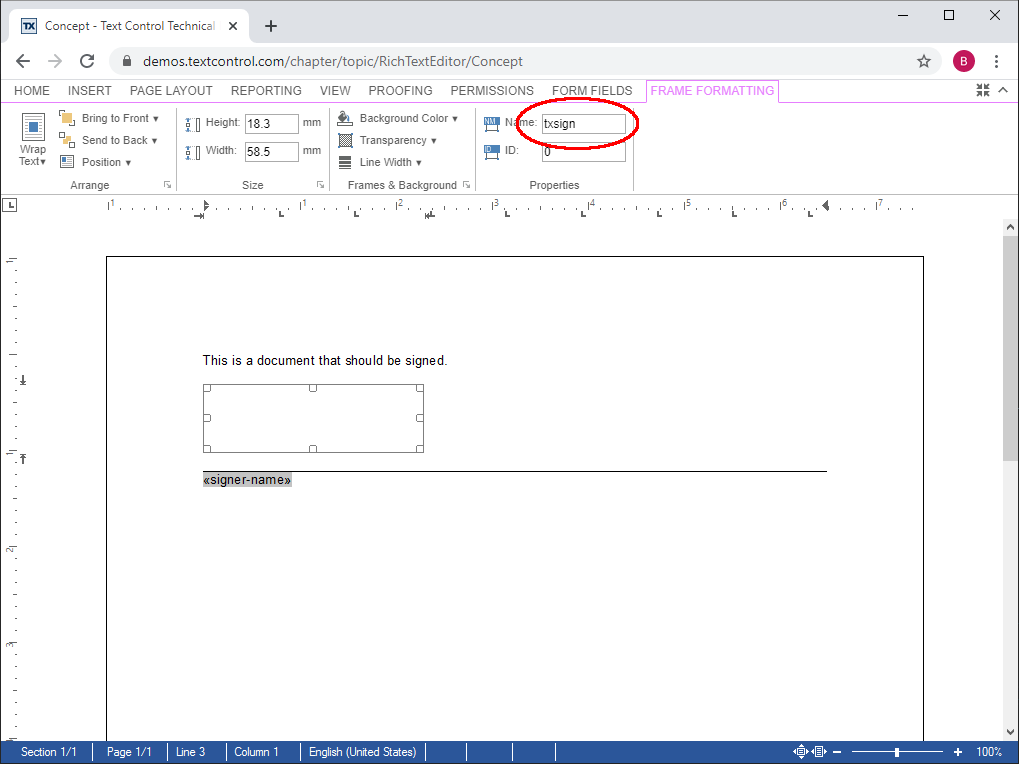
Select the text frame and set a name for example to txsign:

Setting Up the DocumentViewer
Create an Angular application using the DocumentViewer as described in our documentation:
In the app.component.html, define the signatureSettings:
| <tx-document-viewer | |
| width = "800px" | |
| height = "800px" | |
| basePath = "https://backend.textcontrol.com?access-token=yourtoken" | |
| documentData = "SGVsbG8gdGhlcmU=" | |
| dock = "Fill" | |
| [toolbarDocked] = "true" | |
| [isSelectionActivated] = "true" | |
| [showThumbnailPane] = "true" | |
| [signatureSettings] = "{ | |
| showSignatureBar: true, | |
| signatureBoxName: 'txsign', | |
| redirectUrlAfterSignature: 'https://www.textcontrol.com', | |
| ownerName: 'Paul', signerName: 'Jacob', | |
| signerInitials: 'PK' }"> | |
| </tx-document-viewer> |
The various settings are explained in the documentation.
Essentially, you define a signer name, a unique document envelope ID and the signature box name that should match your text frame name (txsign). If your document you loaded through the documentData attribute contains signature boxes, the signature request process will be started automatically.
Loading the Document using JavaScript
In a typical Angular workflow, you would initiate the document viewer without loading a document. The document is then loaded dynamically using JavaScript by passing the signatureSettings object as a parameter in the loadDocument method.
In the app.component.html, an input form element is added to load a local document (for demo purposes):
| <tx-document-viewer | |
| width = "800px" | |
| height = "800px" | |
| basePath = "https://backend.textcontrol.com?access-token=yourtoken" | |
| dock = "Fill" | |
| toolbarDocked = true | |
| isSelectionActivated = true | |
| showThumbnailPane = true> | |
| </tx-document-viewer> | |
| <div class="fileButtons"> | |
| <input (change)="onChangeLoad($event)" type="file" id="fileinput" /> | |
| </div> |
In the app.component.ts, call the custom JavaScript method readDocument to load the document:
| import { Component } from '@angular/core'; | |
| declare const readDocument: any; | |
| @Component({ | |
| selector: 'app-root', | |
| templateUrl: './app.component.html', | |
| styleUrls: ['./app.component.css'] | |
| }) | |
| export class AppComponent { | |
| title = 'my-viewer-app-sp3'; | |
| onChangeLoad(event: any) { | |
| readDocument(event); | |
| } | |
| } |
The readDocument JavaScript method loads the document, sets the document name and is passing a signatureSettings object to the loadDocument method as an attribute:
| var signatureSettings = { | |
| signerName: "Tim Typer", | |
| signerInitials: "TT", | |
| uniqueId: "12345-ABCDE", | |
| redirectUrlAfterSignature: null, | |
| ownerName: "Document Requestor", | |
| signatureBoxName: "txsign", | |
| showSignatureBar: true } | |
| function readDocument(input) { | |
| input = input.srcElement; | |
| if (input.files && input.files[0]) { | |
| var fileReader = new FileReader(); | |
| fileReader.onload = function (e) { | |
| TXDocumentViewer.loadDocument( | |
| e.target.result.split(',')[1], | |
| input.files[0].name, | |
| signatureSettings); | |
| }; | |
| // read the file and convert it to Base64 | |
| fileReader.readAsDataURL(input.files[0]); | |
| } | |
| } |
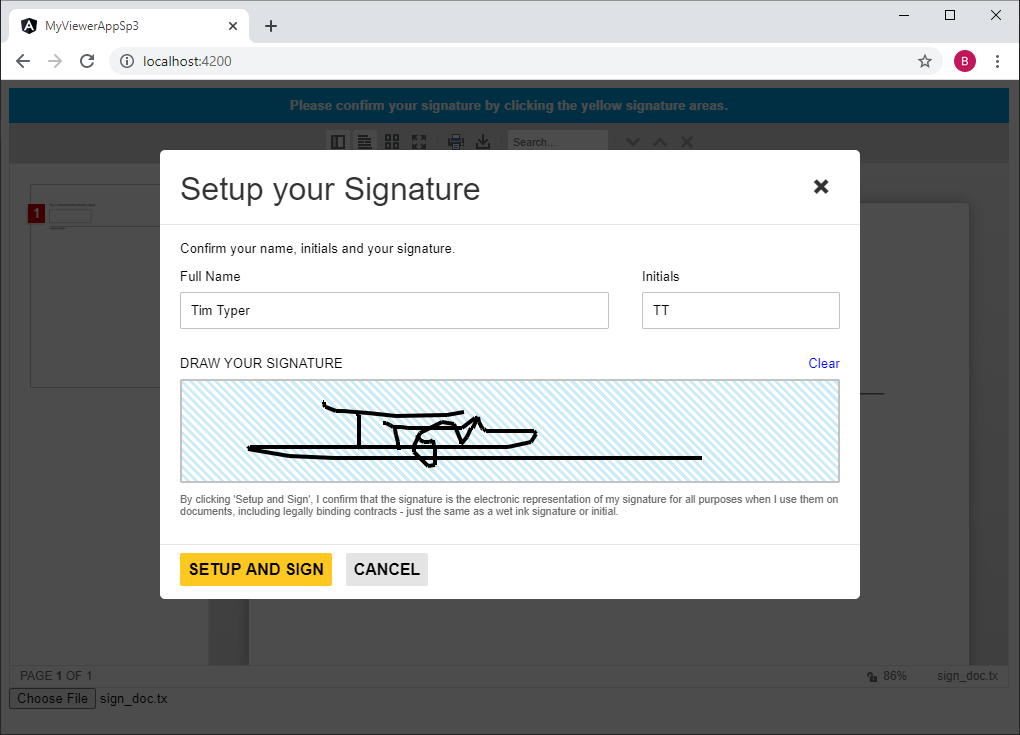
After loading the document, the signing process is started automatically:

Test this on your own and create your trial access token today.

