Deploying the TX Text Control Document Editor in an ASP.NET Core Web App to Azure App Services
This tutorial shows how to deploy the TX Text Control Document Editor to Azure App Services using an ASP.NET Core Web App. The Document Editor is a powerful word processing component that can be used to create, edit, view and print documents in ASP.NET Core applications.

With the release of TX Text Control 33.0, we're excited to introduce a major new feature: support for deploying .NET applications on Linux. This is a significant milestone in expanding our deployment options and making TX Text Control even more accessible for modern development workflows.
Version 33.0 allows you to take full advantage of the flexibility and scalability of Azure App Services while using TX Text Control in your Linux-based .NET applications.
This update goes beyond backend support. You can now deploy both the core non-UI libraries and the visual document editor directly within Azure App Services-no workarounds, no compromises. Whether you're building cross-platform solutions or enhancing cloud-native workflows, this release ensures that TX Text Control fits seamlessly into your development stack.
In this tutorial, you will learn how to set up a fully featured editor project that will be deployed to Azure App Services.
Prerequisites
You need to download and install the trial version of TX Text Control .NET Server to get access to the required NuGet packages.
- Download Trial Version
Setup download and installation required.
Creating the Application
Make sure that you downloaded the latest version of Visual Studio 2022 that comes with the .NET 8 SDK.
-
In Visual Studio 2022, create a new project by choosing Create a new project.
-
Select ASP.NET Core Web App (Model-View-Controller) as the project template and confirm with Next.
-
Choose a name for your project and confirm with Next.
-
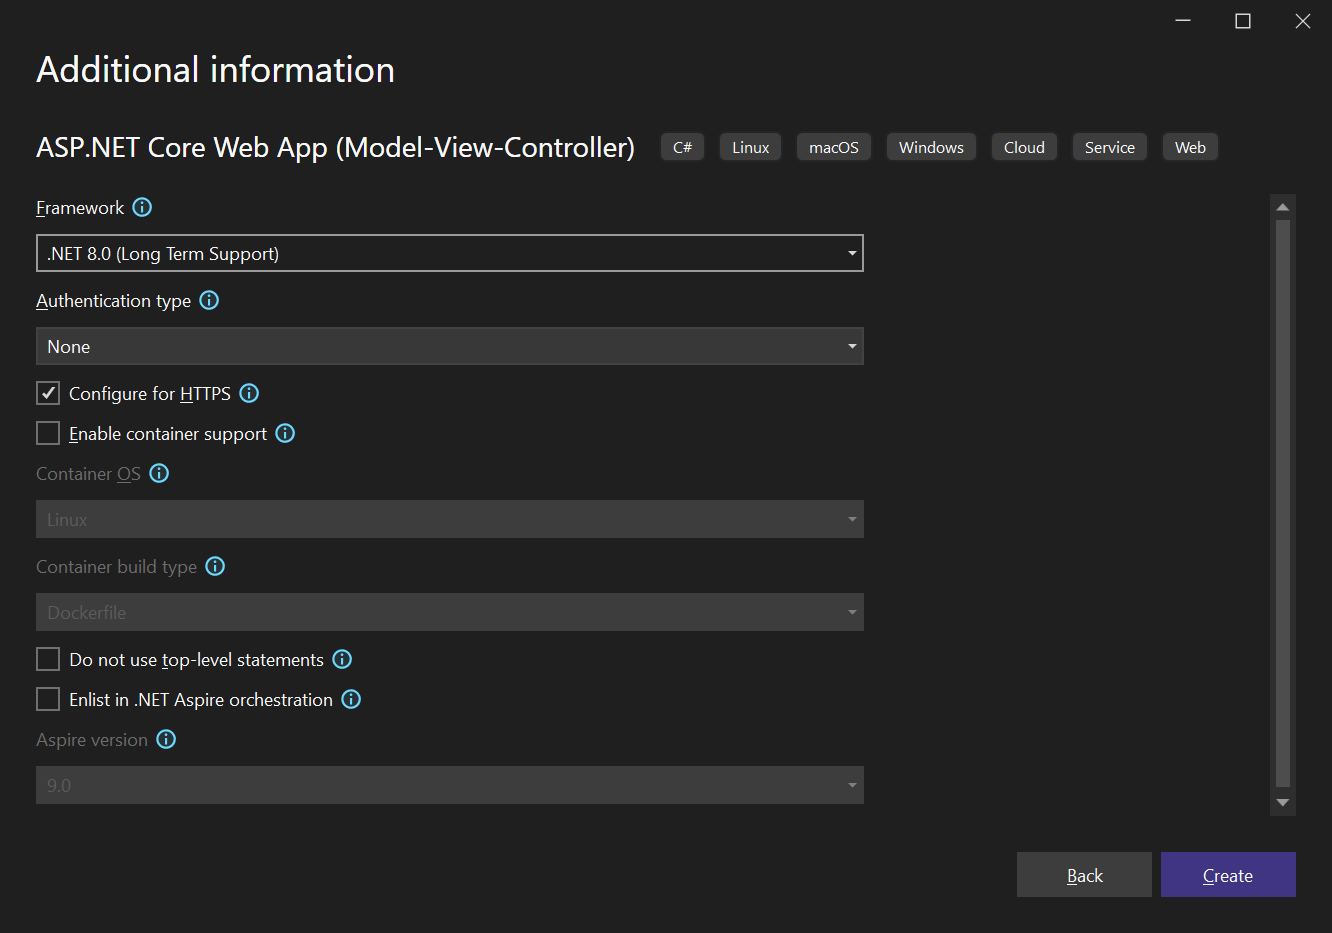
In the next dialog, choose .NET 8 (Long Term Support) as the Framework and confirm with Create.
Adding the Web Server Backend
-
Create a new class by right-clicking the project in the Solution Explorer and choose Add -> Class.... Name the class TXWebServerProcess.cs and confirm with Add. Replace the complete content with the following code:
using System.Diagnostics; using System.Reflection; public class TXWebServerProcess : IHostedService { private readonly ILogger<TXWebServerProcess> _logger; public TXWebServerProcess(ILogger<TXWebServerProcess> logger) => _logger = logger; public Task StartAsync(CancellationToken cancellationToken) { try { string? path = Path.GetDirectoryName(Assembly.GetExecutingAssembly().Location); string dllPath = Path.Combine(path ?? "", "TXTextControl.Web.Server.Core.dll"); if (string.IsNullOrEmpty(path) || !File.Exists(dllPath)) _logger.LogWarning("TX Web Server process could not be started."); else { Process.Start(new ProcessStartInfo("dotnet", $"\"{dllPath}\" &") { UseShellExecute = true, WorkingDirectory = path }); _logger.LogInformation("TX Web Server process started."); } } catch (Exception ex) { _logger.LogError(ex, "Error starting TX Web Server."); } return Task.CompletedTask; } public Task StopAsync(CancellationToken cancellationToken) { _logger.LogInformation("Stopping TX Web Server process..."); return Task.CompletedTask; } } -
Now right-click the project in the Solution Explorer and choose Add -> Existing Item.... Navigate to the installation folder of TX Text Control .NET Server:
C:\Program Files\Text Control GmbH\TX Text Control 33.0.NET Server for ASP.NET\Assembly\net8.0
Set the file filter to All Files (*.*) and select the following files:
- TXTextControl.Web.Server.Core.deps.json
- TXTextControl.Web.Server.Core.dll
- TXTextControl.Web.Server.Core.Process.deps.json
- TXTextControl.Web.Server.Core.Process.dll
- TXTextControl.Web.Server.Core.Process.runtimeconfig.json
- TXTextControl.Web.Server.Core.runtimeconfig.json
- TXTextControl.Web.Server.Core.config.json
Confirm with Add.
-
Select the added files in the Solution Explorer and set the Copy to Output Directory property to Copy always.
Adding the NuGet Packages
-
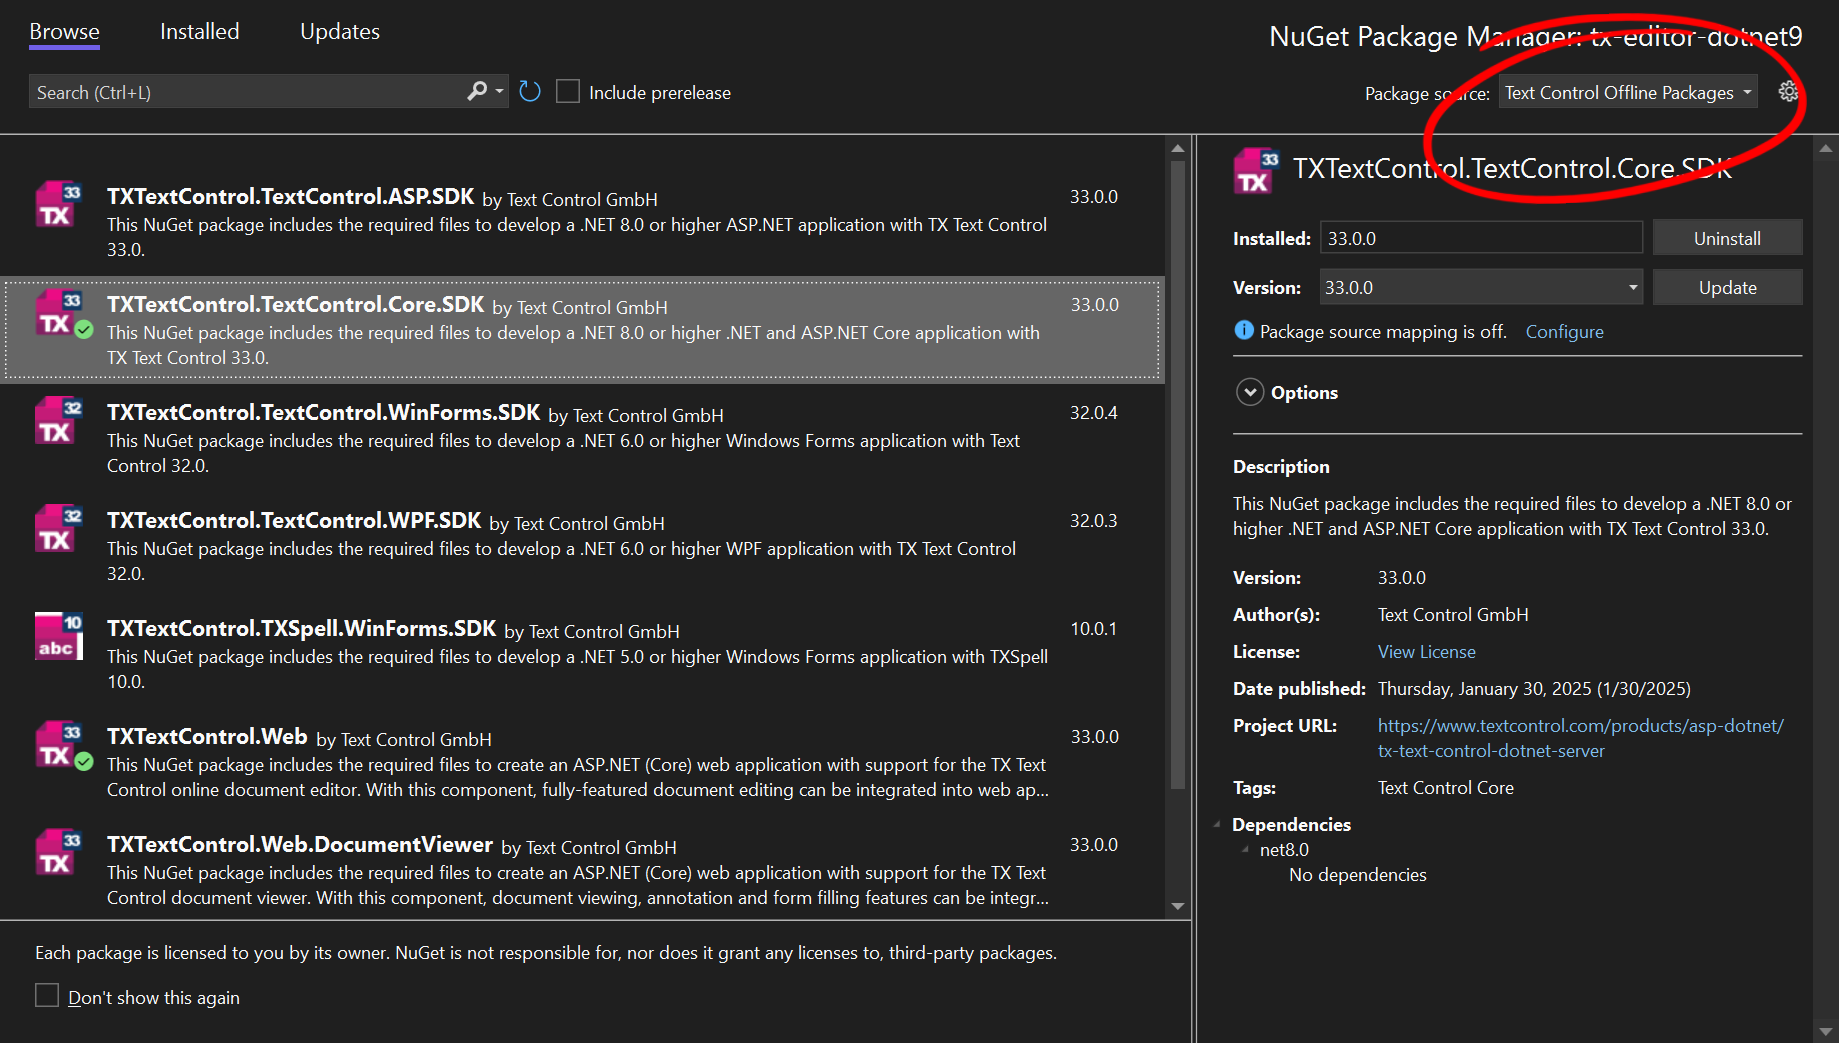
In the Solution Explorer, select your created project and choose Manage NuGet Packages... from the Project main menu. Select Text Control Offline Packages as the Package source.
Install the following packages:
- TXTextControl.Web
- TXTextControl.TextControl.Core.SDK
Configure the Application
-
Open the Program.cs file located in the project's root folder.
After builder.Services.AddControllersWithViews();, add the following code:
builder.Services.AddHostedService<TXWebServerProcess>();At the very top of the file, insert the following code:
using TXTextControl.Web;Add the following code after the entry
app.UseStaticFiles();:// enable Web Sockets app.UseWebSockets(); // attach the Text Control WebSocketHandler middleware app.UseTXWebSocketMiddleware();The overall Program.cs file should look like this:
using TXTextControl.Web;

var builder = WebApplication.CreateBuilder(args);

// Add services to the container.
builder.Services.AddControllersWithViews();
builder.Services.AddHostedService<TXWebServerProcess>();

var app = builder.Build();


// Configure the HTTP request pipeline.
if (!app.Environment.IsDevelopment())
{
    app.UseExceptionHandler("/Home/Error");
    // The default HSTS value is 30 days. You may want to change this for production scenarios, see https://aka.ms/aspnetcore-hsts.
    app.UseHsts();
}

app.UseHttpsRedirection();
app.UseStaticFiles();

// enable Web Sockets
app.UseWebSockets();

// attach the Text Control WebSocketHandler middleware
app.UseTXWebSocketMiddleware();

app.UseRouting();

app.UseAuthorization();

app.MapControllerRoute(
    name: "default",
    pattern: "{controller=Home}/{action=Index}/{id?}");

app.Run();
Adding the Control to the View
-
Find the Index.cshtml file in the Views -> Home folder. Replace the complete content with the following code to add the document editor to the view:
@using TXTextControl.Web.MVC

@{
    var sDocument = "<html><body><p>Welcome to <strong>Text Control</strong></p></body></html>";
}

@Html.TXTextControl().TextControl(settings => {
    settings.UserNames = new string[] { "Tim Typer" };
}).LoadText(sDocument, TXTextControl.Web.StringStreamType.HTMLFormat).Render()

<input type="button" onclick="insertTable()" value="Insert Table" />

<script>
    function insertTable() {
        TXTextControl.tables.add(5, 5, 10, function(e) {
          if (e === true) { // if added
            TXTextControl.tables.getItem(function(table) {
              table.cells.forEach(function(cell) {

                cell.setText("Cell text");

              });
            }, null, 10);
          }
        })
    }
</script>
Deploying the Application
Now, you can deploy the application to Azure App Services.
Azure Subscription
An Azure subscription is required to deploy the application to Azure App Services. If you don't have an Azure subscription, you can create one for free.
-
Right-click the project in the Solution Explorer and choose Publish....
-
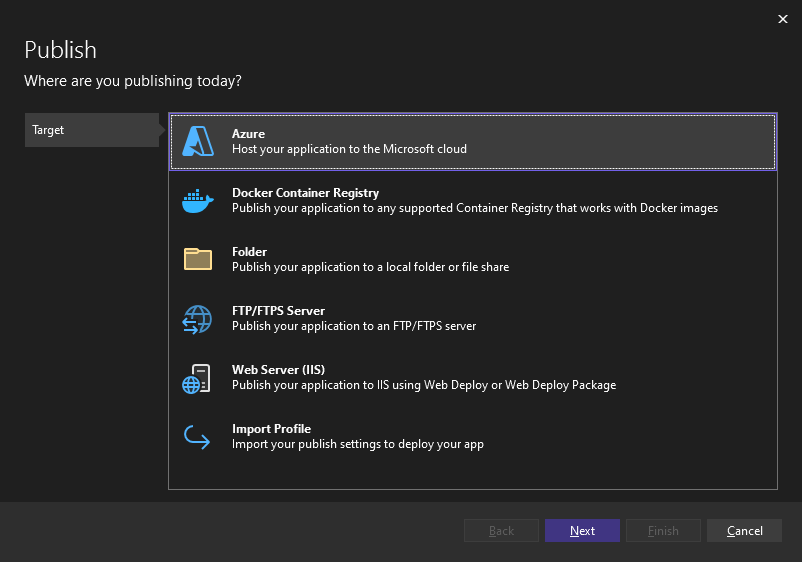
Choose Azure as the target and click Next.
-
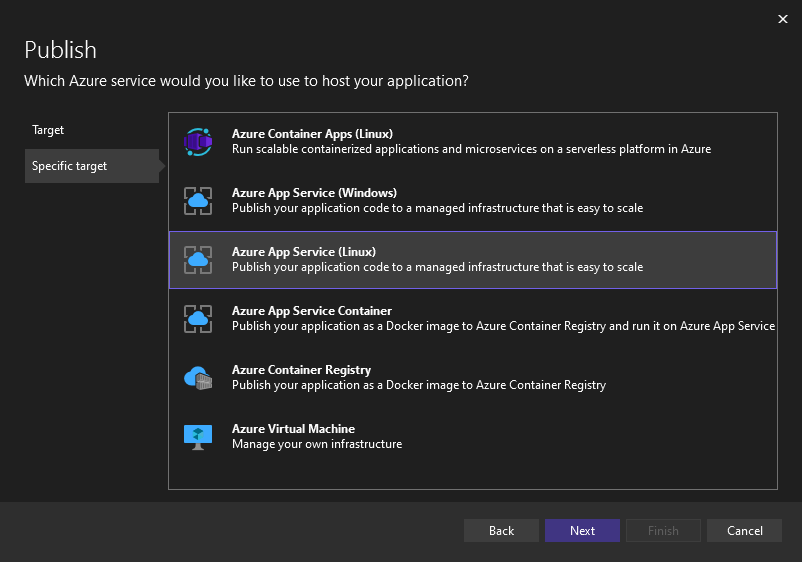
In the next dialog, select Azure App Service (Linux) and click Next.
-
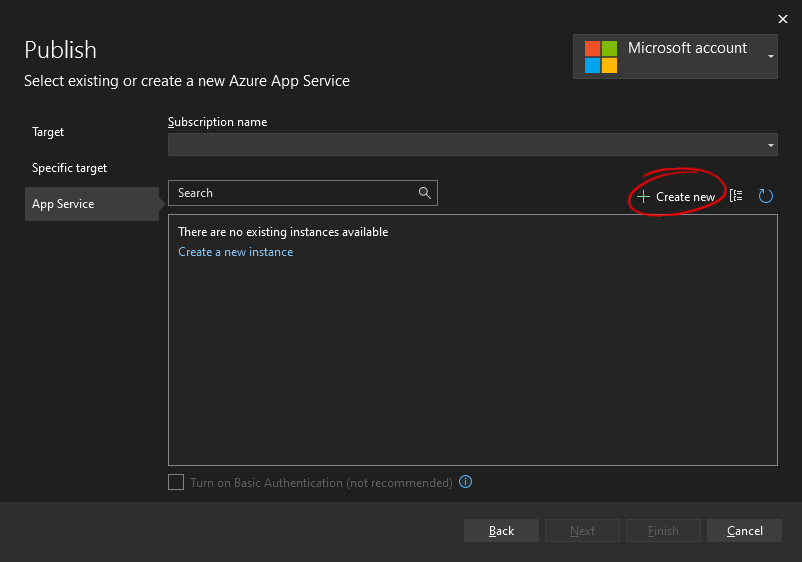
Make sure that you are signed in to your Azure account. If you have a valid subscription, you can select the existing App Service or create a new one.
-
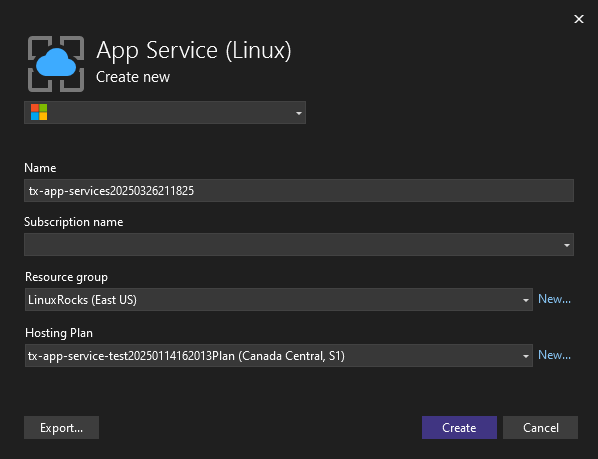
Select a name for the App Service, your subscription plan, the resource group and the hosting plan. Click Create.
-
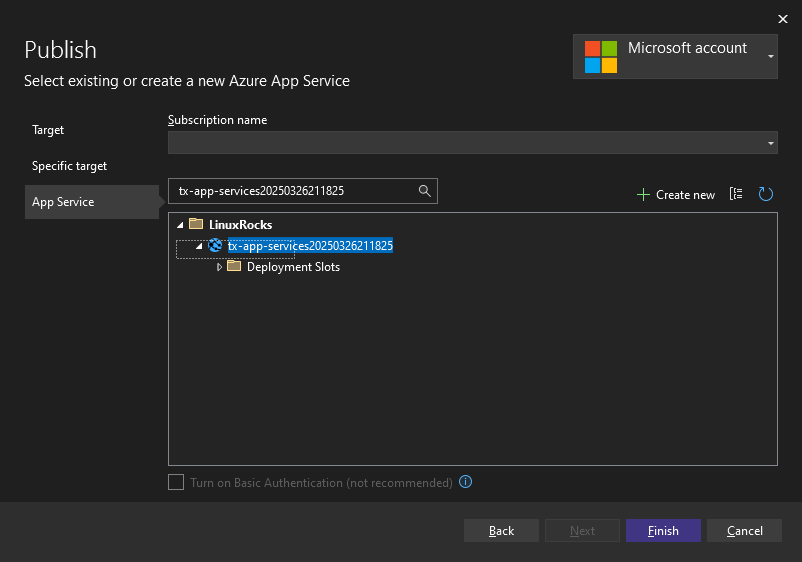
You should see a summary similar to the following. Click Finish to set up the deployment.
-
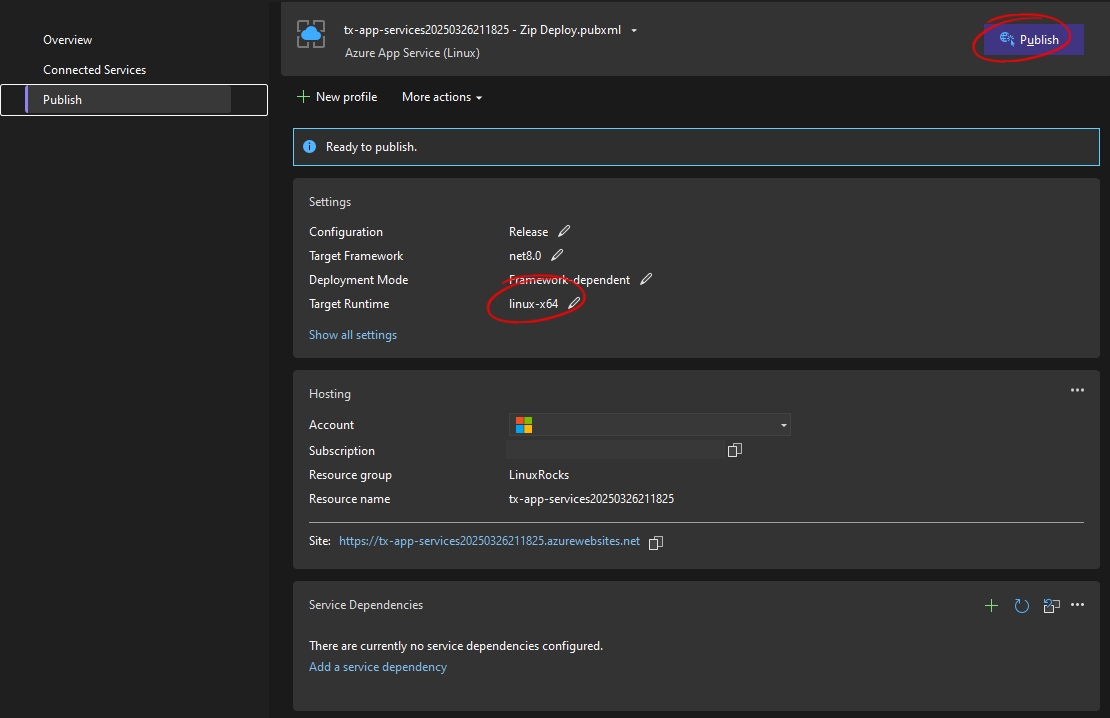
Now you can close the dialog and start the deployment by clicking the Publish button. Make sure that linux-x64 is selected as the Target Runtime.
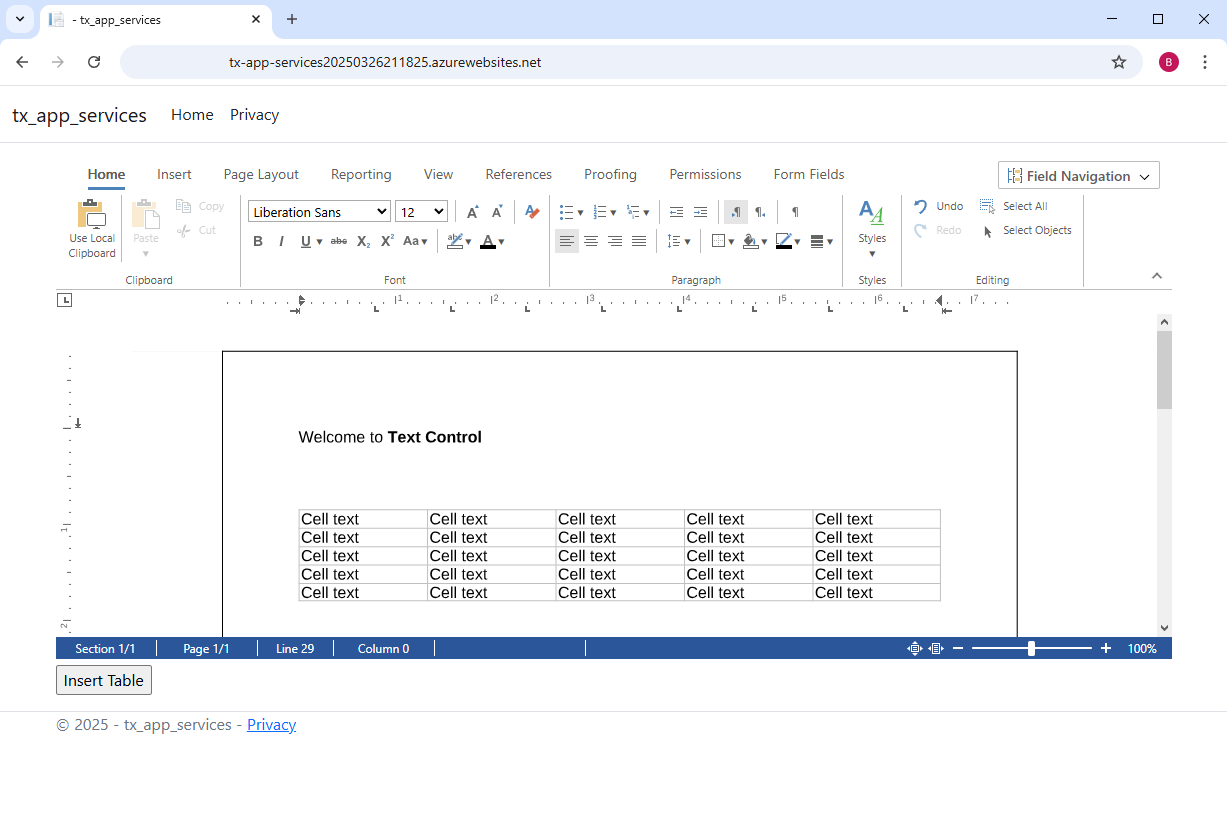
Once deployed, the application runs on Azure App Services and can be accessed through a web browser.
Conclusion
Version 33.0 allows you to take full advantage of the flexibility and scalability of Azure App Services while using TX Text Control in your Linux-based .NET applications.
ASP.NET
Integrate document processing into your applications to create documents such as PDFs and MS Word documents, including client-side document editing, viewing, and electronic signatures.
- Angular
- Blazor
- React
- JavaScript
- ASP.NET MVC, ASP.NET Core, and WebForms
Related Posts
ASP.NETApp ServicesASP.NET Core
TX Text Control for Linux Preview: Document Processing in ASP.NET Core on…
Our next release of TX Text Control will include support for deploying .NET applications on Linux. This article explains that not only can you deploy the non-UI classes, but you can also easily…
ASP.NETASP.NET CoreDocument Automation
Why Document Processing Libraries Require a Document Editor
A document processing library alone cannot guarantee reliable and predictable results. Users need a true WYSIWYG document editor to design and adjust templates to appear exactly as they will after…
ASP.NETASP.NET CoreDocument Editor
Getting Started Video Tutorial: Document Editor in ASP.NET Core C# on Linux
This video tutorial shows how to use the Document Editor in an ASP.NET Core application using C# and deploy on Linux using Docker. This tutorial is part of the TX Text Control Getting Started…
Building an ASP.NET Core Backend (Linux and Windows) for the Document Editor…
This article shows how to create a backend for the Document Editor and Viewer using ASP.NET Core. The backend can be hosted on Windows and Linux and can be used in Blazor, Angular, JavaScript, and…
TX Text Control for Blazor: Mail Merge Integration Tutorial
This tutorial shows how to integrate the TX Text Control MailMerge component into a Blazor application using the TX Text Control .NET Server.


