Deploying an ASP.NET Core Web App with Docker
This article shows how to create and deploy an ASP.NET Core Web App with Docker. It shows all the necessary steps to create the application and the Dockerfile to deploy the application.

This tutorial shows how to create an ASP.NET Core Web application with Docker support that uses Server
Creating the Application
Make sure that you downloaded the latest version of Visual Studio 2022 that comes with the .NET 6 SDK.
-
In Visual Studio 2022, create a new project by choosing Create a new project.
-
Select ASP.NET Core Web App (Model-View-Controller) as the project template and confirm with Next.
-
Choose a name for your project and confirm with Next.
-
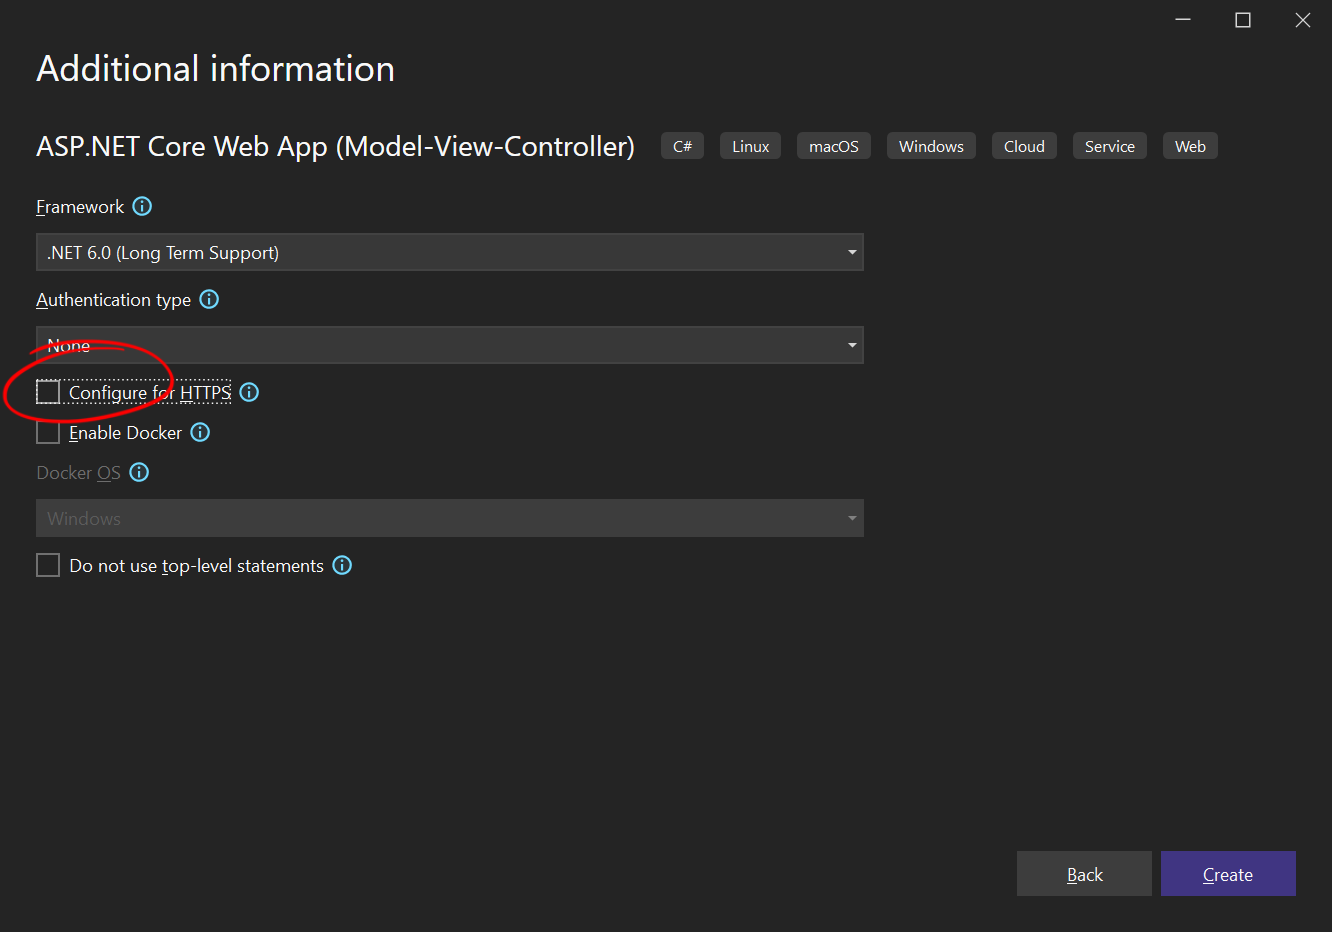
In the next dialog, choose .NET 6 (Long-term support) as the Framework, disable Configure for HTTPS for effortless testing, do not check Enable Docker and confirm with Create.
Adding the NuGet Package
-
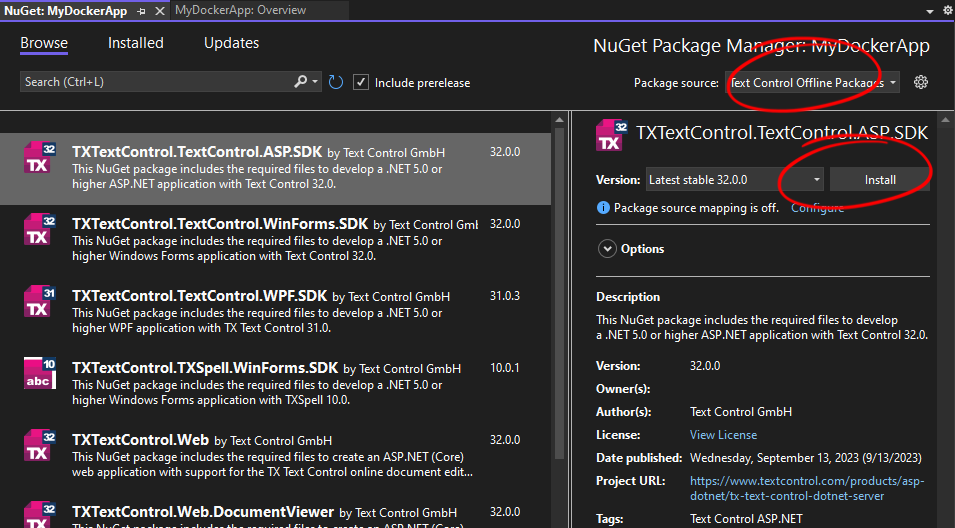
In the Solution Explorer, select your created project and choose Manage NuGet Packages... from the Project main menu.
Select Text Control Offline Packages from the Package source drop-down.
Install the latest versions of the following package:
- TXTextControl.TextControl.ASP.SDK
Using ServerTextControl and MailMerge
-
Find the HomeController.cs file in the Controllers folder. Replace the Index() method with the following code:
public IActionResult Index() {

  using (TXTextControl.ServerTextControl tx = new TXTextControl.ServerTextControl()) {
    tx.Create();

    // adding static text
    TXTextControl.Selection sel = new TXTextControl.Selection();
    sel.Text = "Welcome to Text Control\r\n";
    sel.Bold = true;

    tx.Selection = sel;

    // adding merge fields
    TXTextControl.DocumentServer.Fields.MergeField mergeField =
      new TXTextControl.DocumentServer.Fields.MergeField() {
        Text = "{{company}}",
        Name = "company",
        TextBefore = "Company name: "
      };

    tx.ApplicationFields.Add(mergeField.ApplicationField);

    // alternatively load a template
    //TXTextControl.LoadSettings ls = new TXTextControl.LoadSettings() {
    //  ApplicationFieldFormat = TXTextControl.ApplicationFieldFormat.MSWord
    //};

    //tx.Load("template.docx", TXTextControl.StreamType.WordprocessingML, ls);

    // merge fields with MailMerge engine
    using (TXTextControl.DocumentServer.MailMerge mailMerge =
      new TXTextControl.DocumentServer.MailMerge()) {
        mailMerge.TextComponent = tx;
        mailMerge.MergeJsonData("[{\"company\": \"Text Control, LLC\" }]");
      }

    // return result as HTML
    string result = "";
    tx.Save(out result, TXTextControl.StringStreamType.HTMLFormat);

    // alternatively save as PDF
    //byte[] baPdf;
    //tx.Save(out baPdf, TXTextControl.BinaryStreamType.AdobePDF);

    ViewBag.Document = result;
  }

  return View();
}
Displaying the Results
-
Find the Index.cshtml file in the Views -> Home folder. Replace the complete file with the following code:
@{
    ViewData["Title"] = "Home Page";
}

@Html.Raw(ViewBag.Document)
Creating the Dockerfile
A Docker container image is a lightweight, self-contained, executable software package that contains everything needed to run an application: code, runtime, system tools, system libraries, and settings.
By reading the instructions, a Docker image is automatically created based on a Docker file. The following steps are required in order to prepare for a build process:
-
Create a new folder named docker-test that contains the following sub-folders and files:
- Folder named app
- A text file named Dockerfile (no extension)
-
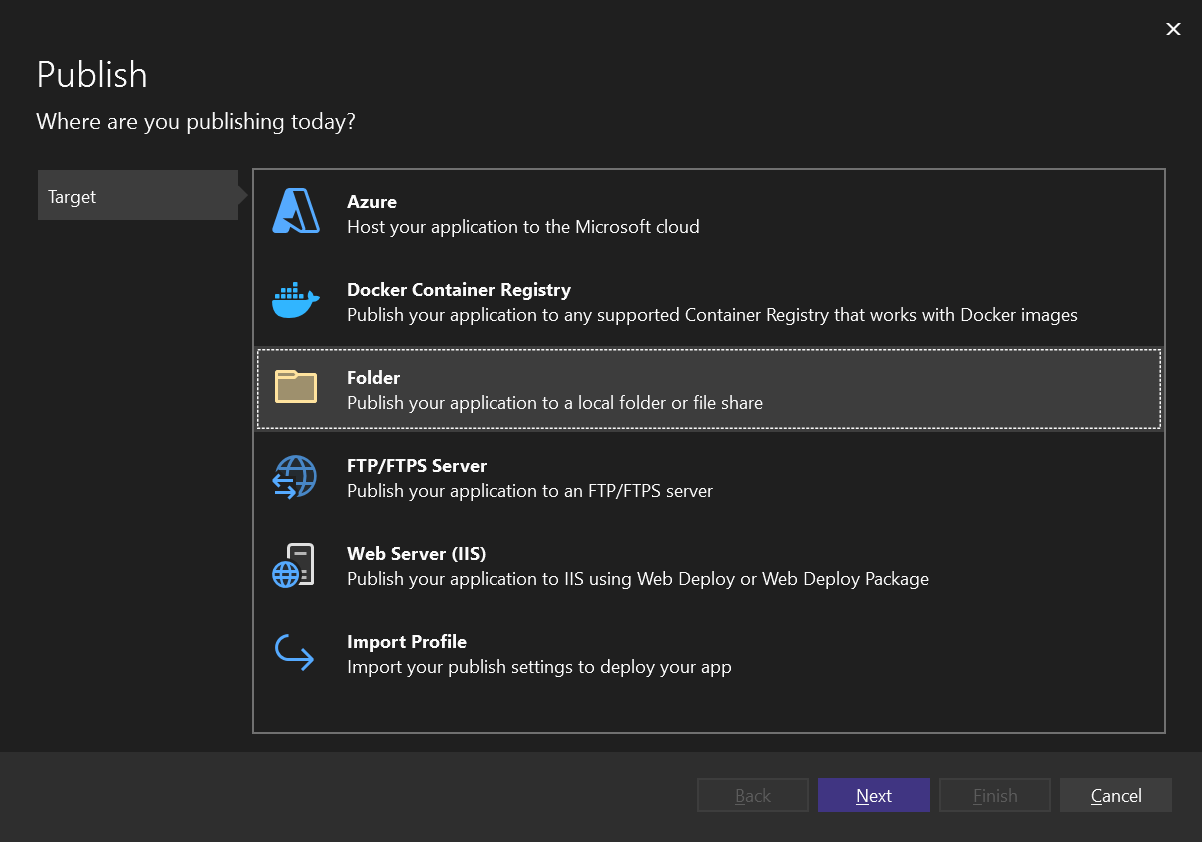
In Visual Studio with the application opened that should be deployed, right-click the project in the Solution Explorer and choose Publish.
In the opened page Publish, select Folder and confirm with Next.
-
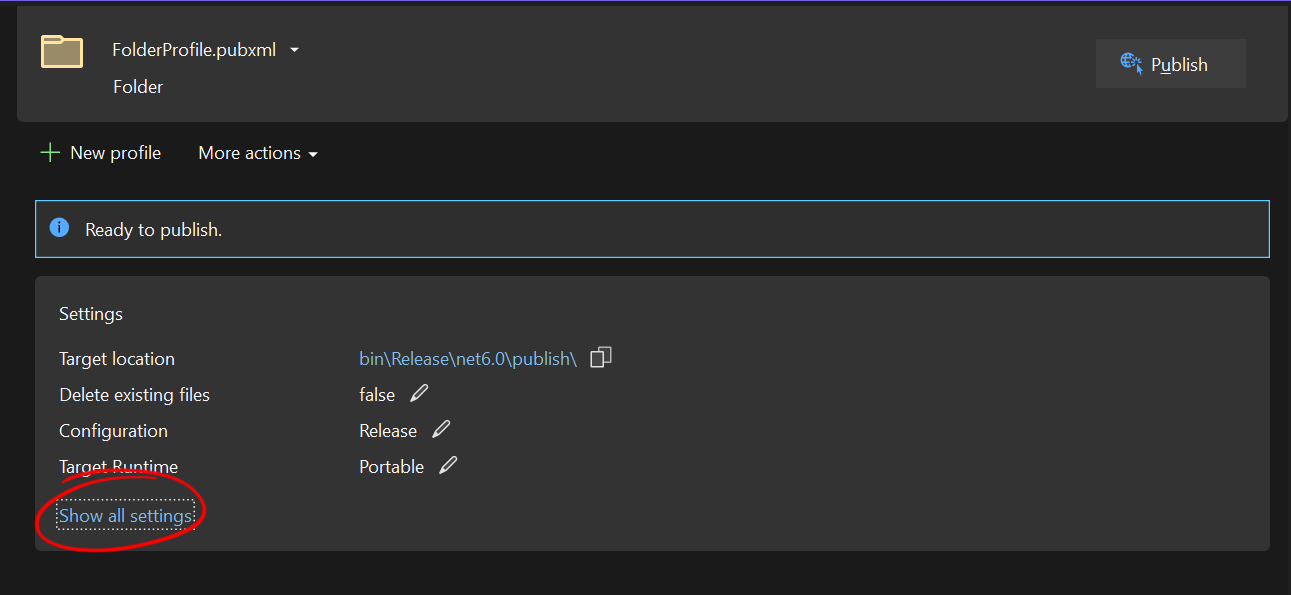
Confirm the location and click Finish. A profile has been created. Close the dialog by clicking Close.
-
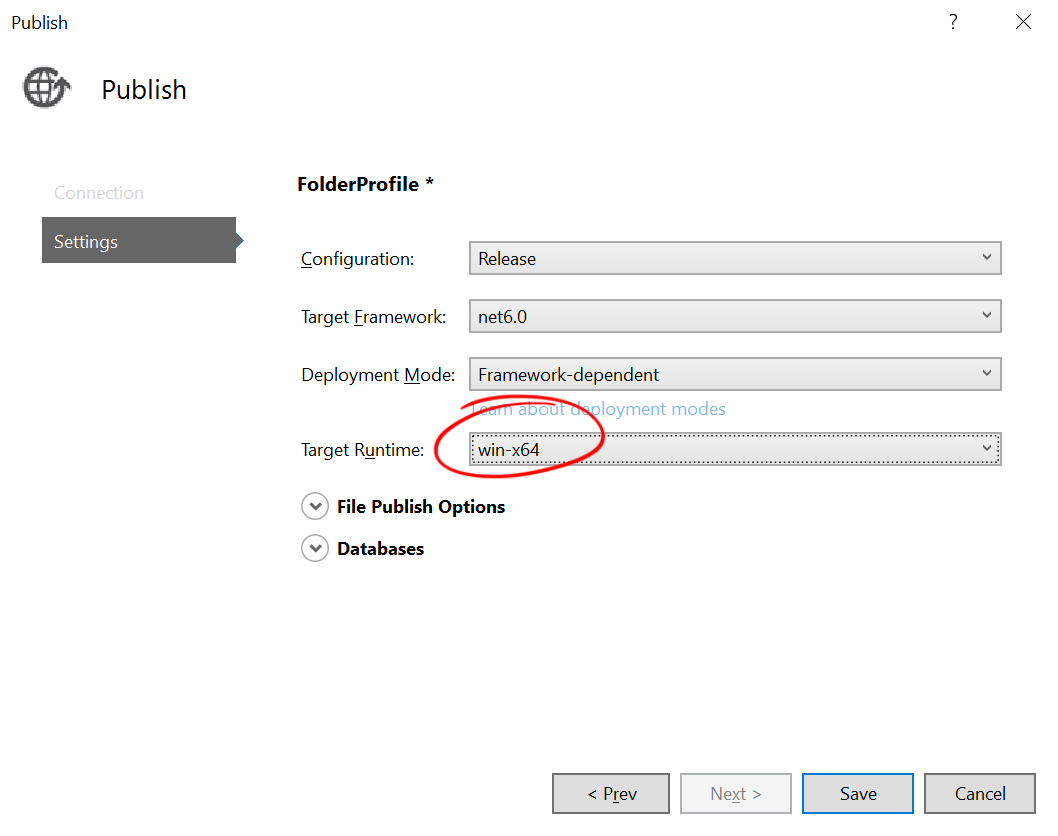
Click on Show all settings to open the Publish dialog. In the opened dialog, select win-x64 as the Target Runtime and confirm with Save.
-
Click Publish to start the publishing process.
-
Copy the complete content of the publish folder to the newly created app folder from step 1.
-
Open the Dockerfile in a text editor such as Visual Studio Code. The Dockerfile script creates a Windows Server container with all requirements including .NET Core run-times and Visual C++ Redistributables.
Copy the following code to your Dockerfile:
FROM mcr.microsoft.com/dotnet/aspnet:6.0-windowsservercore-ltsc2019

# Copy the application from folder "app" to "C:\app" on container machine
COPY app/ /app

SHELL ["powershell", "-Command", "$ErrorActionPreference = 'Stop'; $ProgressPreference = 'SilentlyContinue';"]
RUN [Net.ServicePointManager]::SecurityProtocol = [Net.SecurityProtocolType]::Tls12; \
    Invoke-WebRequest "https://aka.ms/vs/17/release/vc_redist.x64.exe" -OutFile "vc_redist.x64.exe"; \
    Start-Process "vc_redist.x64.exe" -ArgumentList "/passive" -wait -Passthru; \
    Remove-Item -Force vc_redist.x64.exe;

WORKDIR /app
EXPOSE 80

ENTRYPOINT ["dotnet", "MyDockerTXApp.dll"]
Make sure to change the name of the ENTRYPOINT dll to the match the assembly name of your created application.
Creating the Docker Image
In order to create the image, use the following commands:
-
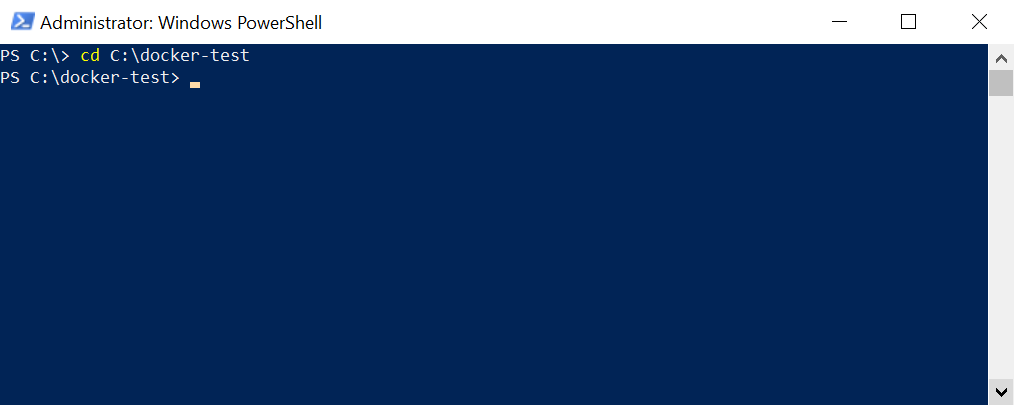
Assume that you have installed Docker for Windows, open a PowerShell command window with explicit administrator rights and change to the directory where you created the folder docker-test.
-
Type in the following command to build the Docker image based on the Dockerfile in the same directory:
docker build -t txcore .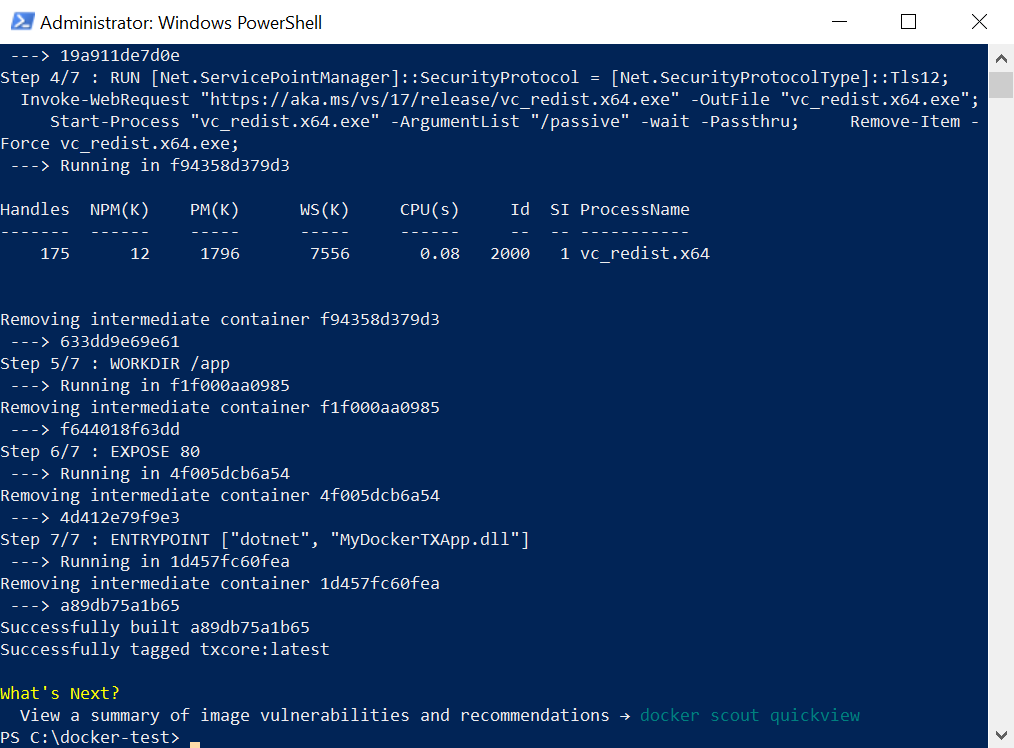
Running the Docker Container
-
Start the container with the following command:
docker run -it --rm -p 5000:80 -e ASPNETCORE_URLS=http://+:80 --name aspnetcore_sample txcore
In the Docker Dashboard, you can see the running container listening on port 5000:

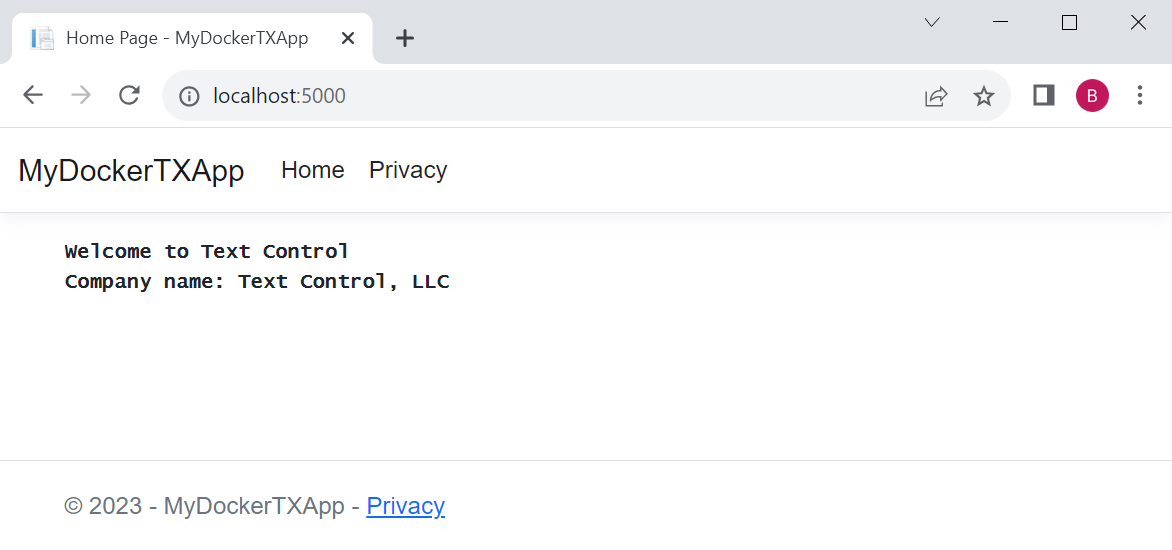
Open a browser and navigate to http://localhost:5000 to see your deployed web application.
ASP.NET
Integrate document processing into your applications to create documents such as PDFs and MS Word documents, including client-side document editing, viewing, and electronic signatures.
- Angular
- Blazor
- React
- JavaScript
- ASP.NET MVC, ASP.NET Core, and WebForms
Related Posts
Why an Unlimited Runtime License (OEM) for TX Text Control is Perfect for…
Platforms such as AWS Fargate and Azure App Services enable developers to build and deploy applications that dynamically scale to meet demand. For these deployments, this article explains why it…
Deploying an ASP.NET Core Web App to Azure App Services
This article shows how to create and deploy an ASP.NET Core Web App to Azure App Services with Docker. It shows all the necessary steps to create the application and the Dockerfile to deploy the…
Deploying an ASP.NET Core Web Application using the Document Editor with Docker
This tutorial shows how to deploy an ASP.NET Core web application that uses the document editor using Docker. It shows how to include the TCP service and the required backend ASP.NET Core web…
Announcing the Official DS Server Docker Image on Docker Hub
The official DS Server Docker image is now available on Docker Hub. This makes it easier to deploy the DS server in a containerized environment and manage and scale your applications. Based on the…
Using a Private NuGet Feed to Build and Restore .NET Apps for Docker Deployment
Learn how to set up a private NuGet feed for your .NET applications and use them in Docker containers. This guide covers the steps to create a private NuGet feed with GitHub, configure your .NET…


