One of the main advantages of TX Text Control's mail merge approach is that you can use templates created in MS Word. Even if TX Text Control comes with the TX Template Designer, MS Word might be deeply entrenched in your business processes.
The following tutorial shows how to insert the various supported merge elements like merge fields, repeating blocks or a date field into a template. At the end of this tutorial, we will have created a template that is mergeable using the MailMerge component that comes with TX Text Control Server for ASP.NET (incl. Windows Forms) and WPF.
The goal is to create a simple invoice template with dynamic fields for the recipient, the date and the articles that will be repeated in a separate repeating block.
-
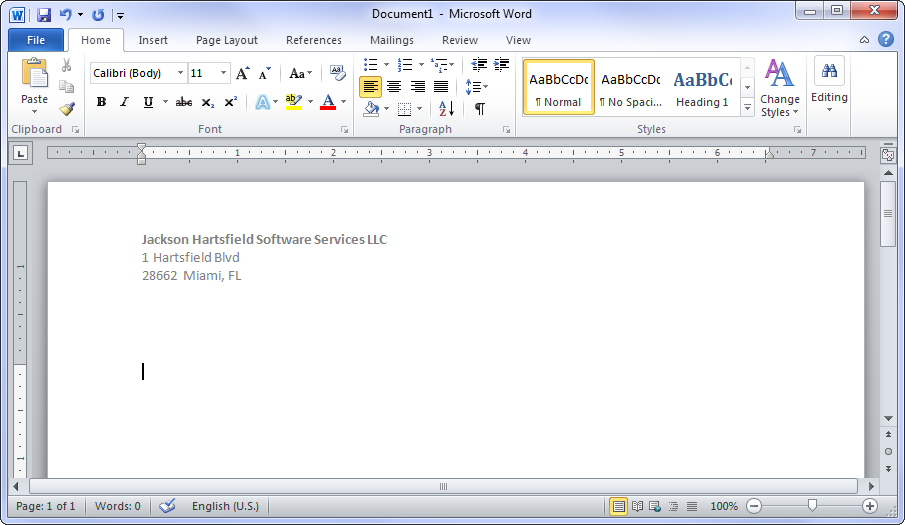
Start by creating a new document in MS Word and add some static content like a header with your own address:
-
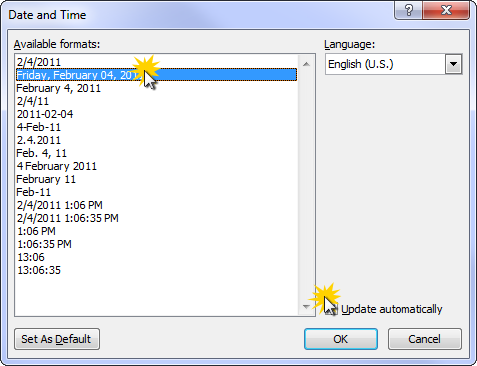
As a next step, click the Insert Date and Time button in the Text ribbon group, part of the Insert tab page.
In the opened dialog, select a format and confirm with OK.
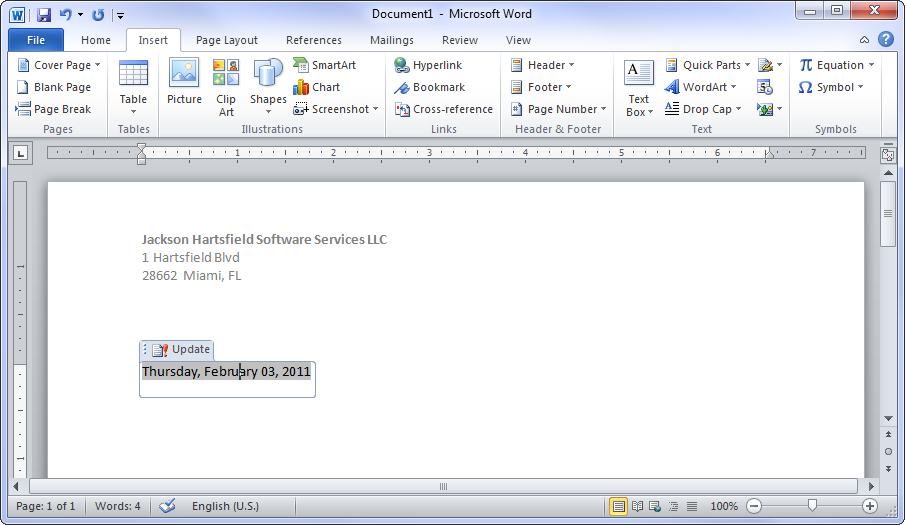
After inserting the static content and the date field, the document should look like this:
-
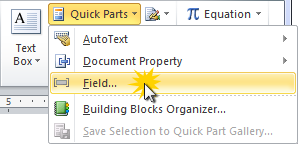
Now, we want to add the recipient's name and address details to the invoice. In the same Text ribbon group, open the Quick Parts drop-down button and select Field... in order to open the Field dialog box.
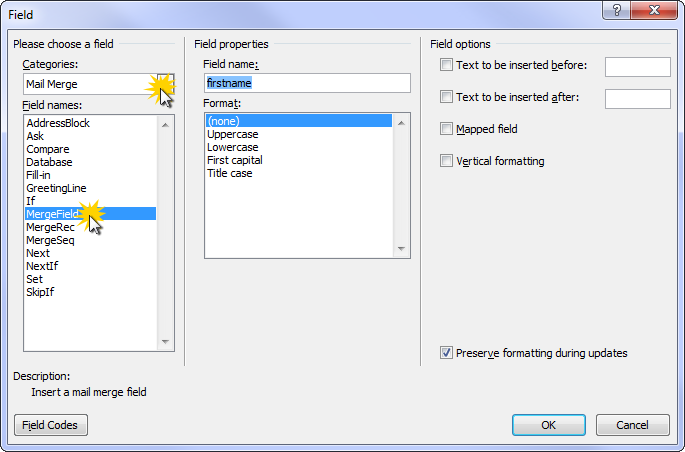
Filter the field category by Mail Merge and select MergeField as the field type name. Type in a Field name and confirm with OK.
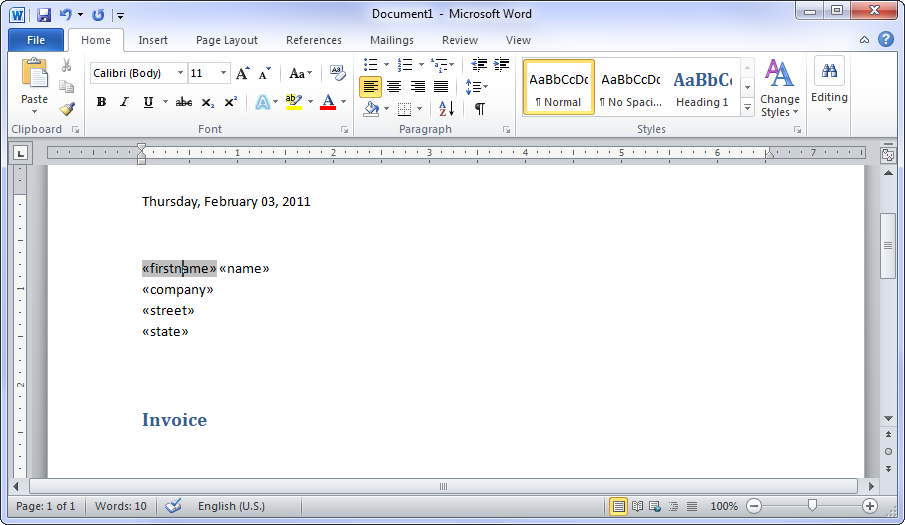
Repeat this step until you added all required address fields to the template. The following screenshot shows how it should look like:
-
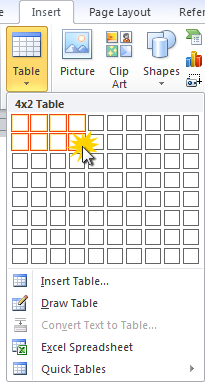
A table must be created to list the variable number of items in the invoice. From the Insert ribbon tab page, insert a 4x4 table using the insertion wizard.
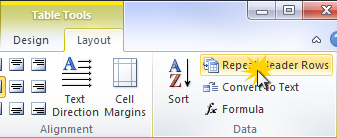
The first row is the table header and contains the column titles. Set the input position into a cell of the first row and click Repeat Header Rows from the Table Tools - Layout tab page:
Then insert merge fields into the second row as described in step 3. The document should now look like this:
-
As a final step, we need to define the repeating block in the template. The repeating block is defined by a bookmark at the start position and one at the end position of the block. Therefore, set the input position to the very beginning of the second table row - in front of the merge field «article_code» and click on Bookmark from the Insert - Links ribbon menu.
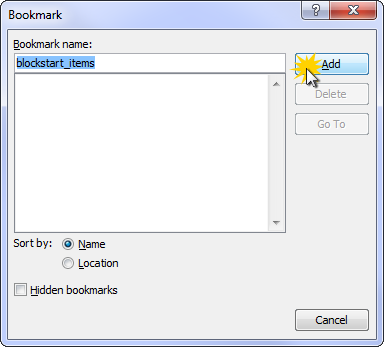
In the opened Bookmark dialog box, add the start bookmark with the name blockstart_items - whereas blockstart_ is the indicator that this bookmark is the start of a block and items is the name of the block.
Repeat this step for the bookmark at the end of the repeating block and name it blockend_items. The two bookmarks should look like in the following screenshot:
To show the bookmarks in MS Word, please open the Word Options, select Advanced and check Show bookmarks from the Show document content subsection.

