Selecting and Formatting TableCells in TX Text Control
This article shows how to select and format table cells in TX Text Control .NET for Windows Forms and TX Text Control .NET Server. The sample code shows how to select a table cell range and how to apply formatting to the selected cells.

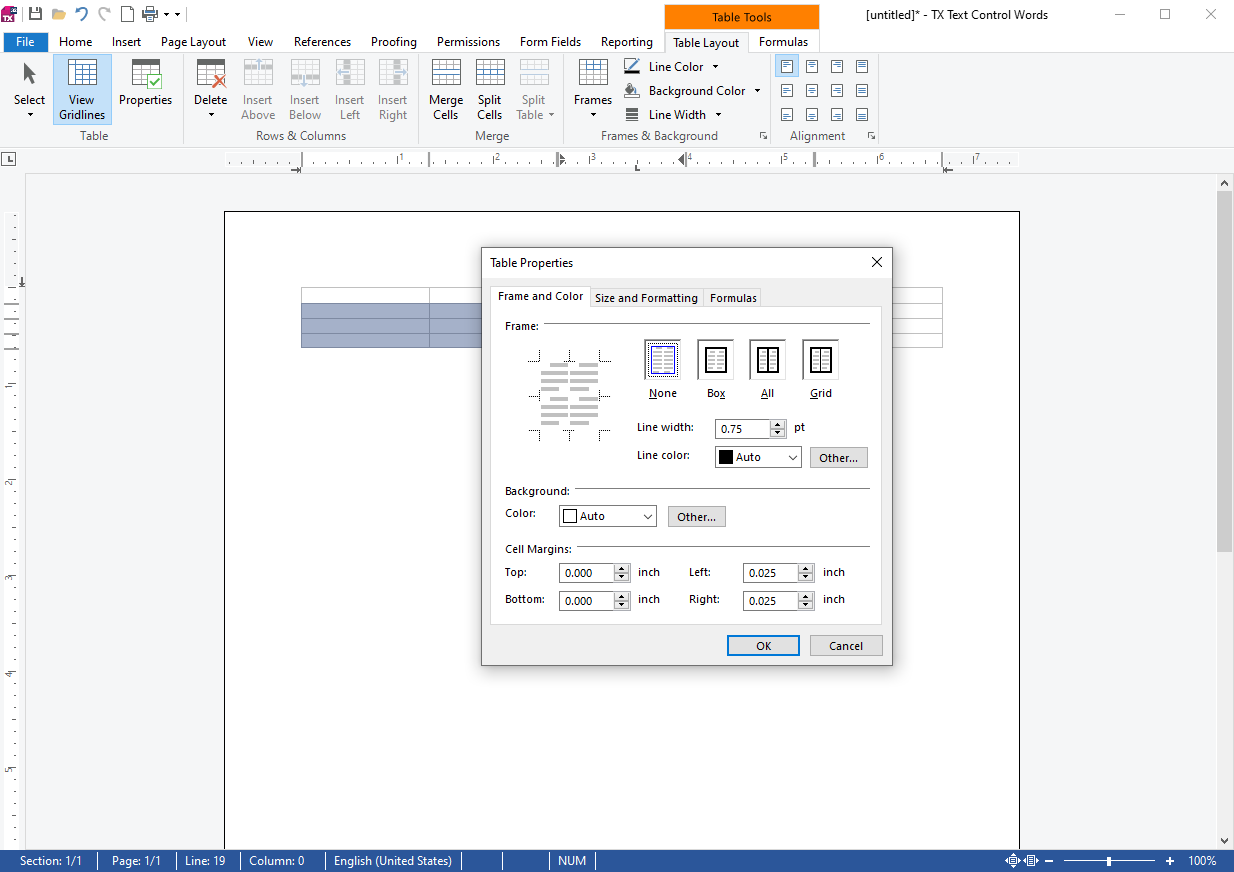
The supplied Table Properties dialog box can be used to apply a Table

However, using a custom interface or formatting a table programmatically requires applying table formatting to selected cells.
Applying TableCellFormat to Selected Cells
The following code snippet shows how to apply a TableCellFormat to selected cells in a table. The TableCellFormat is created with a specific background color and a border style. The TableCellFormat is then applied to the selected cells in the table.
private void FormatSelectedTableCells(TableCellFormat cellFormat)
{
        Table table = textControl1.Tables.GetItem();

        if (table == null)
                return;

        Selection curSelection = new Selection(
                textControl1.Selection.Start,
                textControl1.Selection.Length);

        // Clear the current selection
        textControl1.Selection.Length = 0;

        // Determine the starting row and column
        TableCell tableCellStart = table.Cells.GetItem();
        int startRow = tableCellStart.Row;
        int startCol = tableCellStart.Column;

        // Set the selection to the last cell in the selected range
        textControl1.Selection.Start = curSelection.Start + curSelection.Length - 1;

        // Determine the ending row and column
        TableCell tableCellEnd = table.Cells.GetItem();
        int endRow = tableCellEnd.Row;
        int endCol = tableCellEnd.Column;

        // Loop through the selected range and apply formatting
        for (int row = startRow; row <= endRow; row++)
        {
                for (int col = startCol; col <= endCol; col++)
                {
                        TableCell cell = table.Cells.GetItem(row, col);
                        cell.CellFormat = cellFormat;
                }
        }
}
This function gets the starting row and column and the ending row and column values to loop through the selected range of table cells. Finally, all cells in the selection will be formatted by applying the specified format to the cells.
Selecting TableCells
Before applying a TableCellFormat to selected cells, the cells must be selected. The following code snippet shows how to select a range of cells in a table.
textControl1.Tables.Add(9, 9, 10);

Table table = textControl1.Tables.GetItem(10);
table.Select(2, 2, 4, 6);
This code inserts a table with nine rows and nine columns and selects the range of cells from row 2, column 2 to row 4, column 6.

After selecting the range of cells, the TableCellFormat can be applied to the selected cells as described in the previous section.
textControl1.Tables.Add(9, 9, 10);

Table table = textControl1.Tables.GetItem(10);
table.Select(2, 2, 4, 6);

FormatSelectedTableCells(new TableCellFormat()
{
        BackColor = Color.LightGray,
        BottomBorderWidth = 1,
});
After executing the code, the selected cells are formatted with a specific background color and a border style.
Conclusion
This article showed how to apply a TableCellFormat to selected cells in a table. The TableCellFormat can be applied to a single cell, a range of cells, or to the entire table. The TableCellFormat can be used to format the background color, the border style, and other properties of the selected cells.
ASP.NET
Integrate document processing into your applications to create documents such as PDFs and MS Word documents, including client-side document editing, viewing, and electronic signatures.
- Angular
- Blazor
- React
- JavaScript
- ASP.NET MVC, ASP.NET Core, and WebForms
Related Posts
Various Ways of Inserting Images into TX Text Control
TX Text Control provides various ways of inserting images into the document. This article shows different approaches to add images to a document from memory, from a file or from a URL.
Different Ways to Insert Images
Images can be added to a document from various sources: Physical files, streams or System.Drawing.Images. This article explains how to create images and to add them to a document.
TX Text Control 34.0 SP1 is Now Available: What's New in the Latest Version
TX Text Control 34.0 Service Pack 1 is now available, offering important updates and bug fixes for all platforms. If you use TX Text Control in your document processing applications, this service…
Introducing TX Text Control 34.0: Your Next Leap in Document Processing.
We are happy to announce the release of TX Text Control 34.0. This version is packed with new features and enhancements that will elevate your document processing experience. This version…
Sneak Peek: TX Text Control 34.0 Coming November 2025
We are excited to announce the upcoming release of TX Text Control 34.0, scheduled for November 2025. This update brings a host of new features and improvements to enhance your document processing…


