Prerequisites
You need to download and install the trial version of TX Text Control .NET Server for ASP.NET to host the required backend:
- Download Trial Version
Setup download and installation required.
Creating the Application
Make sure that you downloaded the latest version of Visual Studio 2022 that comes with the .NET 8 SDK.
-
In Visual Studio 2022, create a new project by choosing Create a new project.
-
Select ASP.NET Core Web App (Model-View-Controller) as the project template and confirm with Next.
-
Choose a name for your project and confirm with Next.
-
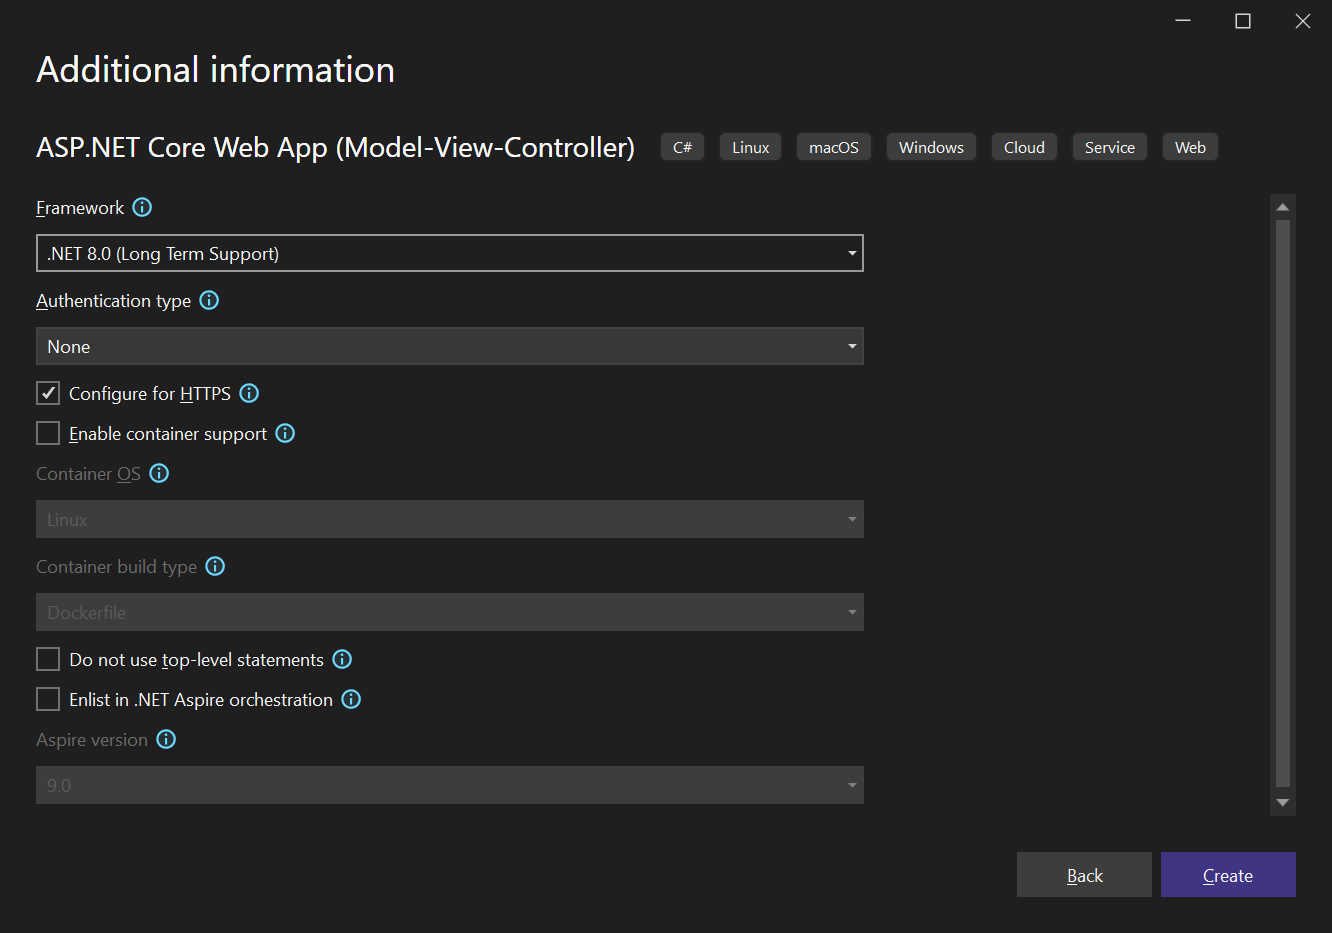
In the next dialog, choose .NET 8 (Long Term Support) as the Framework and confirm with Create.

Adding the NuGet Packages
-
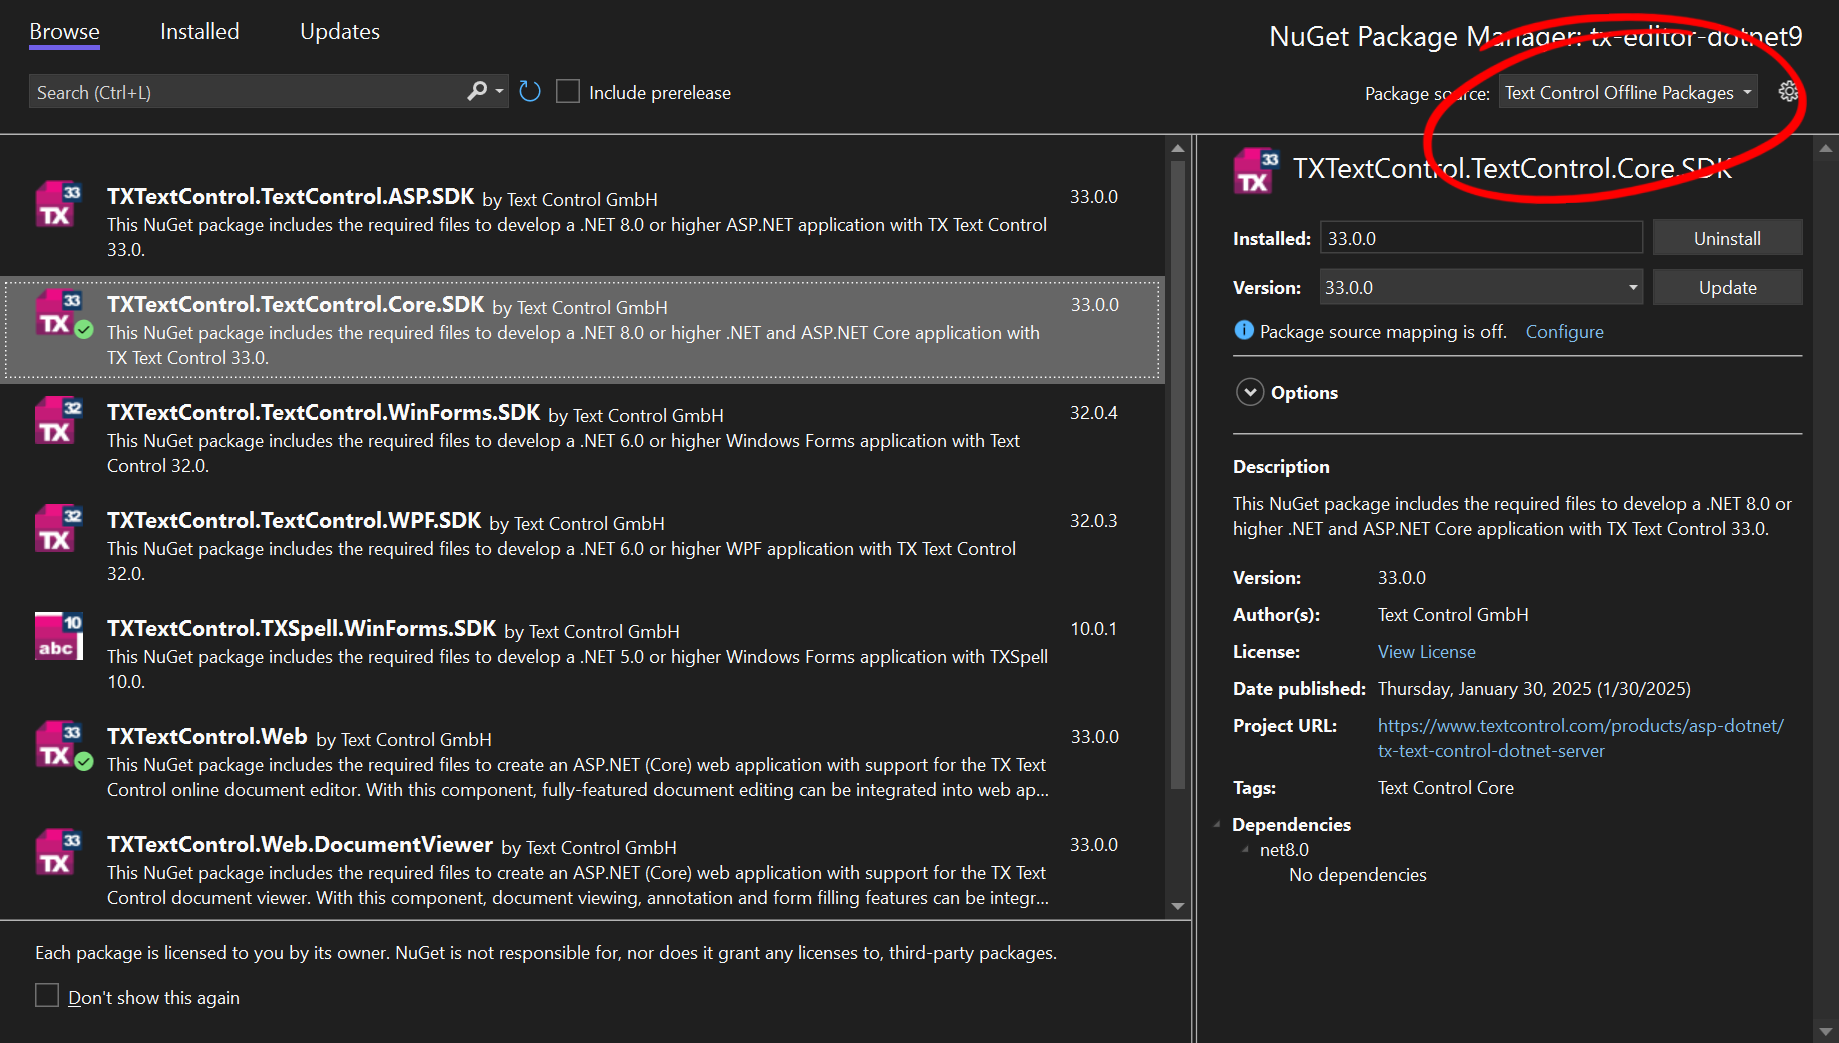
In the Solution Explorer, select your created project and choose Manage NuGet Packages... from the Project main menu. Select Text Control Offline Packages as the Package source.
Install the following packages:
- TXTextControl.Web.DocumentViewer
- TXTextControl.TextControl.Core.SDK

Adding the Control to the View
-
Find the Index.cshtml file in the Views -> Home folder. Replace the complete content with the following code to add the document viewer to the view:
This file contains bidirectional Unicode text that may be interpreted or compiled differently than what appears below. To review, open the file in an editor that reveals hidden Unicode characters. Learn more about bidirectional Unicode characters@using TXTextControl.Web.MVC.DocumentViewer @using System.Text <div style="width: 800px; height: 600px;"> @Html.TXTextControl().DocumentViewer(settings => { settings.DocumentData = Convert.ToBase64String( Encoding.ASCII.GetBytes("<strong>Sample Content</strong>")); settings.Dock = DocumentViewerSettings.DockStyle.Fill; }).Render() </div> <script> var jsonAnnotations = '[[{"pen":{"type":"comment","objectWidth":32,"objectHeight":32},"user":"Unknown User","location":{"x":127,"y":50},"time":1658908087097,"comments":[{"comment":"Welcome to Text Control","user":"Unknown User","date":1658908100339,"id":"c8d818ce-ff1e-4c0c-b78c-6ba95a98dede","status":"none"}],"id":"feed80ff-1c94-4abf-9838-3e833faa4092","status":"Accepted"}]]'; window.addEventListener("documentViewerLoaded", function () { TXDocumentViewer.annotations.showToolbar(true); TXDocumentViewer.annotations.load(jsonAnnotations); }); </script>
Starting the Application
-
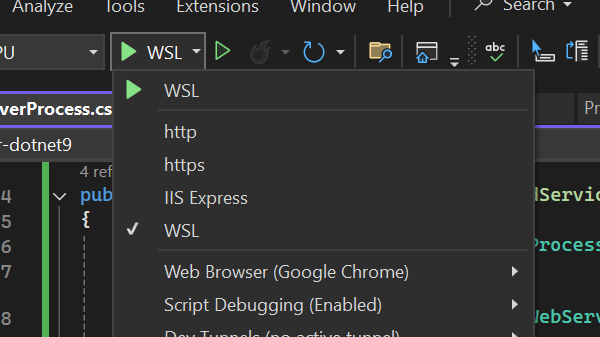
Select WSL as the startup profile and start the application.

Enable WSL (Windows Subsystem for Linux)
In case you haven't enabled WSL yet, follow these steps:
Enable WSL (Windows Subsystem for Linux)
Open PowerShell as an administrator.
Run the following command:
wsl --install
This installs the default Linux distribution (usually Ubuntu) and enables necessary features.
- After the installation, restart your computer.
Set WSL 2 as the Default Version
To set WSL 2 as the default version, follow these steps:
Open PowerShell as an administrator.
Run the following command:
wsl --set-default-version 2
If you haven???t installed a Linux distribution yet, you can do so via:
wsl --install -d Ubuntu

