How to Sign PDF Documents with PFX Certificates in .NET C# on Linux
This article shows how to sign PDF documents with PFX certificates in .NET C# on Linux. The sample code uses the TX Text Control .NET Server component to create a PDF document and digitally sign it with a PFX certificate.

Signing PDFs is critical to ensuring the authenticity, integrity, and non-repudiation of digital documents. A digital signature verifies that a document was created by a trusted entity and has not been altered since it was signed. This is especially important for contracts, invoices, legal agreements, and government documents where authenticity and compliance are mandatory.
PDF digital signing uses Public Key Infrastructure (PKI) to ensure authenticity and prevent tampering. A cryptographic hash of the document is created and encrypted with the signer's private key to form the digital signature. This signature and the signer's certificate are embedded in the PDF. When opened, the PDF reader decrypts the hash with the signer's public key and compares it to a newly generated hash. If they match, the document is verified as unchanged; if not, the signature is flagged as invalid, ensuring document integrity and trust. Security features are essential factors when choosing a PDF library. Use this developer guide for choosing the right C# PDF generation library.
Starting with version 33.0, TX Text Control .NET Server is able to sign PDF documents with certificates such as PFX files on Windows and Linux. This article shows how to create a PFX file on Linux using OpenSSL and how to use this certificate with TX Text Control to sign generated PDF documents.
Prerequisites
You need to download and install the trial version of TX Text Control .NET Server to host the Document Editor backend:
- Download Trial Version
Setup download and installation required.
Creating the Application
Make sure that you downloaded the latest version of Visual Studio 2022 that comes with the .NET 8 SDK.
-
In Visual Studio 2022, create a new project by choosing Create a new project.
-
Select Console App as the project template and confirm with Next.
-
Enter a project name and choose a location to save the project. Confirm with Next.
-
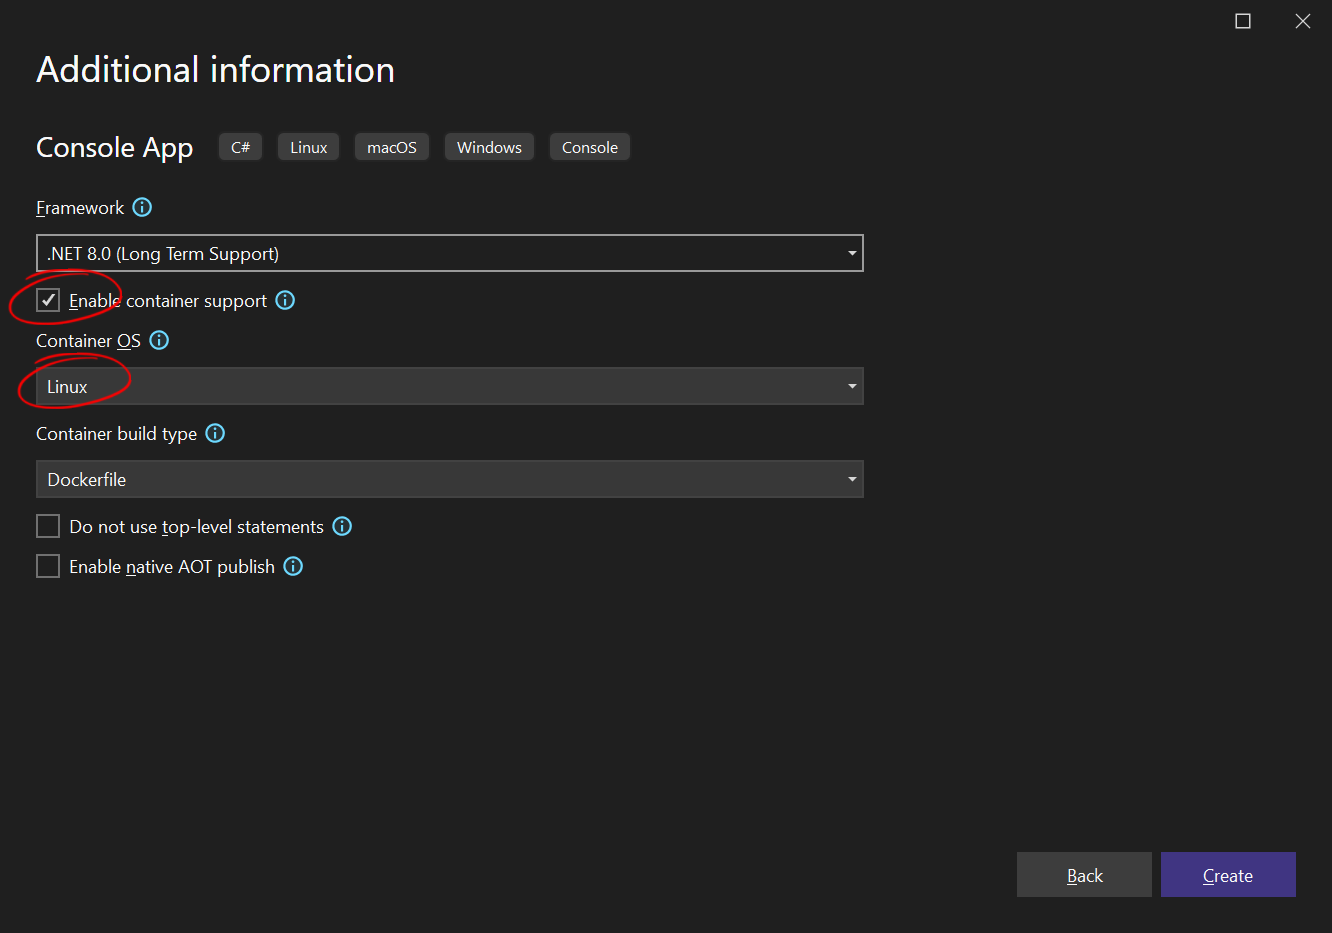
Choose .NET 8.0 (Long Term Support) as the Framework.
-
Enable the Enable container support checkbox and choose Linux as the Container OS.
-
Choose Dockerfile for the Container build type option and confirm with Create.

Adding the NuGet Packages
-
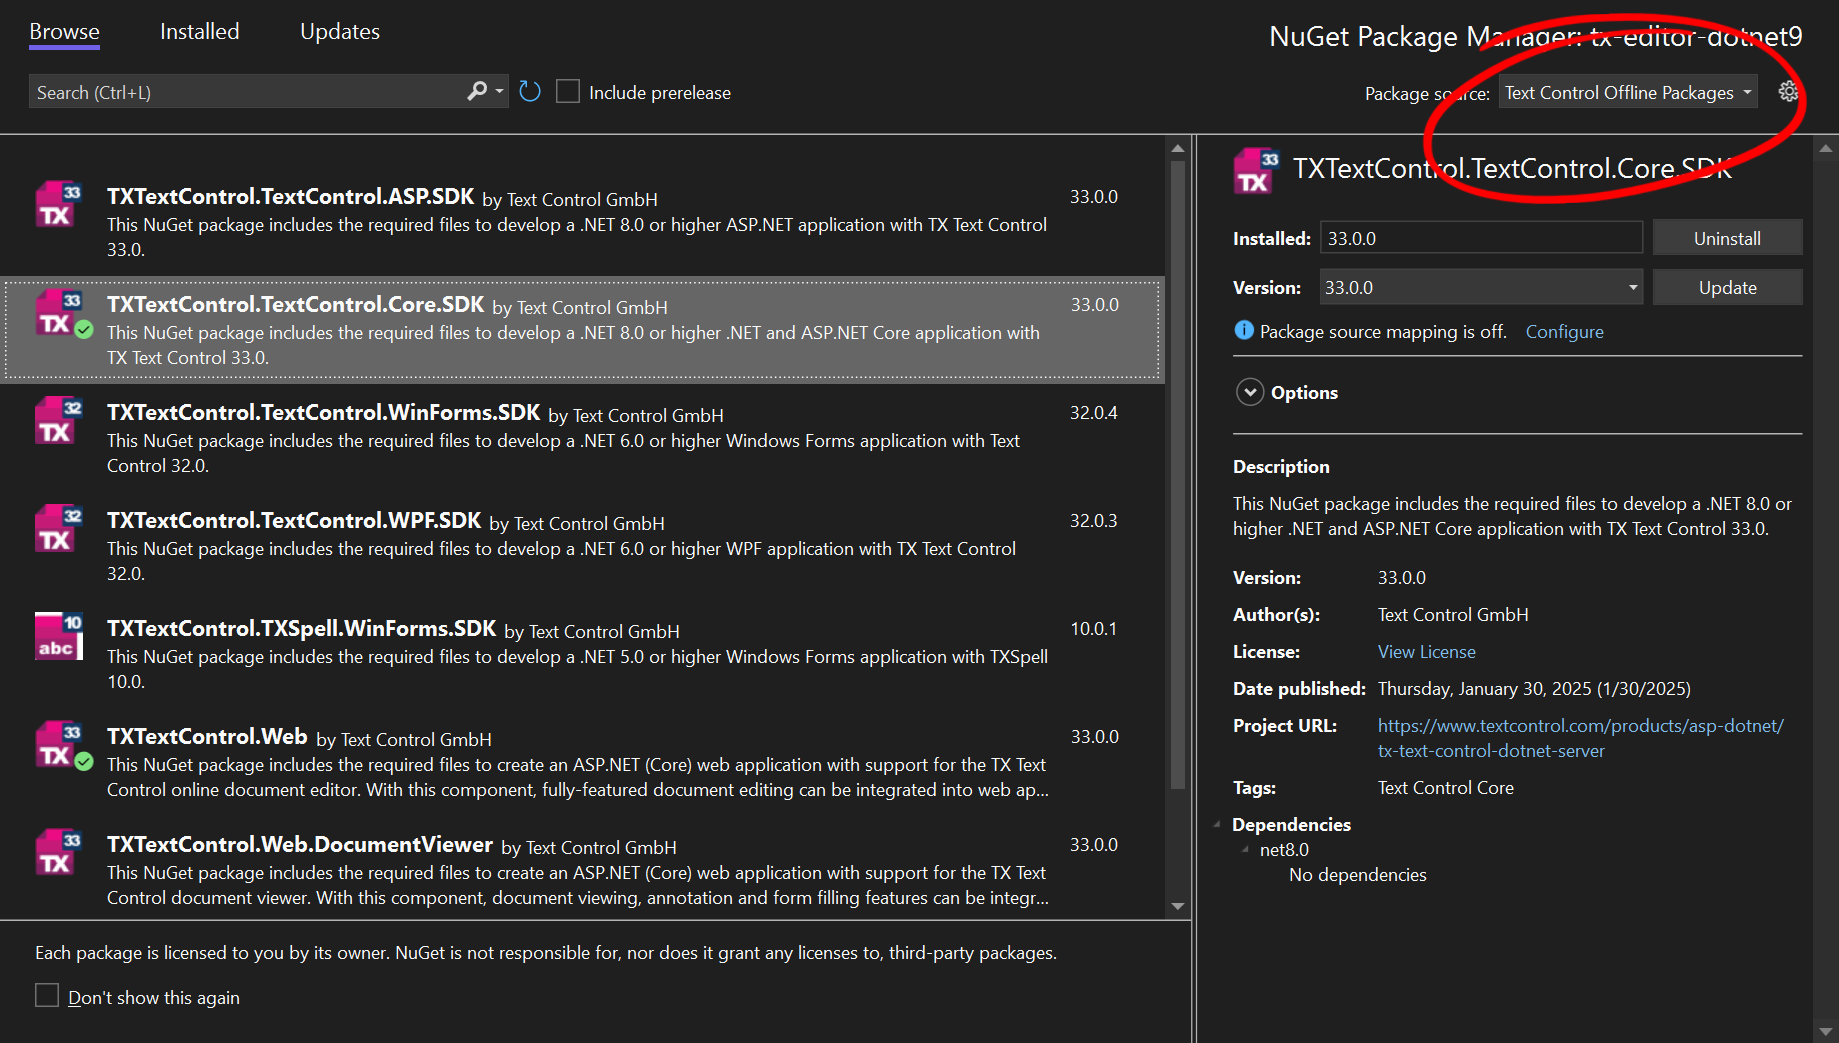
In the Solution Explorer, select your created project and choose Manage NuGet Packages... from the Project main menu. Select Text Control Offline Packages as the Package source.
Install the following package:
- TXTextControl.TextControl.Core.SDK

Enable WSL (Windows Subsystem for Linux)
We will use the local WSL installation to generate the certificate. In case you haven't enabled WSL yet, follow these steps:
Enable WSL (Windows Subsystem for Linux)
Open PowerShell as an administrator.
Run the following command:
wsl --installThis installs the default Linux distribution (usually Ubuntu) and enables necessary features.
- After the installation, restart your computer.
Set WSL 2 as the Default Version
To set WSL 2 as the default version, follow these steps:
Open PowerShell as an administrator.
Run the following command:
wsl --set-default-version 2If you haven't installed a Linux distribution yet, you can do so via:
wsl --install -d Ubuntu
Generate a Self-Signed Certificate with OpenSSL
OpenSSL is a powerful cryptographic toolkit that can be used to generate self-signed certificates.
- In Visual Studio, choose View > Terminal from the main menu to open the Terminal.
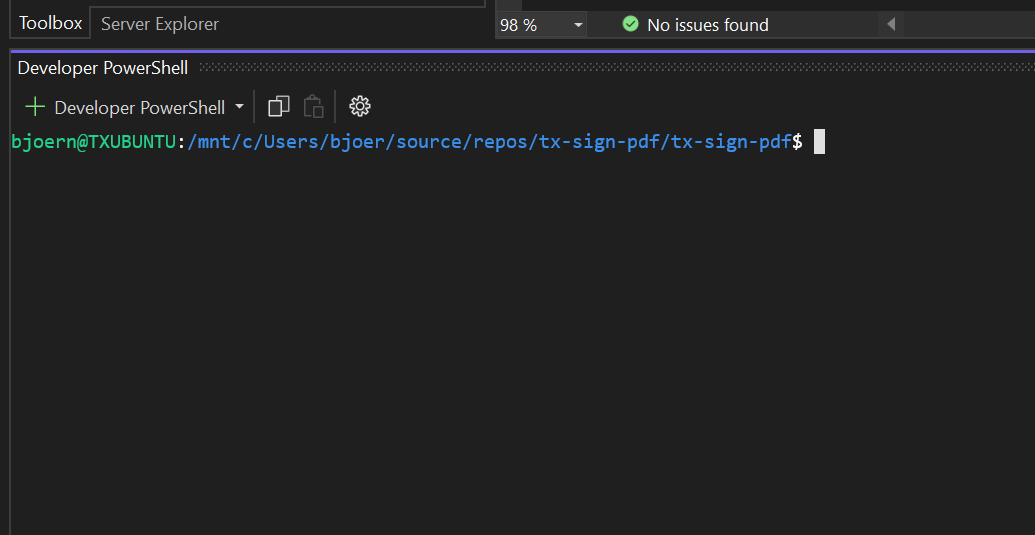
- In the new Terminal window, click the drop-down arrow next to the shell selection and select Developer PowerShell from the list.
-
Type in the following command to start WSL:
wsl -
Change the current directory to the application folder.

-
Now, we can create a self-signed certificate using OpenSSL. The following command will generate a new private key and a Certificate Signing Request (CSR) file:
openssl req -new -newkey rsa:2048 -nodes -keyout my_private.key -out my_request.csr -
After you run this command, you are prompted for information such as the country, state, city, organization, and e-mail address. This information is used to generate the certificate. The private key is stored in the file my_private.key and the CSR in my_request.csr.
-
Run the following command to sign the CSR and generate the certificate:
openssl x509 -req -days 365 -in my_request.csr -signkey my_private.key -out my_certificate.crt -
This command converts the certificate and private key into a .pfx file:
openssl pkcs12 -export -out my_certificate.pfx -inkey my_private.key -in my_certificate.crt
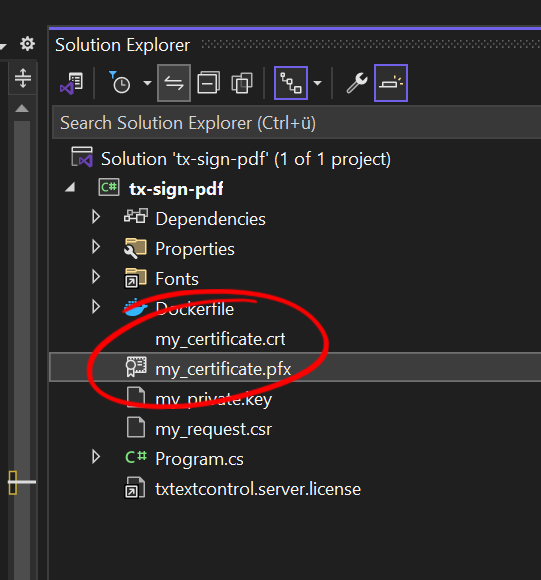
You have now created a self-signed certificate in the file my_certificate.pfx.

Sign a PDF Document with TX Text Control
Now that we have created a PFX file, we can use this certificate to sign a PDF document with TX Text Control.
-
Open the Program.cs file in Visual Studio and replace the content with the following code:
… -
In the Solution Explorer, right-click the generated PFX file and select Properties. Set the Copy to Output Directory property to Copy if newer.
-
Run the application by pressing F5. The application creates a PDF document and signs it with the generated certificate.
Open the signed document in a PDF viewer. The signed document displays the signature and certificate details:

Conclusion
Using TX Text Control .NET Server, you can sign PDF documents with certificates such as PFX files on Windows and Linux. This article shows how to create a PFX file on Linux using OpenSSL and how to use this certificate with TX Text Control to sign generated PDF documents.
ASP.NET
Integrate document processing into your applications to create documents such as PDFs and MS Word documents, including client-side document editing, viewing, and electronic signatures.
- Angular
- Blazor
- React
- JavaScript
- ASP.NET MVC, ASP.NET Core, and WebForms
Related Posts
ASP.NETASP.NET CoreCertificate
How to Sign Signature Fields with Custom Signer Information and Time Stamps…
This article shows how to sign signature fields in a PDF document with custom signer information and timestamps using the TX Text Control .NET Server component in ASP.NET Core C#. The signature is…
A Complete Guide to Converting Markdown to PDF in .NET C#
Learn how to convert Markdown to PDF in .NET C# using Text Control's ServerTextControl component. This guide covers setup, conversion process, and customization options for generating high-quality…
ASP.NETASP.NET CoreDocument Creation
Why PDF Creation Belongs at the End of the Business Process
This article discusses why placing PDF creation at the end of the business process is important for ensuring accuracy and efficiency. The most scalable systems delay PDF generation until the…
Designing the Perfect PDF Form with TX Text Control in .NET C#
Learn how to create and design interactive PDF forms using TX Text Control in .NET C#. This guide covers essential features and best practices for effective form design.
Why Defining MIME Types for PDF/A Attachments Is Essential
The PDF/A standard was created to ensure the long-term reliable archiving of digital documents. An important aspect of the standard involves properly handling embedded files and attachments within…


