Prerequisites
You need to download and install the trial version of TX Text Control .NET Server for ASP.NET to host the Document Editor backend:
- Download Trial Version
Setup download and installation required.
Creating the Application
Make sure that you downloaded the latest version of Visual Studio 2022 that comes with the .NET 8 SDK.
-
In Visual Studio 2022, create a new project by choosing Create a new project.
-
Select ASP.NET Core Web App (Model-View-Controller) as the project template and confirm with Next.
-
Choose a name for your project and confirm with Next.
-
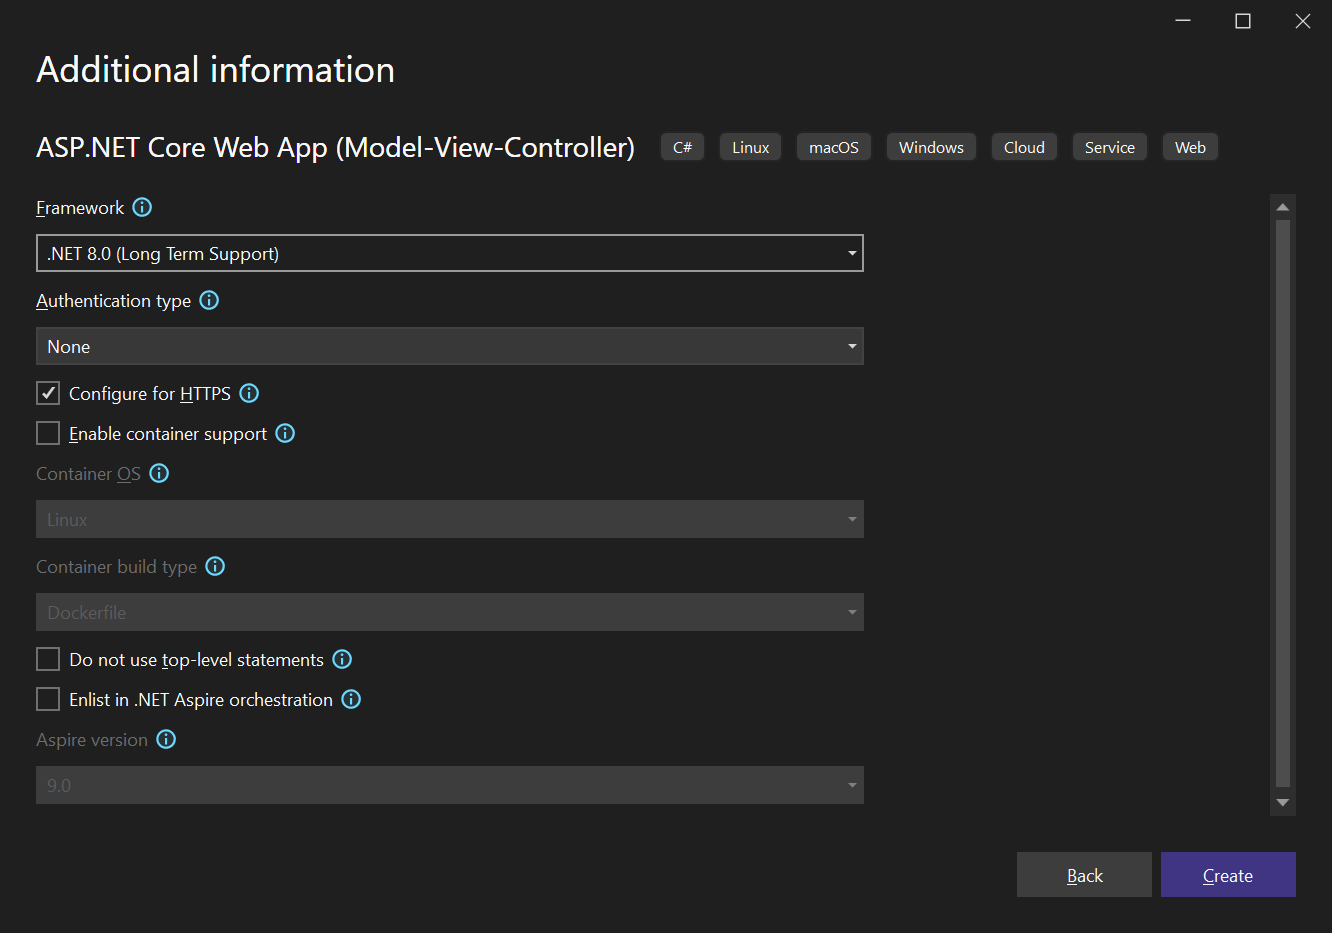
In the next dialog, choose .NET 8 (Long Term Support) as the Framework and confirm with Create.

Adding the Web Server Backend
-
Create a new class by right-clicking the project in the Solution Explorer and choose Add -> Class.... Name the class TXWebServerProcess.cs and confirm with Add. Replace the complete content with the following code:

-
Now right-click the project in the Solution Explorer and choose Add -> Existing Item.... Navigate to the installation folder of TX Text Control .NET Server for ASP.NET:
C:\Program Files\Text Control GmbH\TX Text Control 33.0.NET Server for ASP.NET\Assembly\net8.0
Set the file filter to All Files (*.*) and select the following files:
- TXTextControl.Web.Server.Core.deps.json
- TXTextControl.Web.Server.Core.dll
- TXTextControl.Web.Server.Core.Process.deps.json
- TXTextControl.Web.Server.Core.Process.dll
- TXTextControl.Web.Server.Core.Process.runtimeconfig.json
- TXTextControl.Web.Server.Core.runtimeconfig.json
- TXTextControl.Web.Server.Core.config.json
Confirm with Add.
-
Select the added files in the Solution Explorer and set the Copy to Output Directory property to Copy always.
Adding the NuGet Packages
-
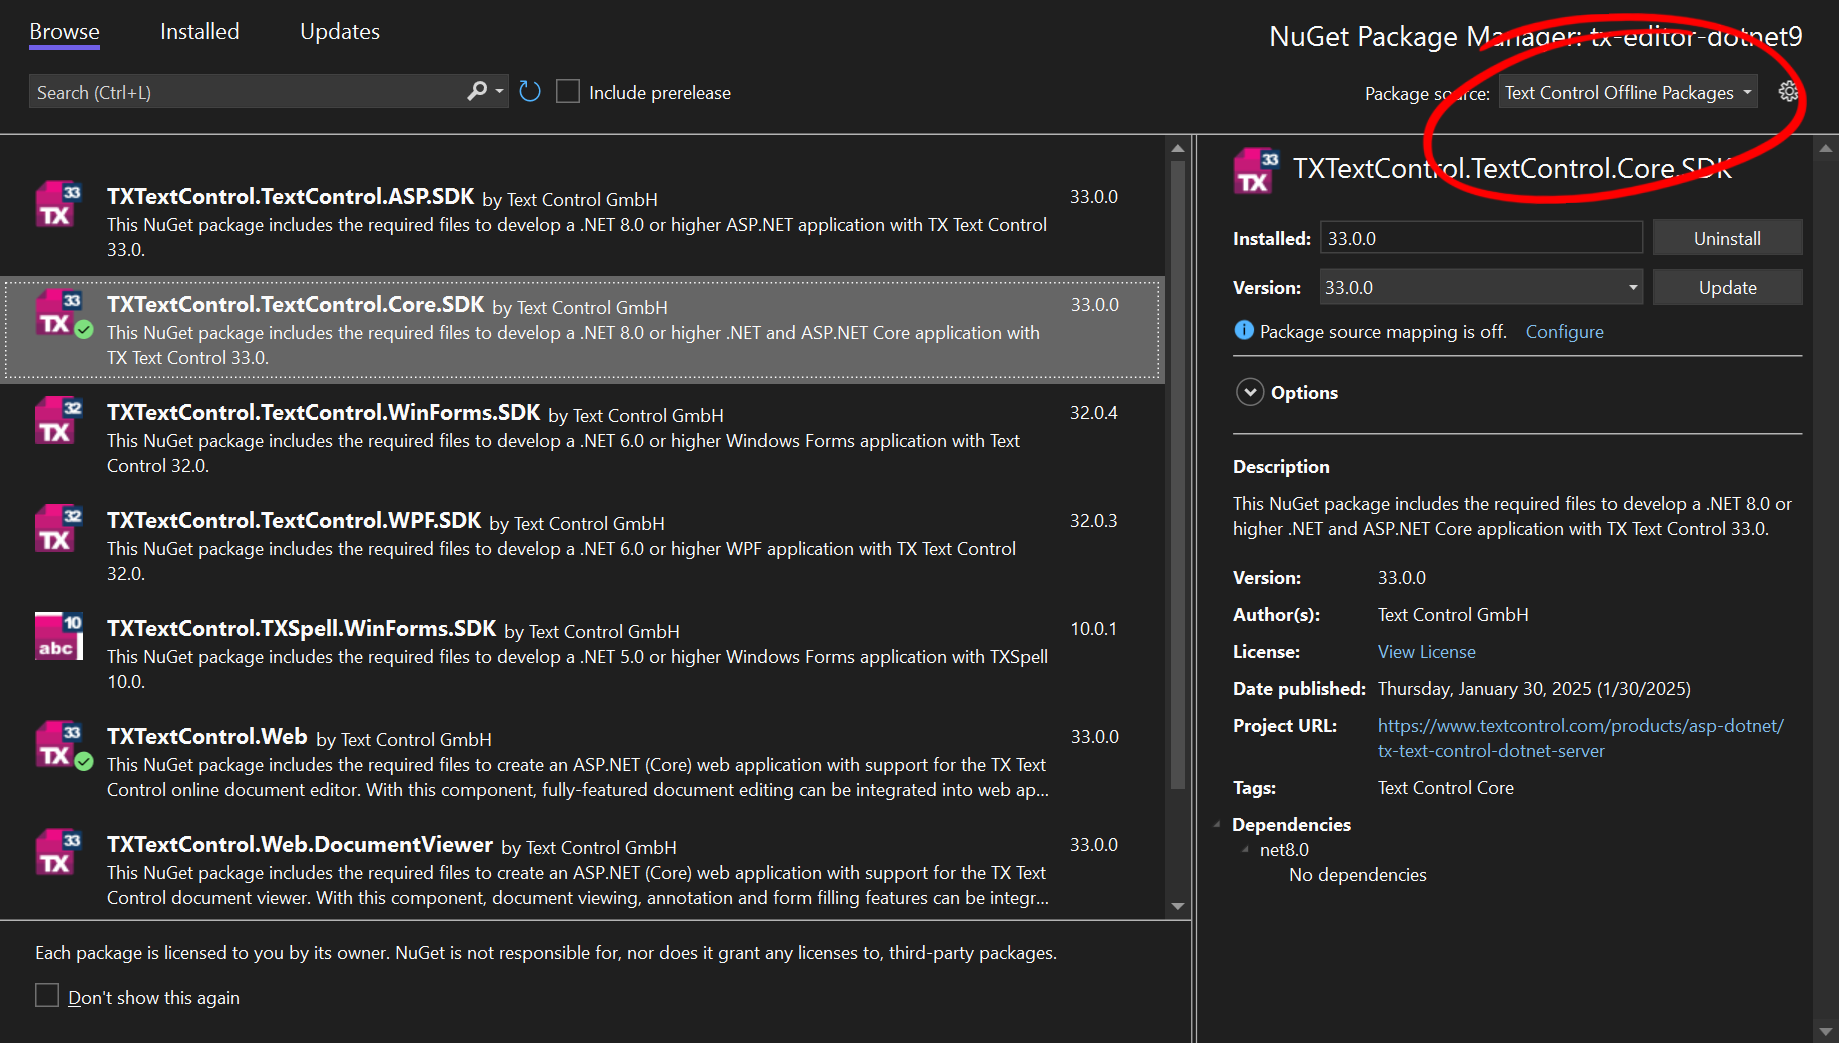
In the Solution Explorer, select your created project and choose Manage NuGet Packages... from the Project main menu. Select Text Control Offline Packages as the Package source.
Install the following packages:
- TXTextControl.Web
- TXTextControl.TextControl.Core.SDK

Configure the Application
-
Open the Program.cs file located in the project's root folder.
After builder.Services.AddControllersWithViews();, add the following code:

At the very top of the file, insert the following code:

Add the following code after the entry
app.UseStaticFiles();:
The overall Program.cs file should look like this:

Adding the Control to the View
-
Find the Index.cshtml file in the Views -> Home folder. Replace the complete content with the following code to add the document editor to the view:

Starting the Application
-
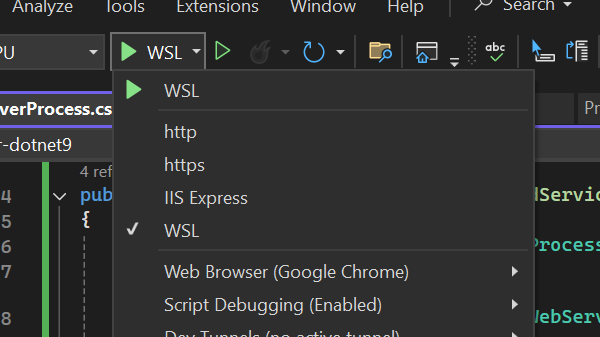
Select WSL as the startup profile and start the application.

Enable WSL (Windows Subsystem for Linux)
In case you haven't enabled WSL yet, follow these steps:
Enable WSL (Windows Subsystem for Linux)
Open PowerShell as an administrator.
Run the following command:
wsl --install
This installs the default Linux distribution (usually Ubuntu) and enables necessary features.
- After the installation, restart your computer.
Set WSL 2 as the Default Version
To set WSL 2 as the default version, follow these steps:
Open PowerShell as an administrator.
Run the following command:
wsl --set-default-version 2
If you haven?t installed a Linux distribution yet, you can do so via:
wsl --install -d Ubuntu

