This tutorial shows how to upgrade a .NET Framework Windows Forms App that uses TX Text Control 32.0 SP2 to a .NET 8 Windows Forms App by using the .NET Upgrade Assistant. In addition, you will learn how to replace the references to the TX Text Control with the corresponding NuGet packages.
.NET Upgrade Assistant
- Install the .NET Upgrade Assistant Visual Studio extension.
- Open your .NET Framework Windows Forms App in Visual Studio.
-
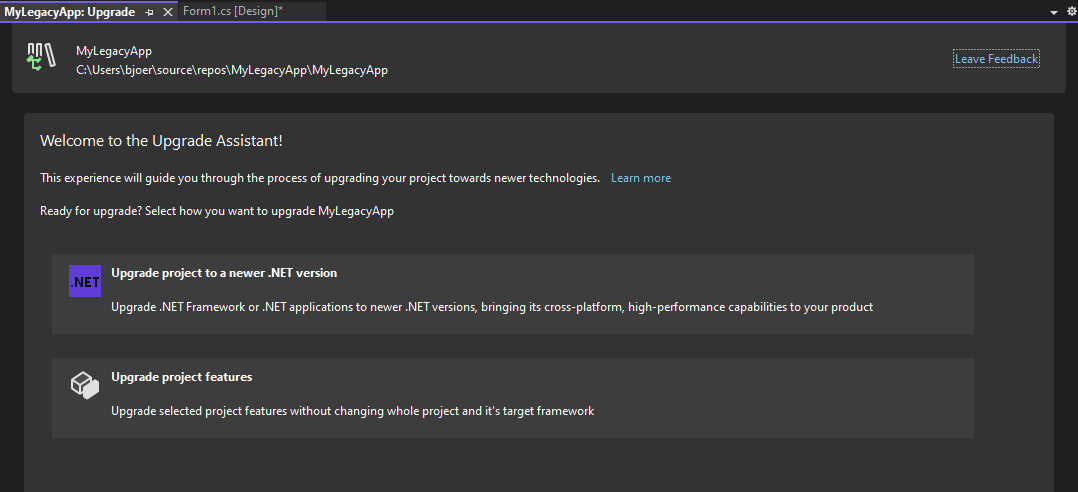
In Solution Explorer, right-click the project you want to upgrade and select Upgrade. Select Upgrade project to a newer .NET version.

-
Select In-place project upgrade and confirm with Next.
-
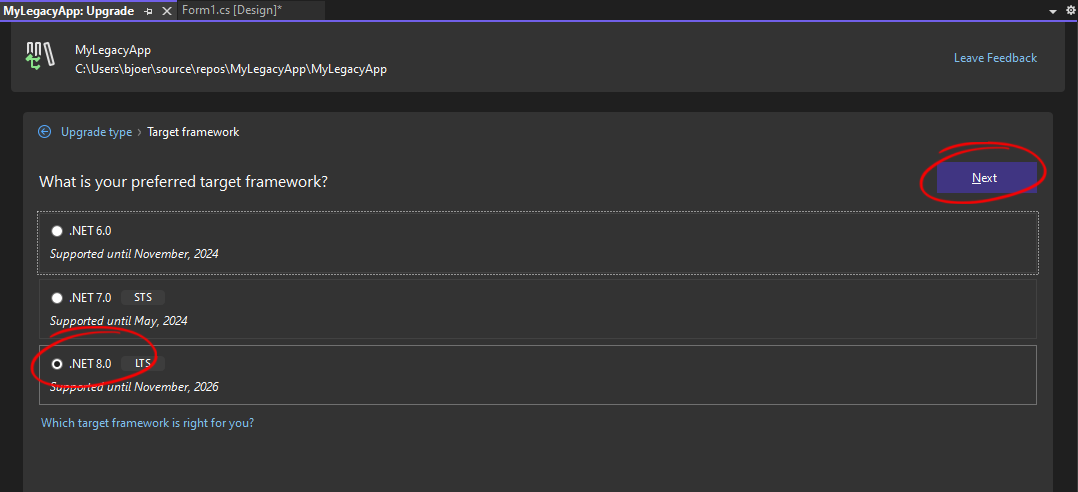
Choose the target framework, such as .NET 8, and click Next.

-
Click Upgrade selection to start the upgrade process.
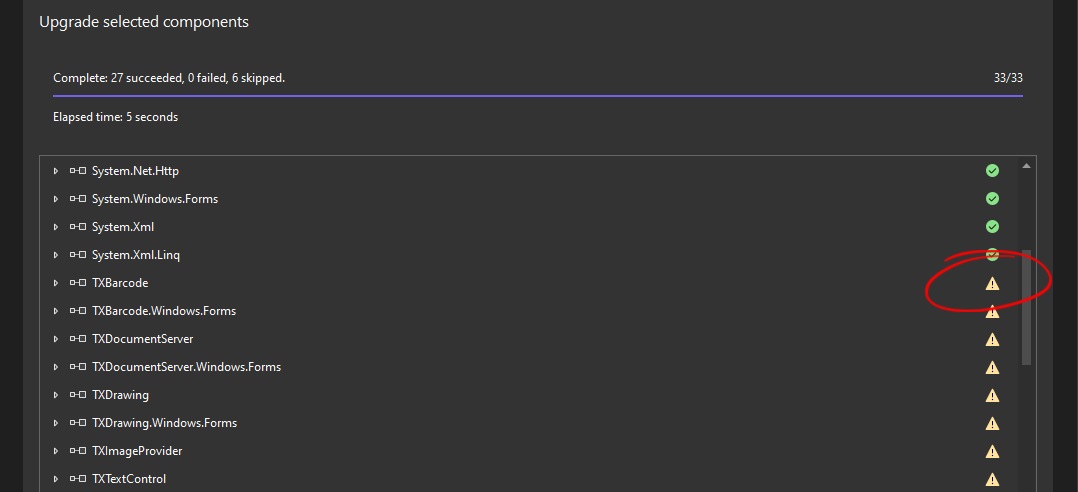
After the upgrade process is complete, you will notice that the TX Text Control dependencies have not been upgraded and are marked with a yellow triangle.

Adding the NuGet Package
Once all forms and classes have been updated, the TX Text Control references need to be added using NuGet. These references are not converted automatically, but since TX Text Control provides easy-to-install NuGet packages, this step is very easy.
-
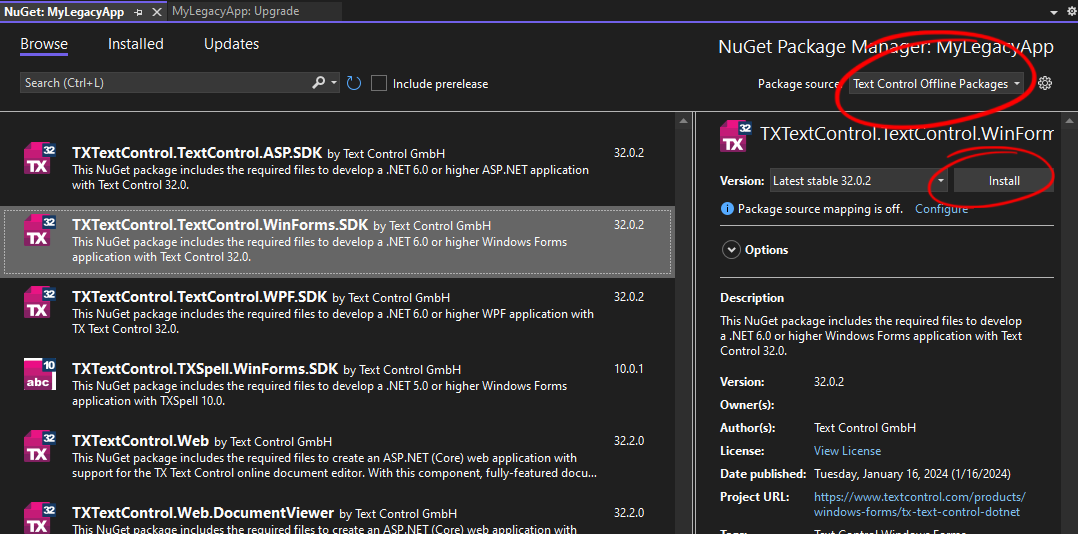
In the Solution Explorer, select your created project and choose Manage NuGet Packages... from the Project main menu. Select Text Control Offline Packages as the Package source.
Install the latest versions of the following packages:
- TXTextControl.TextControl.WinForms.SDK

-
In the Solution Explorer, locate the file licenses.licx and remove it by selecting it and choosing Delete from the Edit main menu.
That is all. After these steps, you should be able to successfully compile and run your application.

